How to make a fire pit from an old wheel rim
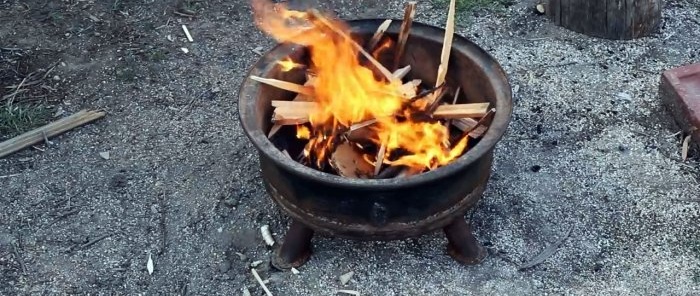
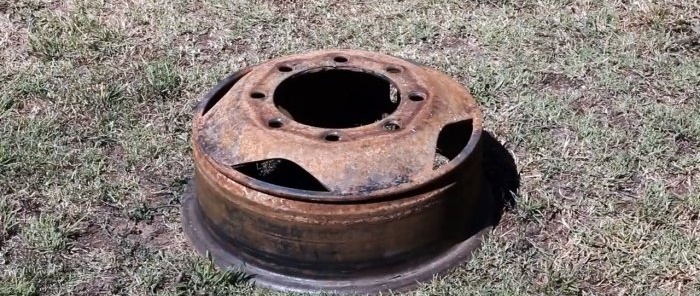
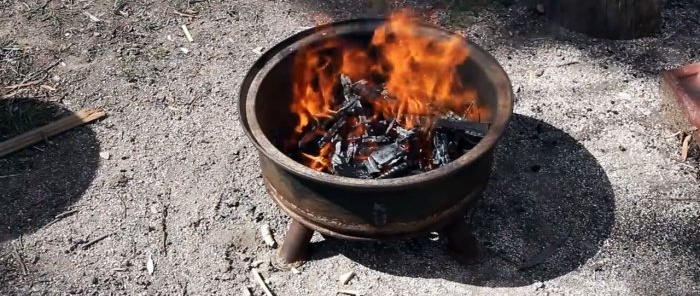
When you burn branches and leaves cut from the garden after a fire, a burnt gray spot remains on the area, on which nothing grows for a long time. Such bald spots look unsightly, so it is better to make a fire not on the ground, but in a portable fire pit. It can be made from an old rim from a truck, and if there is not much garbage, then from a car. This bowl is also useful for cooking various dishes in a pot or roasting meat on a wire rack.
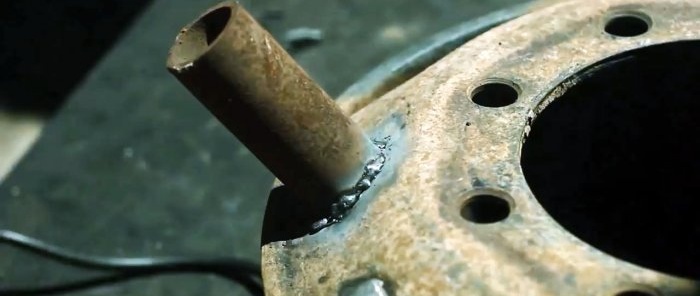
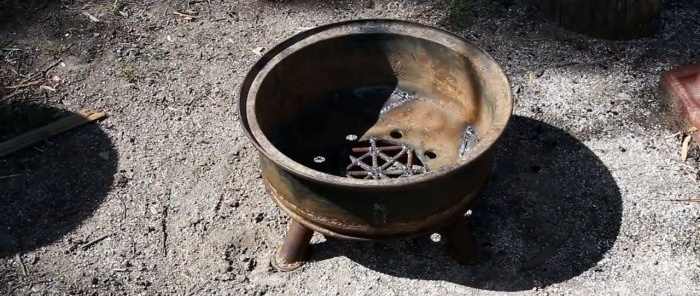
The bowl will stand on 4 legs. Their height is selected individually, but if you plan to sit in front of the fire in a garden chair in the evenings and watch the fire, then it is better to make them short 20-30 cm. The legs are cut from a pipe.
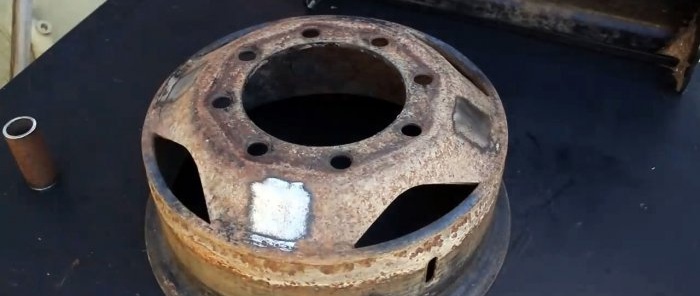
To weld them, the surface on the disk should be cleaned to bare metal.
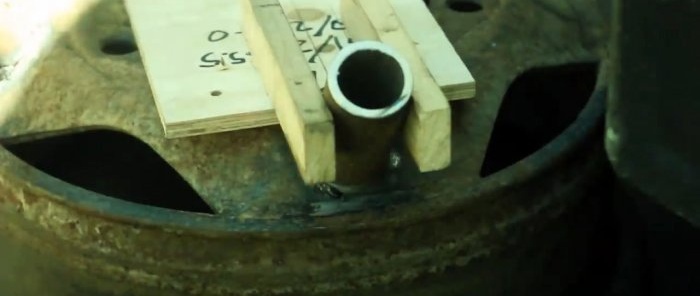
If you want to make everything perfectly level, then you can assemble a jig to position the legs.To do this, take a piece of plywood and apply it to the disk, after which 4 mounting holes and a circle for the hub are marked on it with a marker. Then 2 slats are nailed onto the plywood so that the distance between them corresponds to the width of the leg. By positioning the jig by marking the holes on the disk and securing it with nails, you can symmetrically weld all the legs one by one.
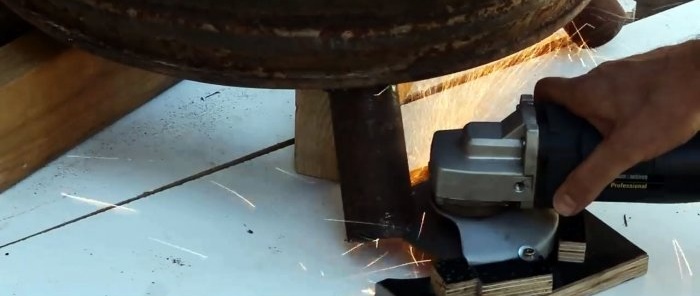
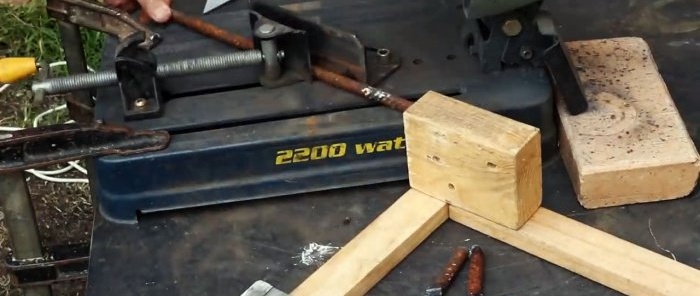
Since the tubes of the legs are initially cut at a right angle, and after welding, their lower ends are not horizontal to the ground, they need to be trimmed. To do this, a simple stop with a clamp for an angle grinder is made from plywood, and with its help the legs are trimmed again. In this case, the bowl must be placed on a flat surface, and then the laid stop with the grinder will allow everything to be cut perfectly evenly.
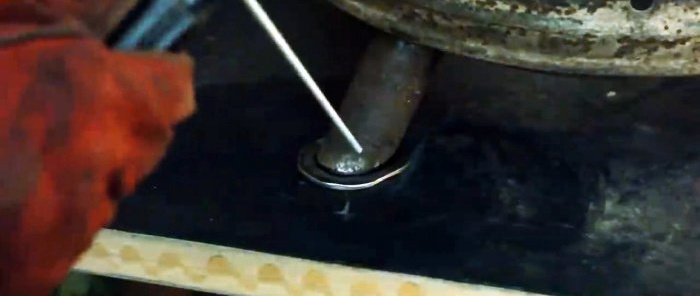
To prevent dirt from getting inside the legs and them sinking into the ground, they should be muffled. To do this, if there is no sheet steel, you can level 4 pieces of tube and weld the plates obtained from them to the bottom of the legs.
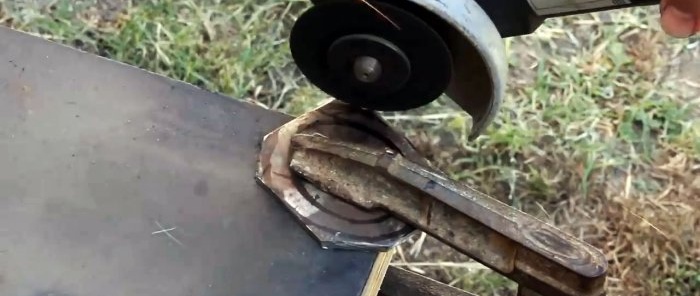
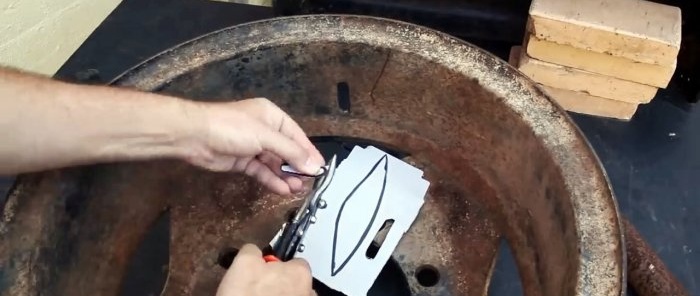
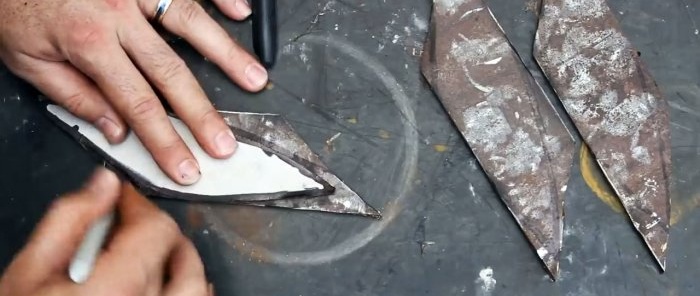
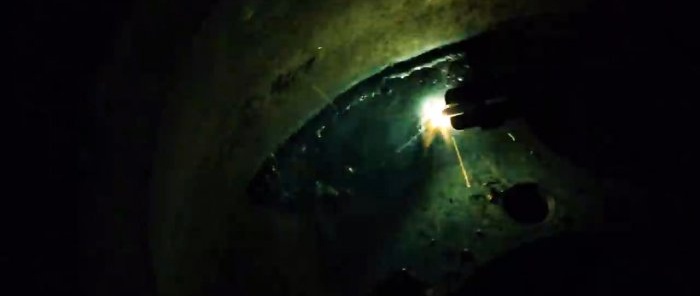
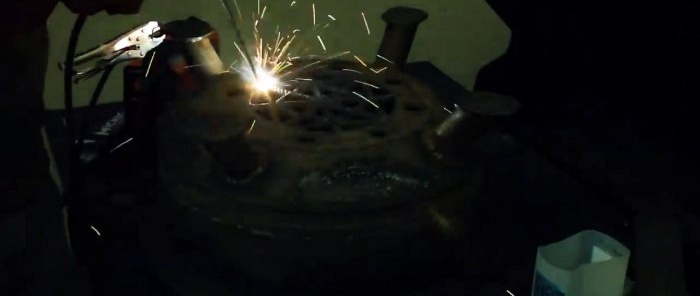
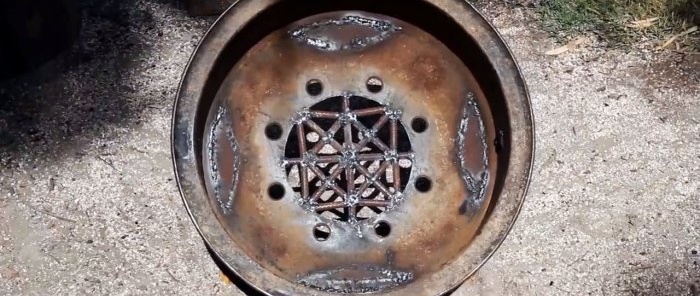
Next, you need to seal the bottom of the bowl by welding large side cutouts in it, except for the mounting holes and the central window for the hub. To do this, a pattern of patches is made from paper. According to it, they are cut from a straightened pipe or thick sheet steel, and then welded.
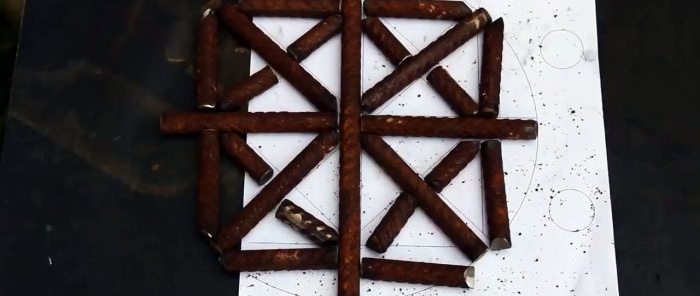
The central hole at the bottom of the bowl is equipped with grates. To do this, you should weld a permanent grid of reinforcement. Ash will fall through it, making cleaning easier. Air can also flow through the grate for better combustion of the fireplace.
Such an outdoor fireplace will help make the burning of organic waste more civilized, eliminating the appearance of bald spots from a fire pit in the garden, so the homemade product will pay for the time spent on its production.If you make the gap in the grill small, it can also be used as a barbecue.
Materials:
- truck rim;
- thick-walled steel pipe d50-70 mm;
- reinforcement or round timber d10-14 mm.
Making a fire bowl
The bowl will stand on 4 legs. Their height is selected individually, but if you plan to sit in front of the fire in a garden chair in the evenings and watch the fire, then it is better to make them short 20-30 cm. The legs are cut from a pipe.
To weld them, the surface on the disk should be cleaned to bare metal.
If you want to make everything perfectly level, then you can assemble a jig to position the legs.To do this, take a piece of plywood and apply it to the disk, after which 4 mounting holes and a circle for the hub are marked on it with a marker. Then 2 slats are nailed onto the plywood so that the distance between them corresponds to the width of the leg. By positioning the jig by marking the holes on the disk and securing it with nails, you can symmetrically weld all the legs one by one.
Since the tubes of the legs are initially cut at a right angle, and after welding, their lower ends are not horizontal to the ground, they need to be trimmed. To do this, a simple stop with a clamp for an angle grinder is made from plywood, and with its help the legs are trimmed again. In this case, the bowl must be placed on a flat surface, and then the laid stop with the grinder will allow everything to be cut perfectly evenly.
To prevent dirt from getting inside the legs and them sinking into the ground, they should be muffled. To do this, if there is no sheet steel, you can level 4 pieces of tube and weld the plates obtained from them to the bottom of the legs.
Next, you need to seal the bottom of the bowl by welding large side cutouts in it, except for the mounting holes and the central window for the hub. To do this, a pattern of patches is made from paper. According to it, they are cut from a straightened pipe or thick sheet steel, and then welded.
The central hole at the bottom of the bowl is equipped with grates. To do this, you should weld a permanent grid of reinforcement. Ash will fall through it, making cleaning easier. Air can also flow through the grate for better combustion of the fireplace.
Such an outdoor fireplace will help make the burning of organic waste more civilized, eliminating the appearance of bald spots from a fire pit in the garden, so the homemade product will pay for the time spent on its production.If you make the gap in the grill small, it can also be used as a barbecue.
Watch the video
Similar master classes
Particularly interesting
Comments (0)

