How to restore broken threads in a plastic case in 5 minutes
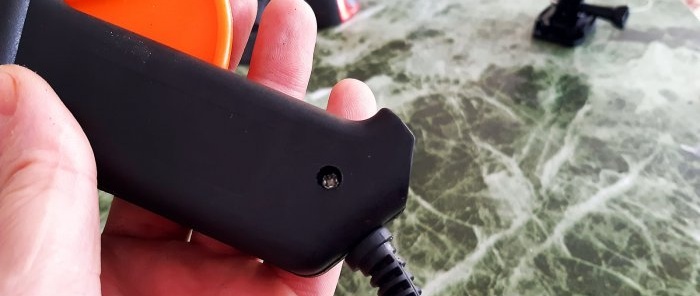
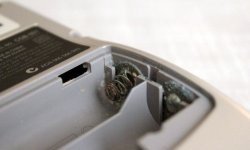
A malfunction such as broken fastener threads inside a plastic case is a fairly common failure. This happens most often if the plastic from which the case is made is of poor quality. Well, or, for example, if it is a battery compartment, the cover of which is attached to the body with a screw. Various products (especially toys, so that children cannot get to the batteries), with such a compartment for batteries, are a fairly common form of construction. To change these same batteries, you have to use a screwdriver every time. And it is natural that sooner or later, the carving will come to a completely natural end. When this happens depends, again, on the quality of the plastic. It’s good if the body itself has many such connections.
You can simply ignore this. But if the case has such connections only in the corners, and one of the fastenings is not reliable, this already poses some danger during further use of the product.There is more than one way to restore a broken fastening thread; some people put matches in there, others pour glue in them, and some have even more extravagant ways of solving this problem. But there is one method that allows you to restore the thread in literally five to seven minutes, to almost its original state, and which I am now going to demonstrate.
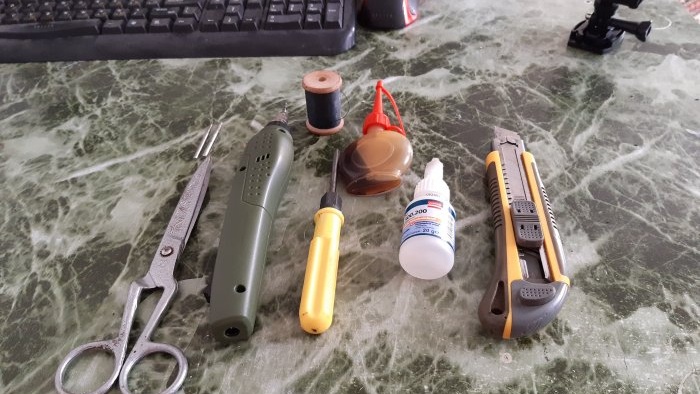
Will need
- Scissors.
- The threads are ordinary.
- Secondary glue.
- Machine oil (or gun oil).
- Screwdriver.
- Stationery knife.
- Boring machine with a drill or cutter, 1-1.5 mm thicker than the hole with the thread broken.
Restoring broken threads
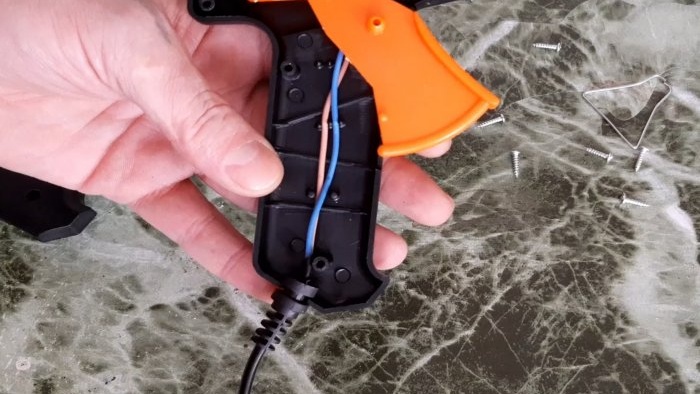
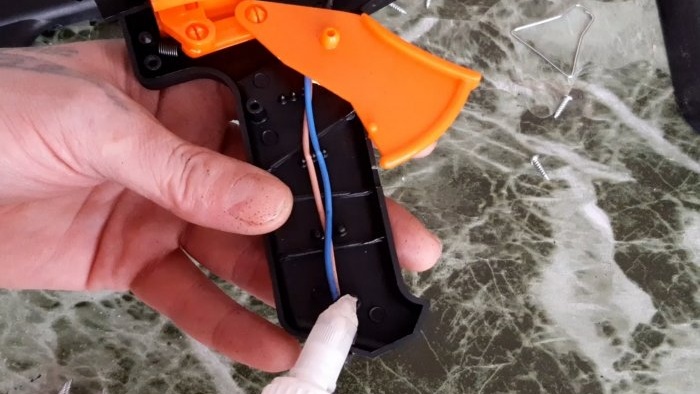
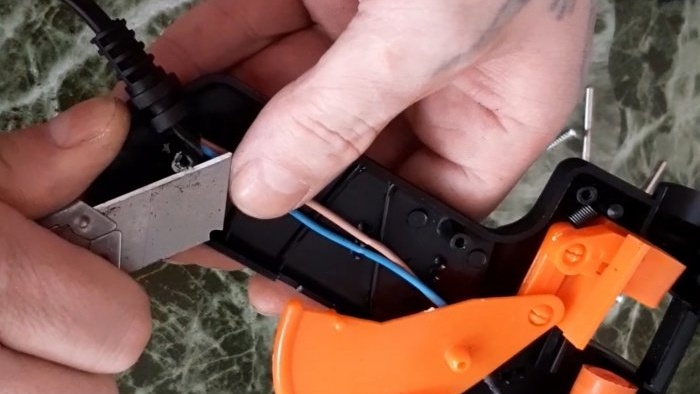
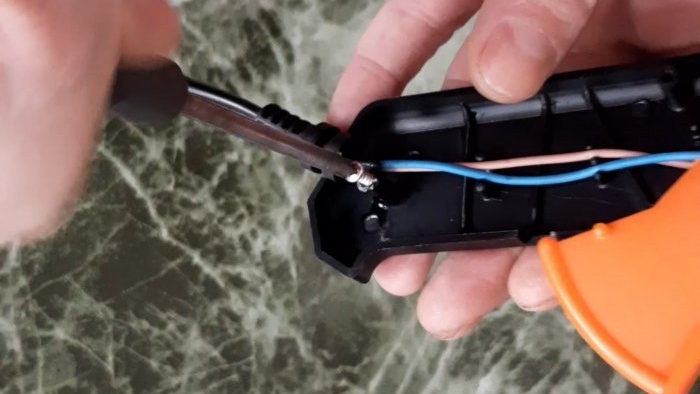
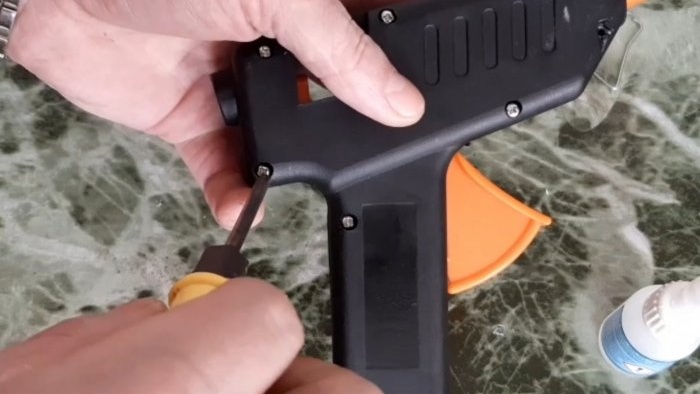
To begin with, as you understand, it is necessary to disassemble the case in which the threads need to be repaired. A screw whose fastening is screwed or has no thread at all should be unscrewed last. This will make it easier to pull it out if you can’t unscrew it. So, we sorted it out.
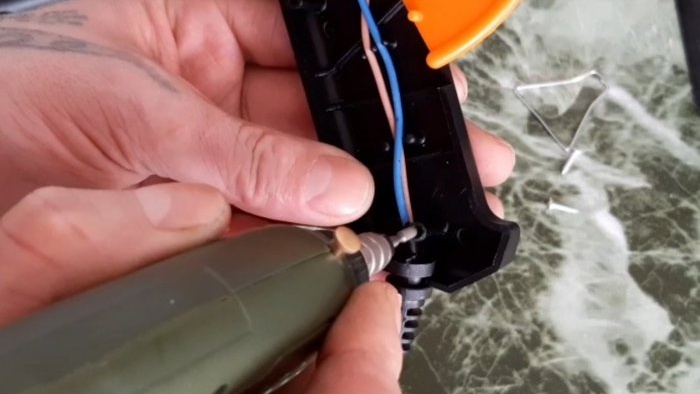
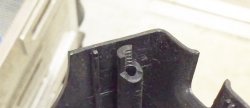
Now you need to clean the hole in which the thread was broken and make it a millimeter wider. A burr machine with an appropriate cutter will help you cope with this task.
If you don’t have a machine drill, you can expand it with a thin screwdriver by rotating it. Next, we prepare the screw. That is, just lubricate it with oil!
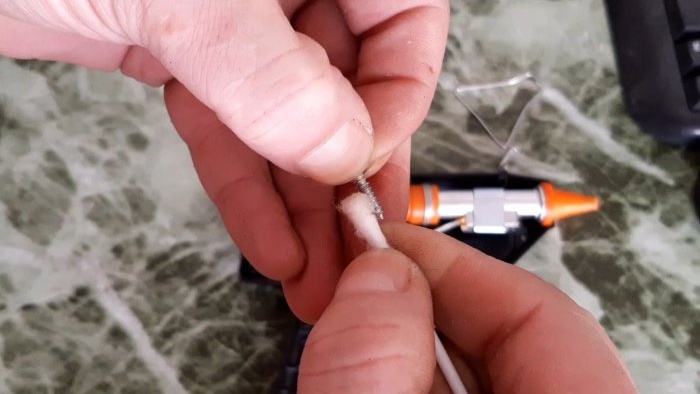
Now let's deal with the filler for the drilled and expanded hole. We will not put matches or other filler in there. On the contrary: we will wrap the filler directly onto the screw. Namely, we will use threads. Any. We wind the thread around the oiled screw until the thickness matches the size of the drilled hole.
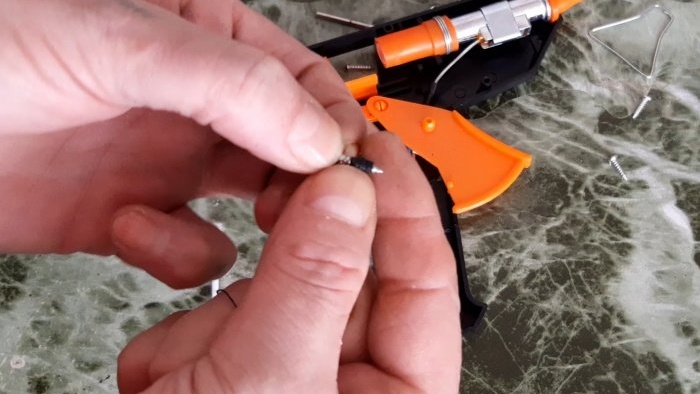
As soon as the thickness allows you to squeeze it all into the hole with difficulty, drop a second of glue onto the thread wound onto the screw, and a couple of drops into the prepared hole.
Insert a screw and thread into the hole. Like this:
In five minutes the glue will set tightly! You can unscrew the screw with a screwdriver and remove any excess glue with a utility knife.
Thanks to the fact that we lubricated the screw with oil, it will come out without much difficulty. In this case, the glue-impregnated thread remaining inside the hole will retain the shape of the screw thread. You can also drive the screw back and forth a couple of times for further ease of operation.
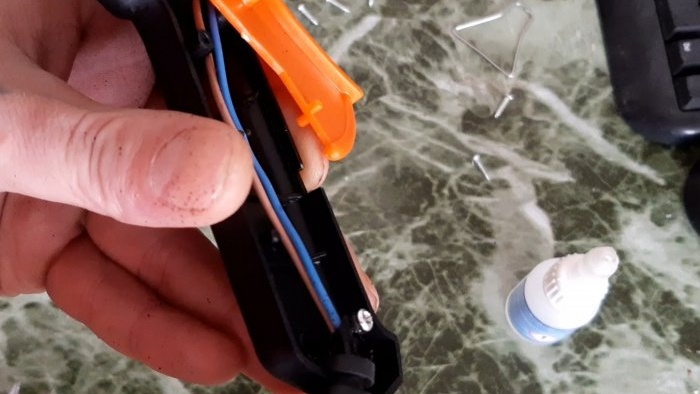
OK it's all over Now. All that remains is to put the body of the repaired device back together.
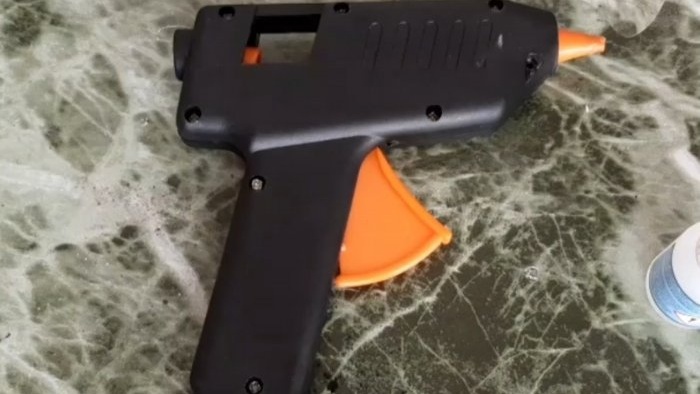
It took me less than five minutes to restore the thread at a leisurely pace. Plus two to three minutes to disassemble and reassemble my repairable glue gun. The matter is nothing! But in the future, you no longer have to worry that something will fall off at the most inopportune moment.

