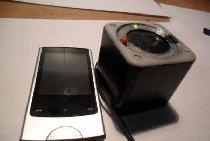
We assemble a subwoofer with our own hands!
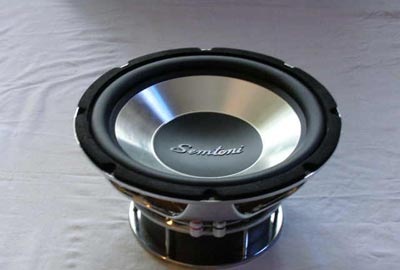
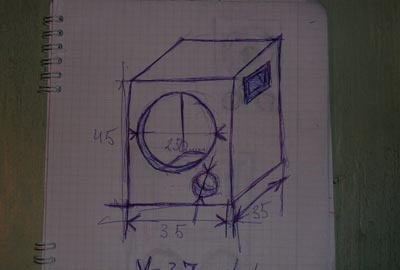
I spent the next week calculating the subwoofer. I downloaded several programs for calculating subwoofer enclosures (DLSBox2000, JBL-Speakershop, WinISD...) I liked the DLSBox2000 program most of all. With her help I calculated the sub. And this is what happened - the efficiency of this design (FI) for my speaker is 76%, volume - 37 lire (external dimensions 45x35x35cm), bass reflex 75x100mm. (diameter/length).
Then I drew a sketch on paper and began making it.
I screwed all the walls together with 50mm long screws. All connections are made with PVA glue (advice – don’t waste the glue, the excess will squeeze out). Inside, for greater reliability, I coated the seams with silicone sealant. In principle, this is not necessary, but it’s better to miss and forget than to take it apart again later.
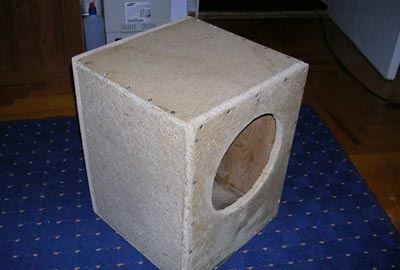
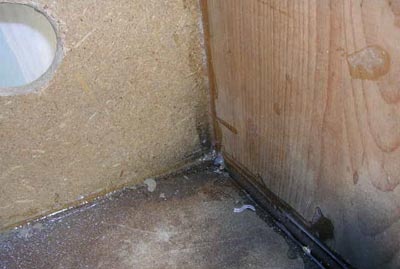
Next I started puttingty. I used two-component automotive putty (you can make putty yourself by mixing small sawdust and PVA glue, as an option). Once the putty was dry, I sanded the body until it was almost perfectly flat.
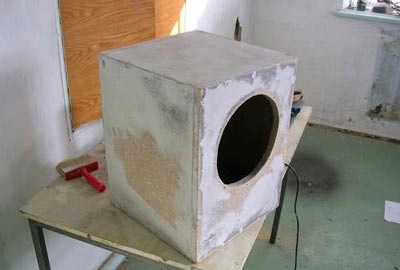
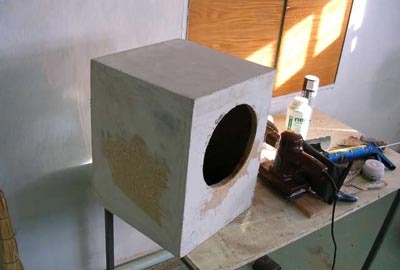
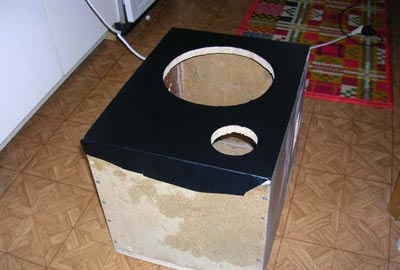
Then I cut out holes for the bass reflex, socket, and pocket handles.
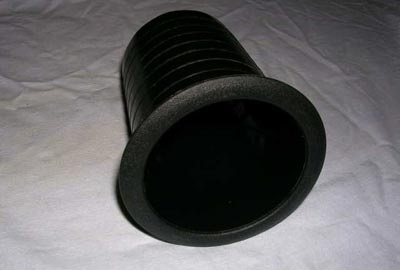
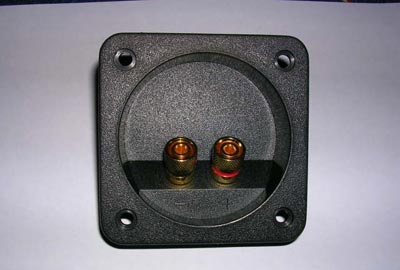
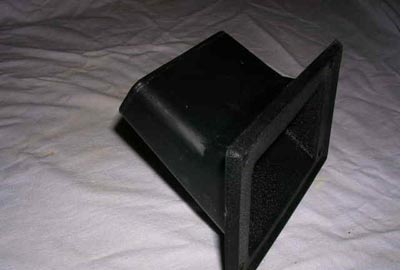
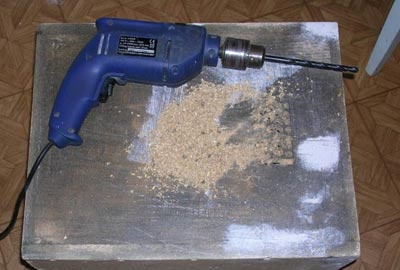
Let's assemble the subwoofer to see how it sounds.
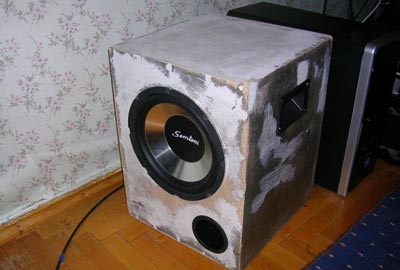
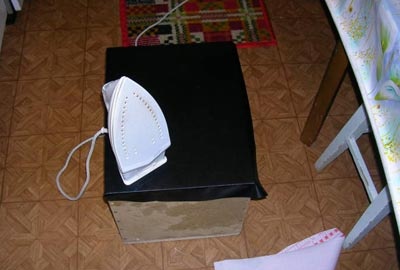
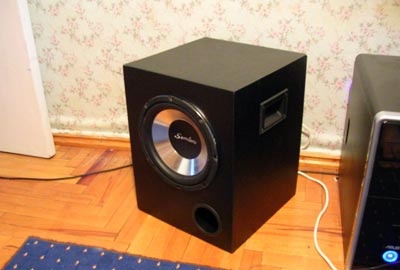
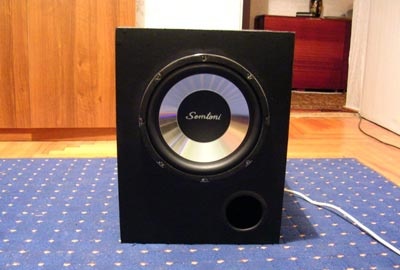
All my doubts about the correct calculation of the volume of the box were instantly dispelled - the homemade subwoofer played soft, even bass. Having made sure that nothing was whistling anywhere, I removed the “accessories” and began to cover the case with self-adhesive paper with a leather texture. Collected.
Subwoofer manufacturing costs:
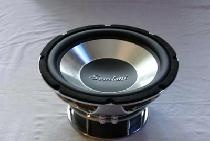
Semtoni woofer 10”(25 cm) 350w(rms, max) – 1100 rubles.
Chipboard 20mm. – free, found in the attic
PVA glue – free, already in stock
Self-tapping screws 50mm. 100 pieces. – 26 rubles
Silicone sealant, transparent – 59 rubles
Sealant gun – 40 rubles
Socket with terminals – 65 rubles
Speaker wire 1m. – 60 rubles
Bass reflex 75x100mm. – 40 rubles
Handles “Pockets” 2 pcs. - 100 rubles
Total about 1800 rubles.


