Anyone can make this drill lathe in 10 minutes
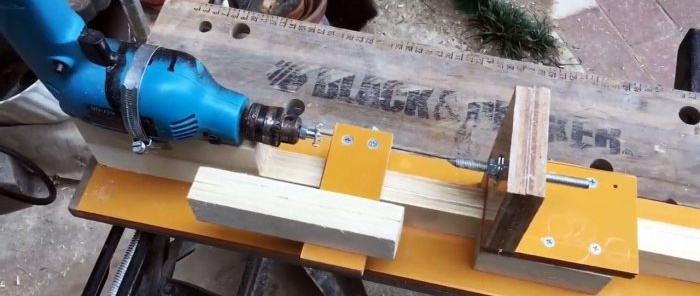
If you suddenly need to quickly make a handle for a tool, then this master class is for you. I love working with wood, but not everything can be done with hand tools. I assessed my capabilities and decided to make a simple lathe from the materials available to me. I immediately refused foot-powered models and decided to use my existing electric drill for these purposes. We present to your attention a description of the machine construction process.
The frame, as well as the rest of the working parts of the equipment, will be made of wood. To make a lathe we will need the following materials:
To carry out work on the construction of the machine, you will need the following tools:
In addition, you need a simple measuring tool: a tape measure, a square, a pencil and a marker.
Machine tool building is best done on a workbench or desktop. The manufacturing process of the machine was as follows:
We mark the frame and saw off two pieces of equal length from the plywood and blocks.
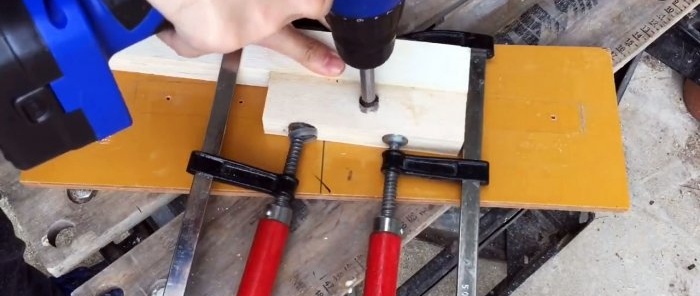
We measure the length of the drill and cut off the base for it from the remaining part of the block and glue it to a long strip along the edge. Until the glue dries completely, we tighten it with a clamp. We make markings using a drill and use a core drill to make a hole.
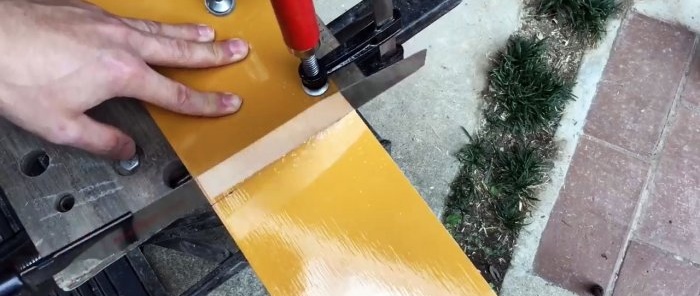
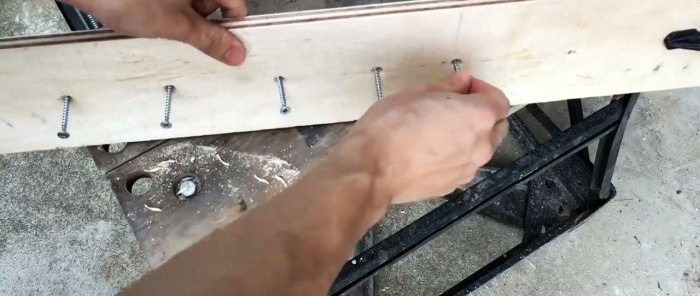
We mark the base of the bed, place the rail exactly in the middle, drill holes and drill out the screw heads. We install the rail, tighten it to the base with a clamp and drill it into the screws. We connect the parts with screws using a screwdriver.
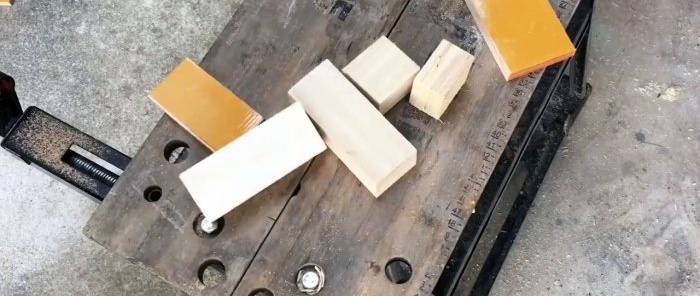
From the remaining parts of the plywood and the slats, we saw off small sections to make the base of the tool rest and the tailstock.
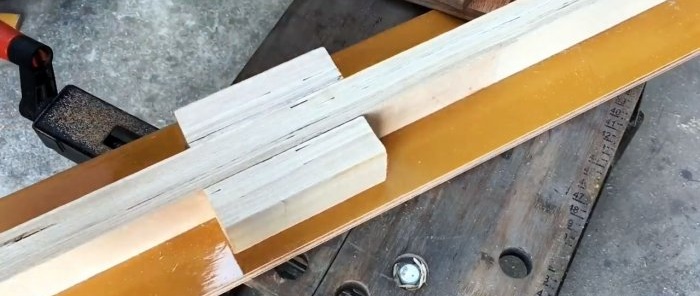
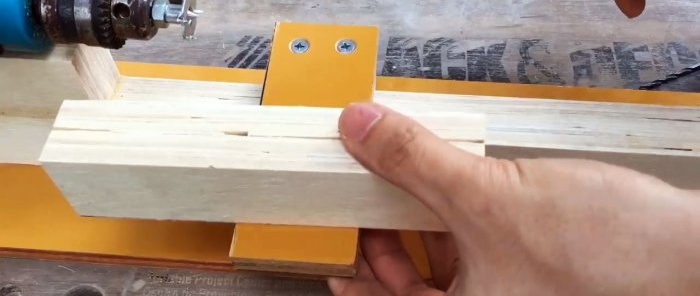
We place the bars on both sides of the central rail, lay a plate on them and install another one vertically.
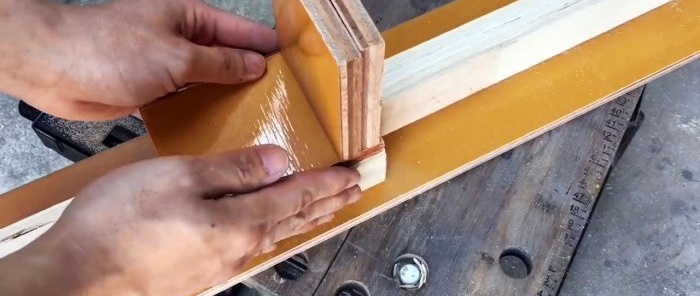
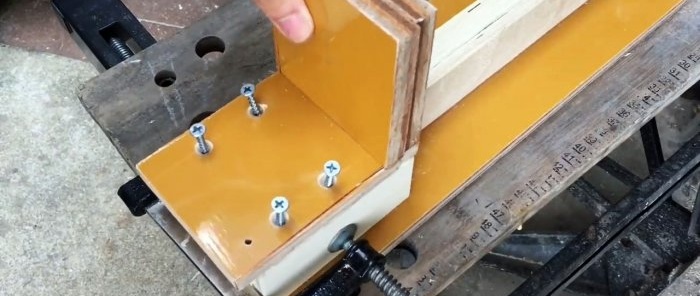
We fasten the vertical part with self-tapping screws, having previously tightened the knot with a clamp.
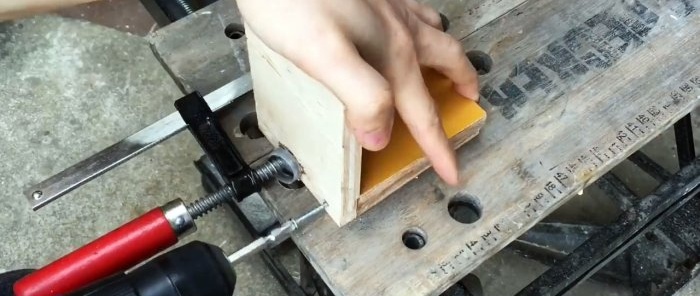
We attach the resulting corner to two support rails.
Using a clamp, install the drill on the base.
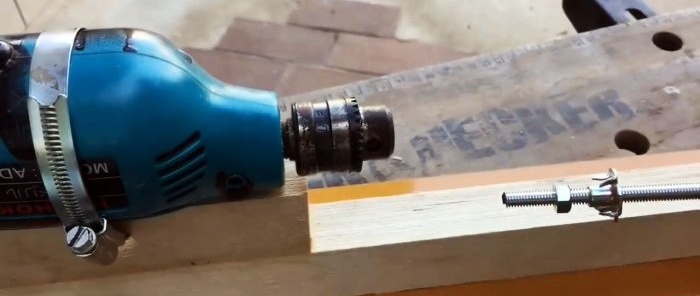
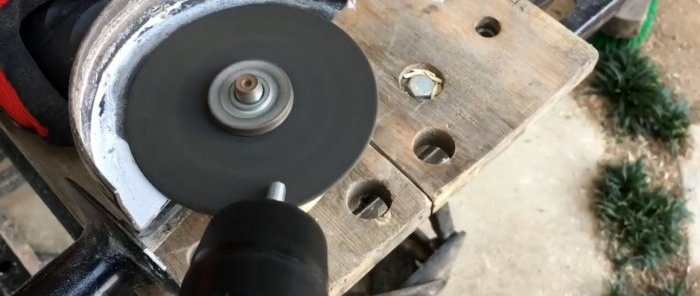
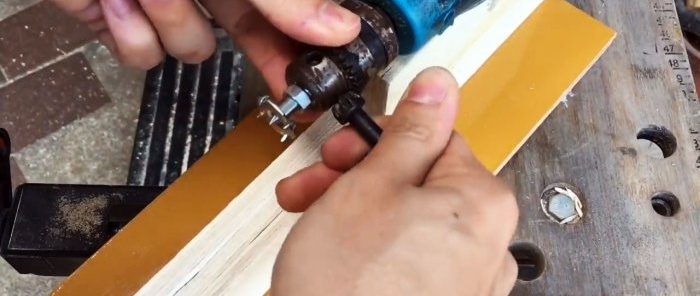
We assemble a caliper from a stud, nut and threaded bushing and install it in the spindle, cut it to the required length and sharpen it on a cutting wheel.
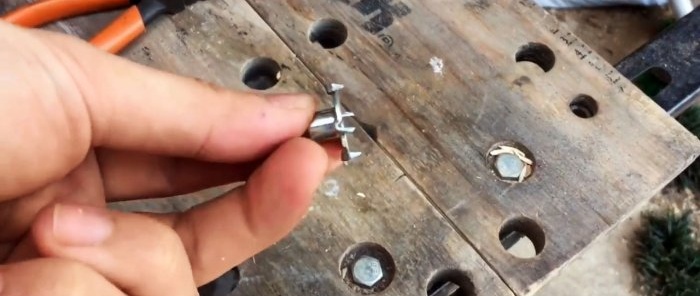
Using pliers, we bend the spikes on the bushing in the opposite direction and reassemble the spindle.
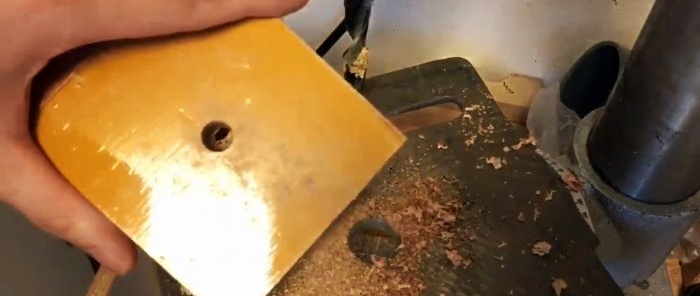
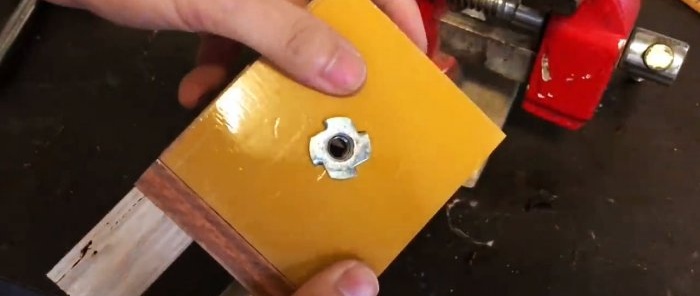
We clamp the resulting stop in the drill chuck and mark the hole for the second stop in the tailstock. We drill a hole on a machine to avoid distortion, and install a threaded bushing into it.
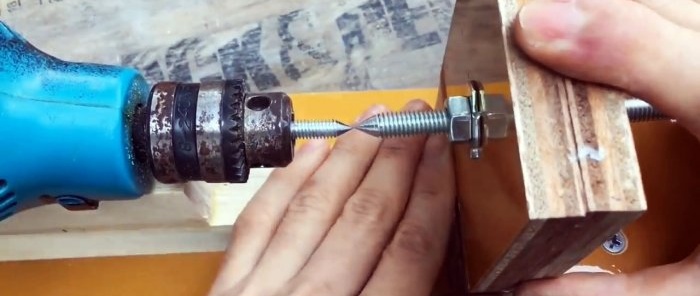
In the tailstock we install a stop made from a piece of a stud and secure it with nuts. We perform alignment.
We assemble a tool rest from two slats and a piece of plywood.
We make markings, drill holes in the tailstock and the tool rest to install bushings for the fixing bolts.
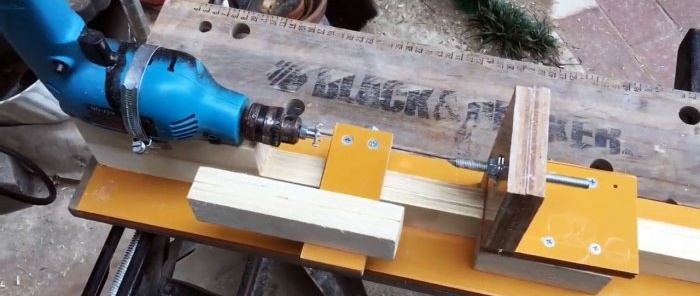
We assemble the machine.
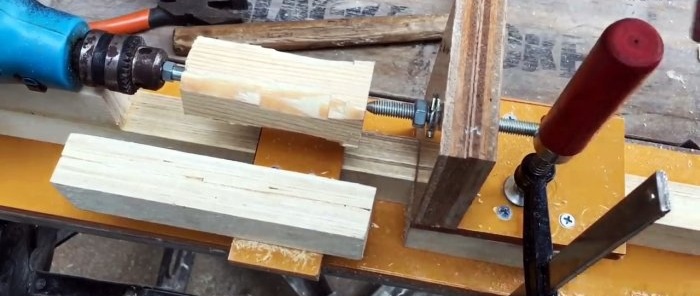
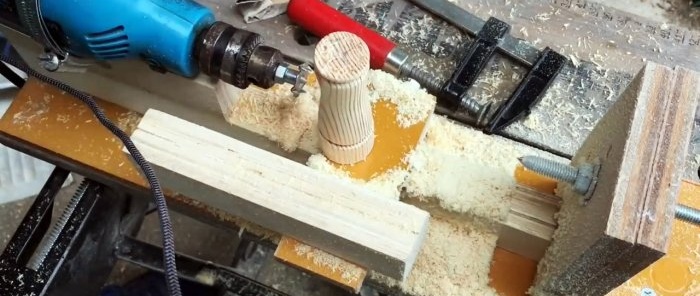
The lathe is ready and you can try it out, for example, turning a handle for a file. We select a suitable workpiece and install it, securely clamping it between the spindle and the tailstock stop.
The latter is additionally secured with a clamp.
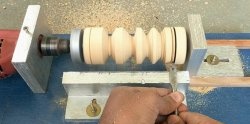
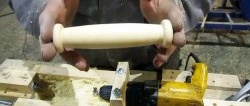
We grind the workpiece and get a pretty decent handle for a file.
Tools and materials
The frame, as well as the rest of the working parts of the equipment, will be made of wood. To make a lathe we will need the following materials:
- Birch plywood with a thickness of at least 12 mm.
- Rail 30×40 mm.
- A stud with a diameter of 6 mm and nuts for it.
- Thrust bushings with internal thread 6 mm.
To carry out work on the construction of the machine, you will need the following tools:
- A screwdriver with a set of drills, bits for self-tapping screws and reamers for drilling holes for screws.
- Hacksaw or jigsaw.
- Angle grinder.
- Pliers.
- Chisel.
- Bench clamps and vices.
In addition, you need a simple measuring tool: a tape measure, a square, a pencil and a marker.
Making a lathe: sequence of actions
Machine tool building is best done on a workbench or desktop. The manufacturing process of the machine was as follows:
We mark the frame and saw off two pieces of equal length from the plywood and blocks.
We measure the length of the drill and cut off the base for it from the remaining part of the block and glue it to a long strip along the edge. Until the glue dries completely, we tighten it with a clamp. We make markings using a drill and use a core drill to make a hole.
We mark the base of the bed, place the rail exactly in the middle, drill holes and drill out the screw heads. We install the rail, tighten it to the base with a clamp and drill it into the screws. We connect the parts with screws using a screwdriver.
From the remaining parts of the plywood and the slats, we saw off small sections to make the base of the tool rest and the tailstock.
We place the bars on both sides of the central rail, lay a plate on them and install another one vertically.
We fasten the vertical part with self-tapping screws, having previously tightened the knot with a clamp.
We attach the resulting corner to two support rails.
Using a clamp, install the drill on the base.
We assemble a caliper from a stud, nut and threaded bushing and install it in the spindle, cut it to the required length and sharpen it on a cutting wheel.
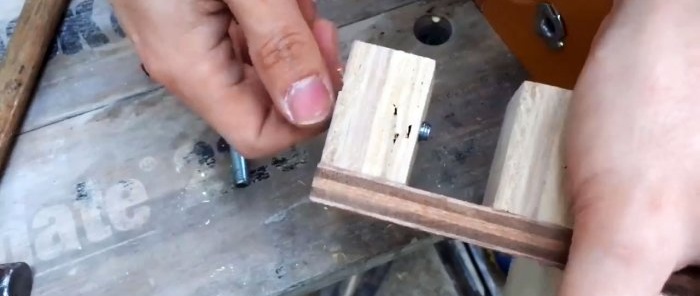
Using pliers, we bend the spikes on the bushing in the opposite direction and reassemble the spindle.
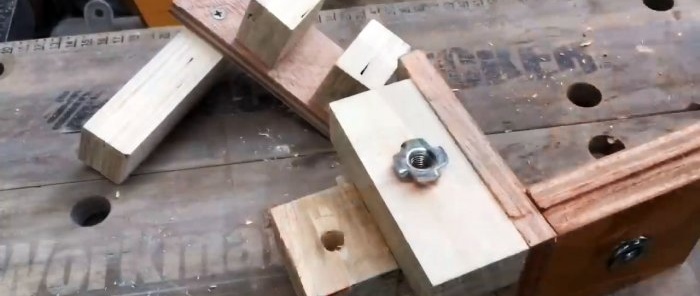
We clamp the resulting stop in the drill chuck and mark the hole for the second stop in the tailstock. We drill a hole on a machine to avoid distortion, and install a threaded bushing into it.
In the tailstock we install a stop made from a piece of a stud and secure it with nuts. We perform alignment.
We assemble a tool rest from two slats and a piece of plywood.
We make markings, drill holes in the tailstock and the tool rest to install bushings for the fixing bolts.
We assemble the machine.
The lathe is ready and you can try it out, for example, turning a handle for a file. We select a suitable workpiece and install it, securely clamping it between the spindle and the tailstock stop.
The latter is additionally secured with a clamp.
We grind the workpiece and get a pretty decent handle for a file.
Watch the video
Similar master classes
Particularly interesting
Comments (1)

