How to make a soldering iron from a pencil
Agree, there are times when you need to use a soldering iron, but you don’t have one at hand. It doesn’t matter for what: for desoldering radio components or wires, the need can be anything. To get out of this situation, you can make a soldering iron yourself from a simple pencil in about 15-20 minutes, and do the necessary work with it. Moreover, this copy runs on 12 V and can easily be powered not only from the power supply, but also from the battery.
Making a soldering iron from a pencil with your own hands
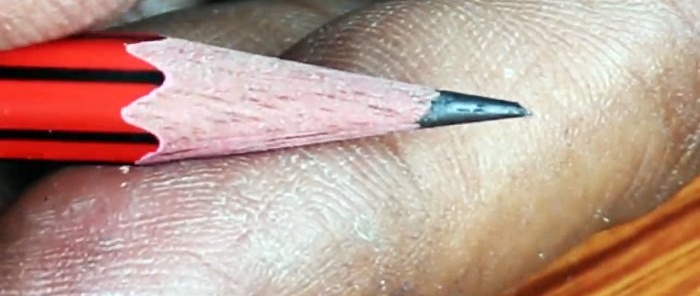
Take a simple graphite pencil. To make it easier for them to work, you can saw off part of it with a file. Next, we sharpen it with a regular sharpener.
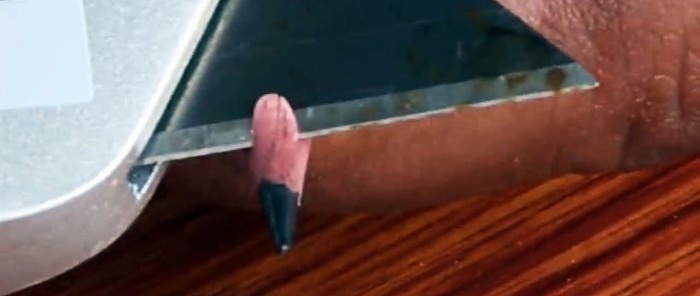
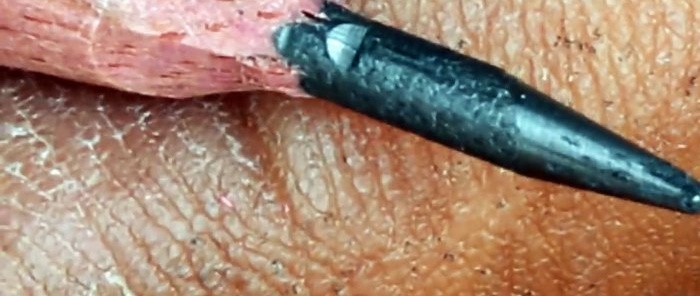
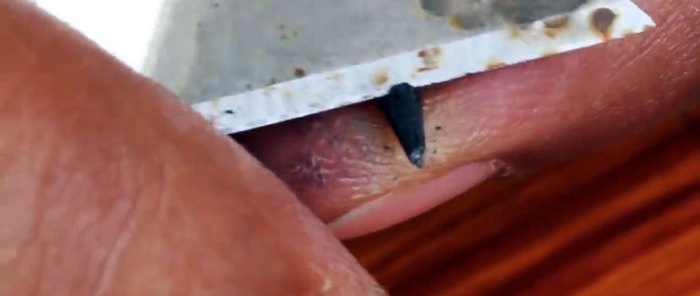
Using a utility knife, carefully expose the graphite rod by about 1 centimeter.
We make a small chamfer at the edge. It will be useful for holding the wire.
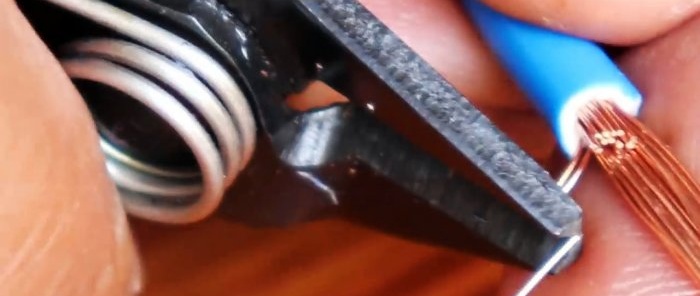
We take a stranded wire and borrow several copper strands from it.
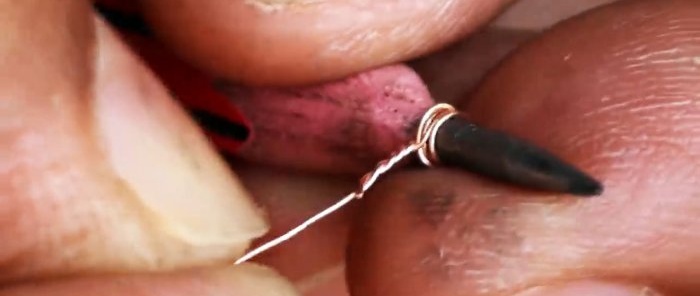
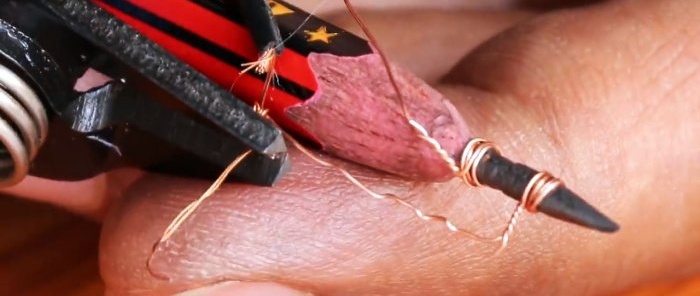
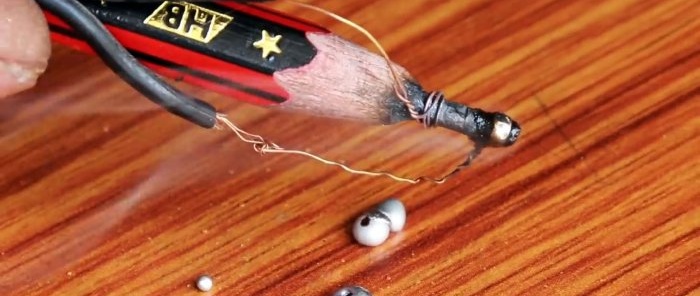
We wind one core onto the edge of a graphite rod.
Next, closer to the edge, we make another notch with a stationery knife.
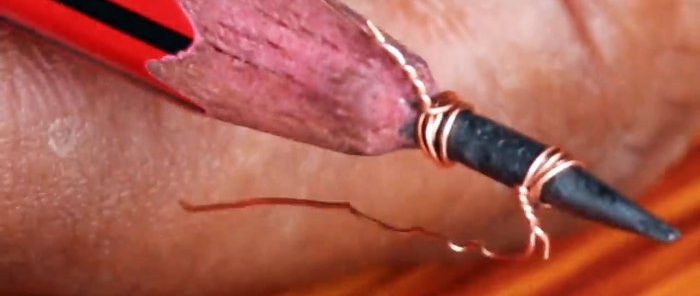
And screw on the second piece of wire.
We've got some kind of heating element.
Everyone knows perfectly well that graphite is a good conductor of electricity, and if voltage is applied to a segment of it, it will begin to heat up.
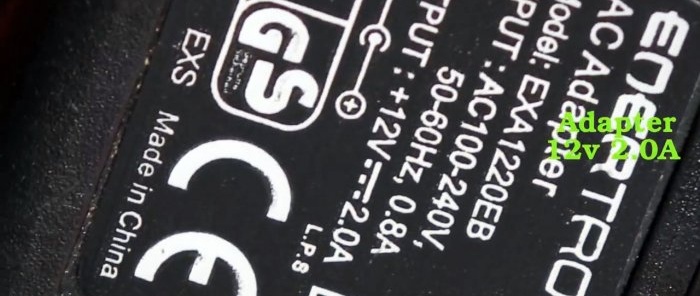
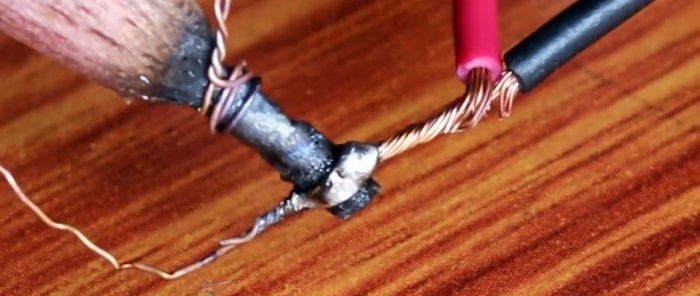
We connect the wire from the 12-Volt power supply to the terminals. Polarity doesn't matter. But the power source must be designed for a load of at least 2 A.
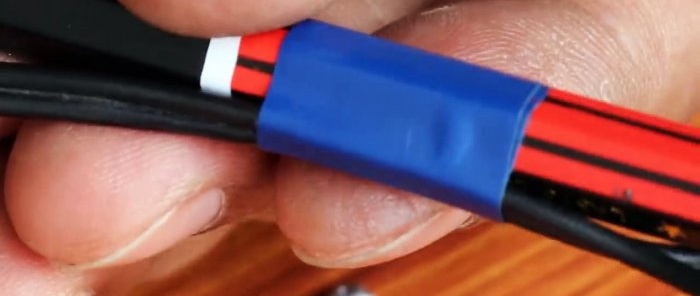
To prevent the wires from dangling, we tape it to the pencil with electrical tape. The sharp nose of the rod needs to be bitten off, since the tin still does not stick to it.
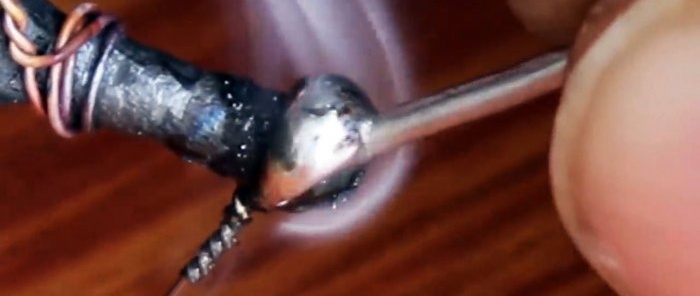
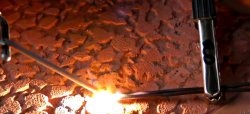
We turn on the source to the network. We try to melt the solder.
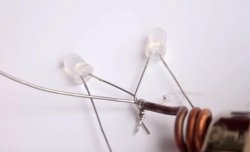
Let's try to solder the wires.
The soldering iron is working. If necessary, he will definitely help you out.
Of course, this design is not suitable for long-term work, but still the idea is extremely useful.
Watch the video
Similar master classes
Particularly interesting
Comments (0)

