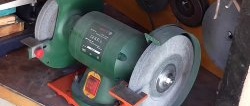
We supplement the emery with a grinder with our own hands
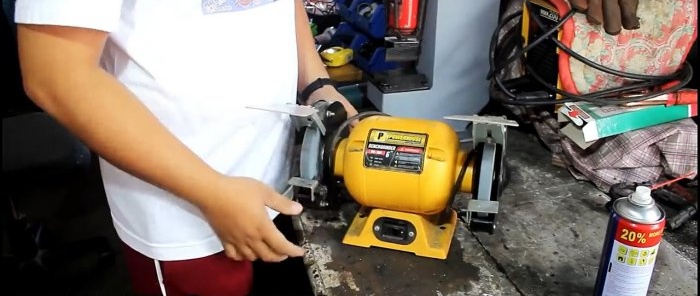
The functions of a sharpening machine and a grinder intersect somewhere. But the first mechanism in the destruction of the abrasive wheel poses a serious danger. Therefore, converting it into a belt sander is a completely reasonable step. Moreover, this does not require scarce materials and high qualifications.
For the conversion you will need the following materials and products:
The remodeling work will require: hand tools (screwdriver, wrenches, hammer, etc.), circular saw, drill press, grinder, drill, 30 and 14 mm feather drills, welding, vice, etc.
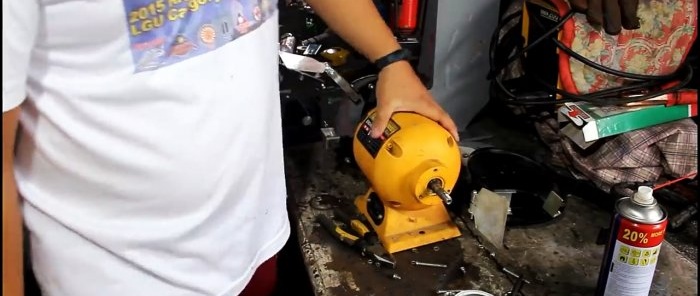
From one end of the emery rotor shaft, remove the protective casing, abrasive wheel and protective disk.
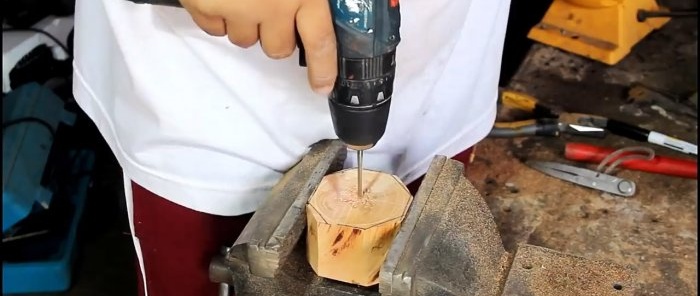
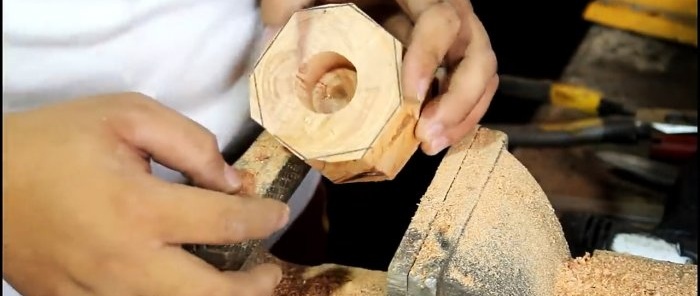
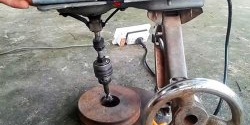
We clamp the wooden blank in a vice and use a circular saw to saw off the outer profile according to the markings. Using a twist drill and two feather drills (30 and 14 mm) we make a stepped through hole.
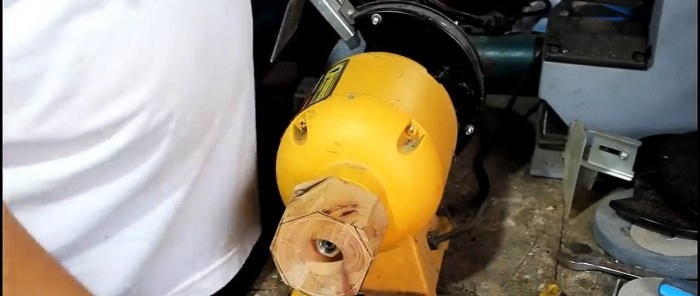
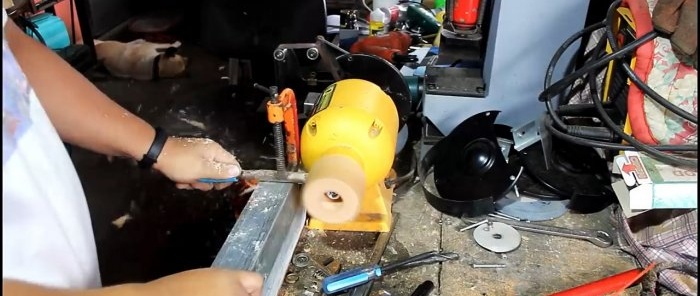
We fix the wooden workpiece on the emery drive shaft, turn on the rotation mode and grind it with a flat chisel to the desired diameter, form the ends and remove the chamfers.
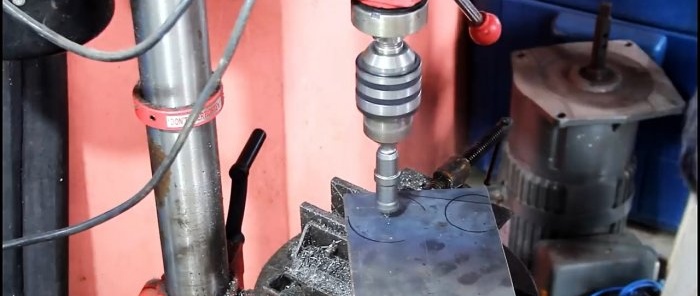
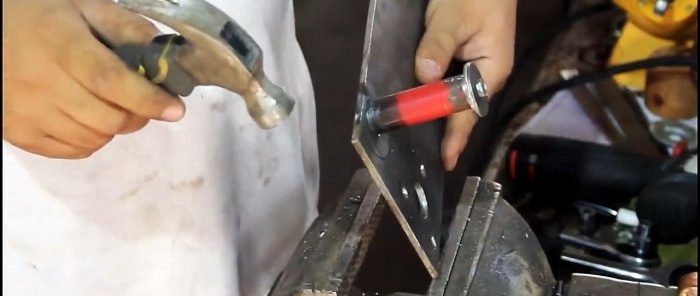
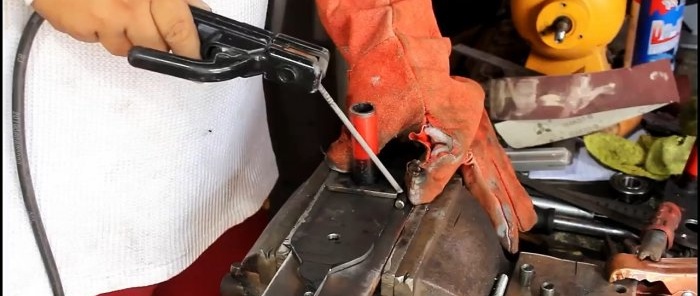
In a steel plate 4 mm thick, we make two identical holes on a drilling machine. We insert a round tube into one, align it vertically, fix it with a magnetic fastener and weld it to the plate on the back side.
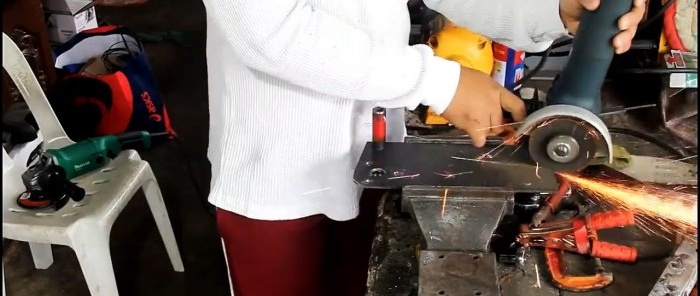
We press flush a bushing with a thread in the center into the tube on top, and use a grinder to give the plate the required shape in plan, round the corners and remove the burrs.
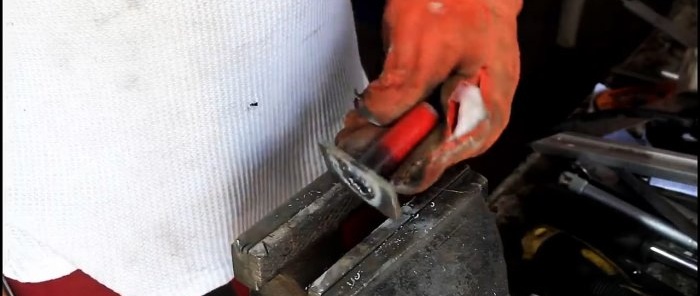
From the same plate we cut out another element of the required shape and size with two holes. We will mount the tension roller on it. To do this, using a vice, we press a small rectangular plate with a hole in the center onto the end of the second tube and connect it by welding.
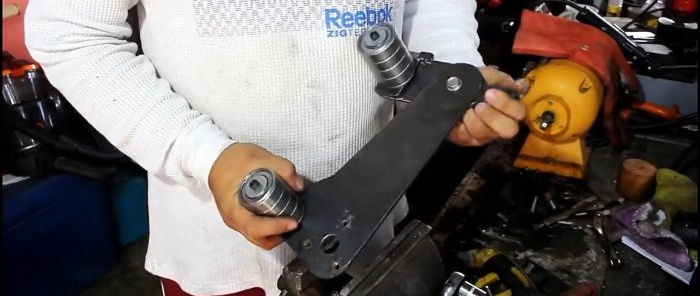
We symmetrically weld a metal rod to the narrow side of the rectangular plate with a tube. We put two identical bushings on its ends, which we weld to the second plate.
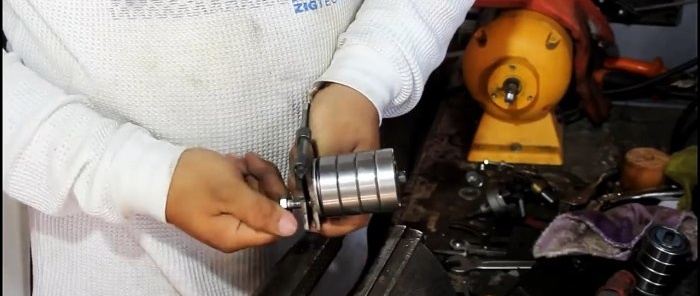
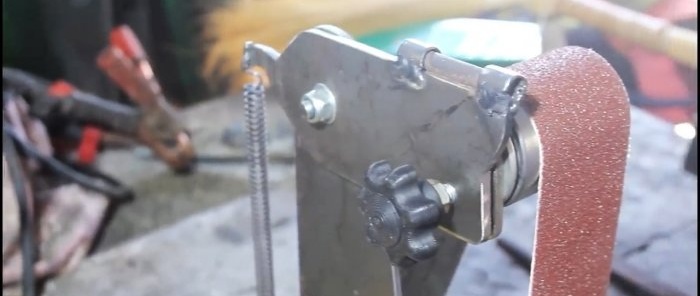
We put a large and small washer on both tubes in succession, then four 6204 bearings and secure them at the end with a bolt and washer. We connect these two parts together with a bolt and nut. We put a tension spring on the grooves of the plate protrusions.
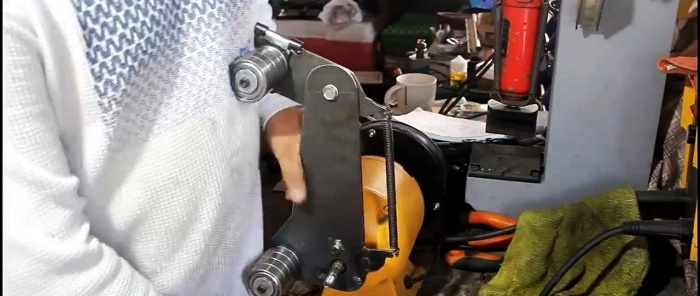
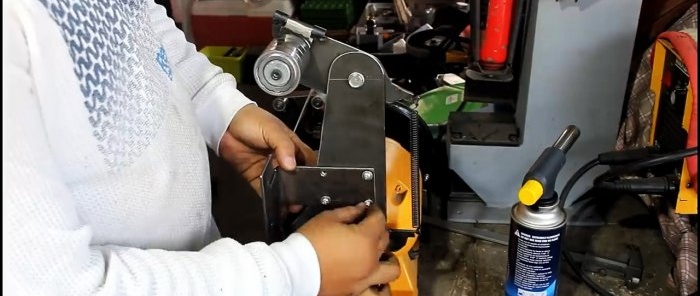
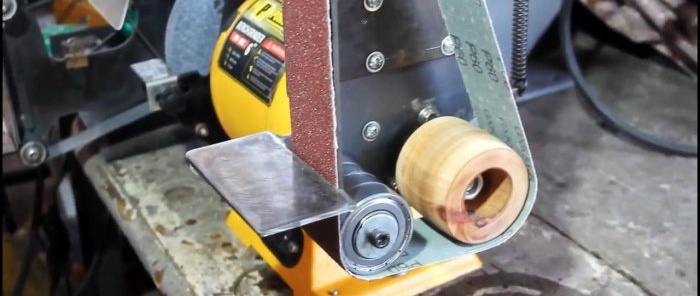
We secure the resulting assembly to the emery drive housing with three bolts. We put a washer and a wooden roller on the end of the drive shaft and secure it with a nut with a left-hand thread.
Place a ring-shaped sanding belt over the rollers, pressing the tension roller with your hand. Rotating the tape, use the adjusting screw to center it. We turn on the drive and make sure that the tape does not slip off the rollers.
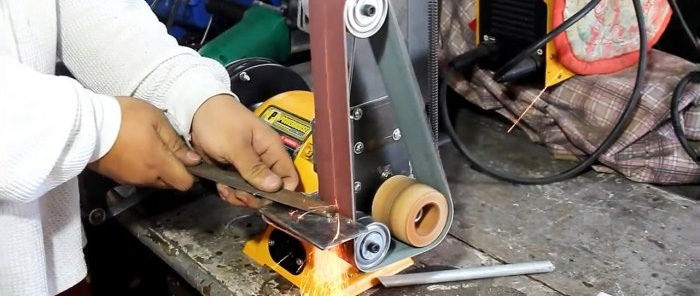
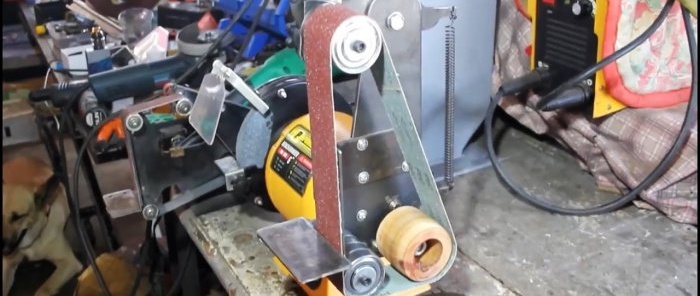
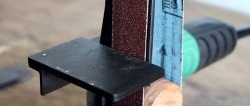
After installing the pressure plate and work table, the grinder is ready for use.It can process workpieces made of wood, plastic, metals, including tool steel, and sharpen cutting tools.
We remind you that when working on a grinder, you must wear safety glasses and, if possible, use a dust extractor.
Will need
For the conversion you will need the following materials and products:
- grinding machine drive;
- a piece of dense wood;
- sanding tape;
- steel plate 4 mm thick;
- two pieces of steel pipe;
- metal rod and two bushings;
- bolts, nuts, washers;
- tube inserts;
- bearings 6204 – 8 pcs.;
- extension spring.
The remodeling work will require: hand tools (screwdriver, wrenches, hammer, etc.), circular saw, drill press, grinder, drill, 30 and 14 mm feather drills, welding, vice, etc.
Rework process
From one end of the emery rotor shaft, remove the protective casing, abrasive wheel and protective disk.
We clamp the wooden blank in a vice and use a circular saw to saw off the outer profile according to the markings. Using a twist drill and two feather drills (30 and 14 mm) we make a stepped through hole.
We fix the wooden workpiece on the emery drive shaft, turn on the rotation mode and grind it with a flat chisel to the desired diameter, form the ends and remove the chamfers.
In a steel plate 4 mm thick, we make two identical holes on a drilling machine. We insert a round tube into one, align it vertically, fix it with a magnetic fastener and weld it to the plate on the back side.
We press flush a bushing with a thread in the center into the tube on top, and use a grinder to give the plate the required shape in plan, round the corners and remove the burrs.
From the same plate we cut out another element of the required shape and size with two holes. We will mount the tension roller on it. To do this, using a vice, we press a small rectangular plate with a hole in the center onto the end of the second tube and connect it by welding.
We symmetrically weld a metal rod to the narrow side of the rectangular plate with a tube. We put two identical bushings on its ends, which we weld to the second plate.
We put a large and small washer on both tubes in succession, then four 6204 bearings and secure them at the end with a bolt and washer. We connect these two parts together with a bolt and nut. We put a tension spring on the grooves of the plate protrusions.
We secure the resulting assembly to the emery drive housing with three bolts. We put a washer and a wooden roller on the end of the drive shaft and secure it with a nut with a left-hand thread.
Place a ring-shaped sanding belt over the rollers, pressing the tension roller with your hand. Rotating the tape, use the adjusting screw to center it. We turn on the drive and make sure that the tape does not slip off the rollers.
After installing the pressure plate and work table, the grinder is ready for use.It can process workpieces made of wood, plastic, metals, including tool steel, and sharpen cutting tools.
We remind you that when working on a grinder, you must wear safety glasses and, if possible, use a dust extractor.
Watch the video
Similar master classes
Particularly interesting
Comments (0)

