A simple way to lengthen a clamp
A C-shaped clamp is a popular clamping tool designed for fixing parts during construction, repair and carpentry work. The design is based on a curved steel or cast iron frame. The parts are secured using a screw clamp.
The only drawback of C-shaped clamps is their small working range, which limits the functionality of the tool.
Now we will look at an easy-to-implement method that will increase the maximum working width.
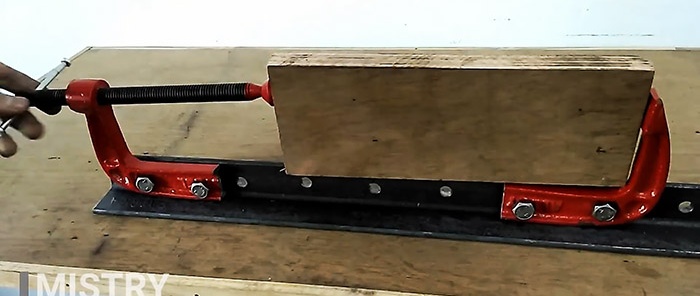
To improve the design of the clamp you will need the following tools and materials:
To ensure structural rigidity, we recommend using a corner with a wall thickness of at least 3 mm. The size of the bolts and nuts does not play a special role.
First we prepare the corner. First of all, we clean the edges of the cutting area with a grinder to remove burrs.
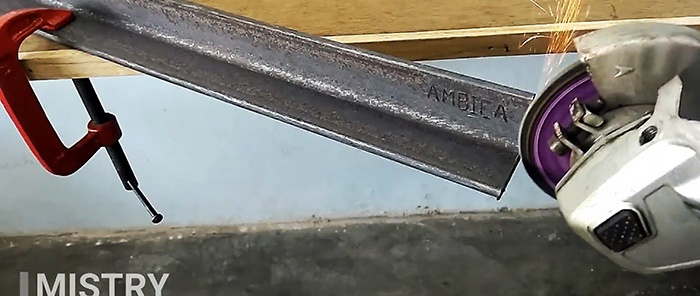
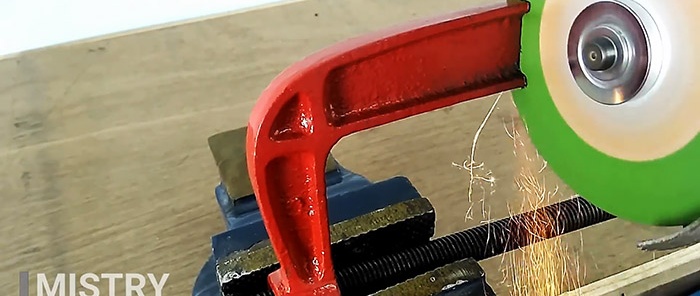
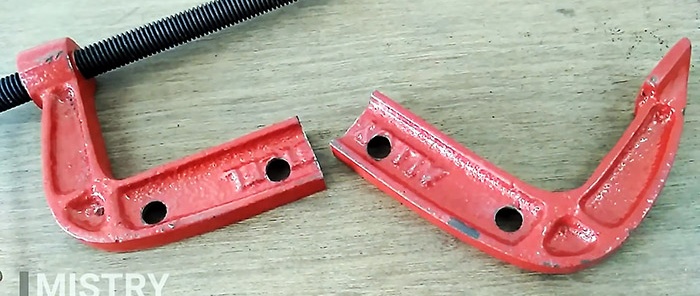
We cut the clamp frame into two equal parts.
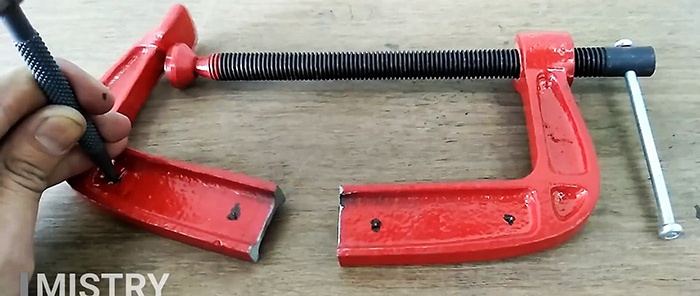
Using a marker, we mark the locations of the holes, followed by punching.
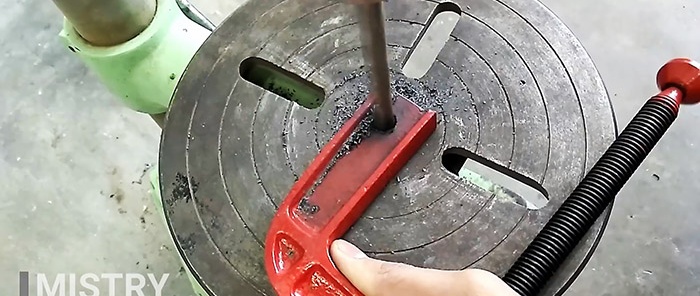
We make holes on a drilling machine.
After the completed operations, the clamp should have the following appearance.
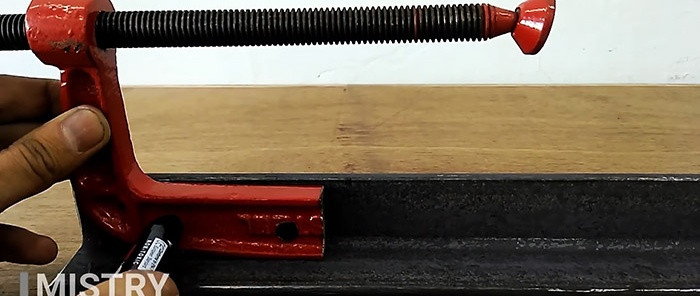
We mark the corner taking into account the location of the holes on the clamp.
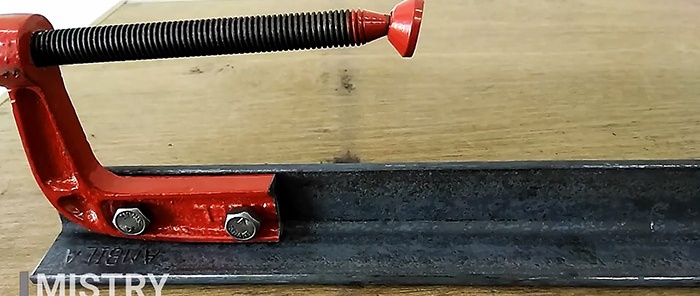
We fasten the clamp to the corner using a bolted connection.
We mark and core the remaining part of the corner. In this case, we take into account the location of the holes on the second part of the clamp.
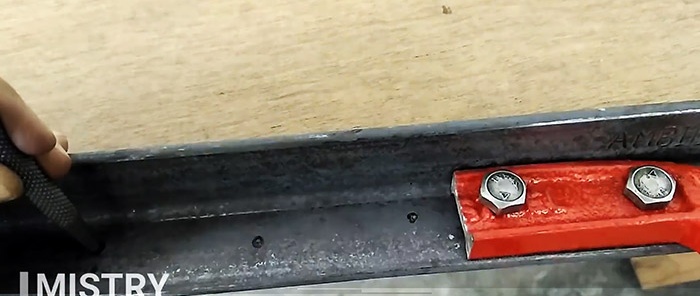
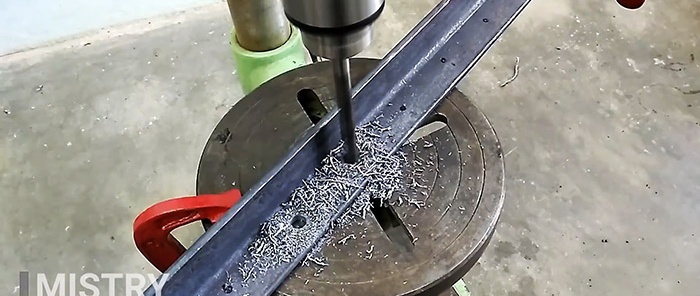
Drill holes in the corner.
We attach the second part of the clamp to the corner.
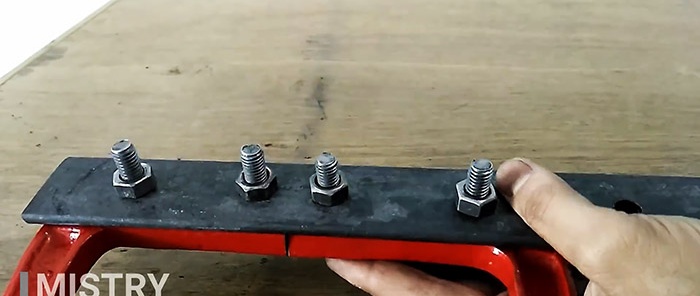
The clamp with an increased grip is ready. With its help, you can fix large parts by adjusting the width of the clamp by moving the clamp half.

As we have seen, it does not take much time to make a homemade product. Instead of a drilling machine, you can use a regular drill. In this case, you will have to take care of securely fixing the corner during the drilling process.
The only drawback of C-shaped clamps is their small working range, which limits the functionality of the tool.
Now we will look at an easy-to-implement method that will increase the maximum working width.

Materials used
To improve the design of the clamp you will need the following tools and materials:
- C-shaped clamp;
- Steel equal angle angle – 1 meter;
- Bolt and nut – 4 pieces;
- Drilling machine;
- Grinder with cutting and cleaning wheel;
- Kern;
- Marker.
To ensure structural rigidity, we recommend using a corner with a wall thickness of at least 3 mm. The size of the bolts and nuts does not play a special role.
Work order
First we prepare the corner. First of all, we clean the edges of the cutting area with a grinder to remove burrs.

We cut the clamp frame into two equal parts.

Using a marker, we mark the locations of the holes, followed by punching.

We make holes on a drilling machine.

After the completed operations, the clamp should have the following appearance.

We mark the corner taking into account the location of the holes on the clamp.

We fasten the clamp to the corner using a bolted connection.

We mark and core the remaining part of the corner. In this case, we take into account the location of the holes on the second part of the clamp.

Drill holes in the corner.

We attach the second part of the clamp to the corner.

The clamp with an increased grip is ready. With its help, you can fix large parts by adjusting the width of the clamp by moving the clamp half.

Conclusion
As we have seen, it does not take much time to make a homemade product. Instead of a drilling machine, you can use a regular drill. In this case, you will have to take care of securely fixing the corner during the drilling process.
Watch the video
Similar master classes
Particularly interesting
Comments (0)


