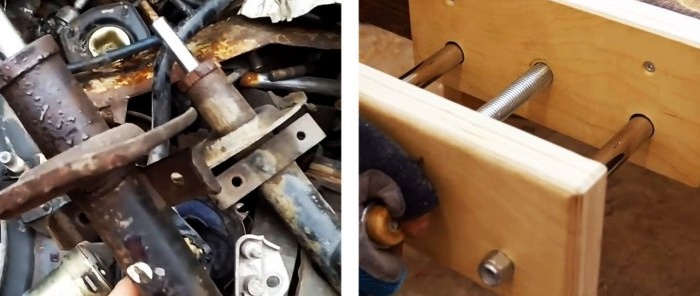
How to make a vice from old shock absorbers
All the “filling” of such a vice is “hidden” under the workbench, which contributes to convenient and safe work. They can be made from affordable and even waste materials, spending a little time and having the skills to handle metal and wood tools.
To assemble a homemade vice, we need to prepare:
To work you will need: metal brush, vice, grinder, hammer, welding, paint booth, various saws, chisel, router, drill, etc.
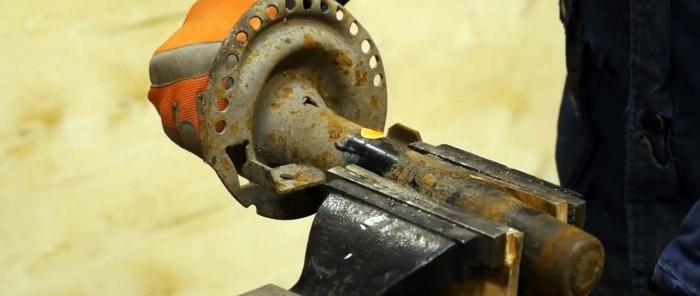
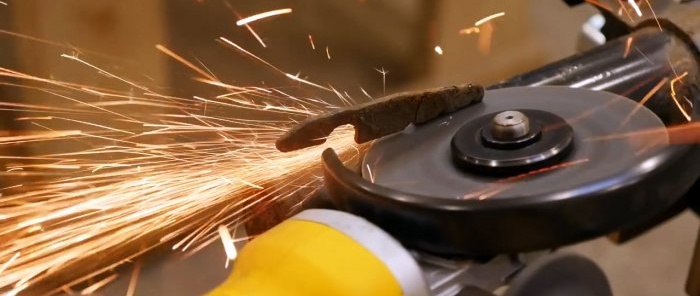
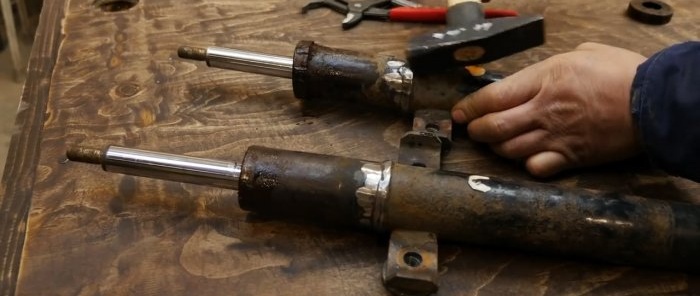
First, we clean the old shock absorbers from dirt, including with a wire brush, and remove all unnecessary parts using a vice, grinder and hammer.
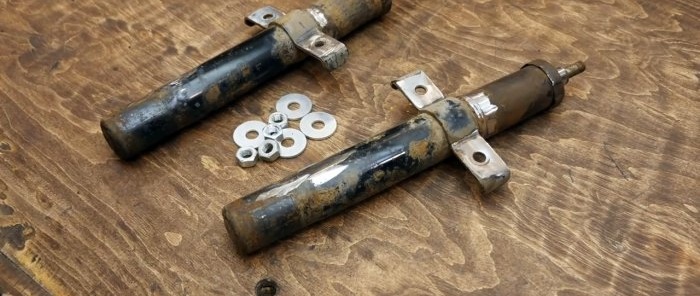
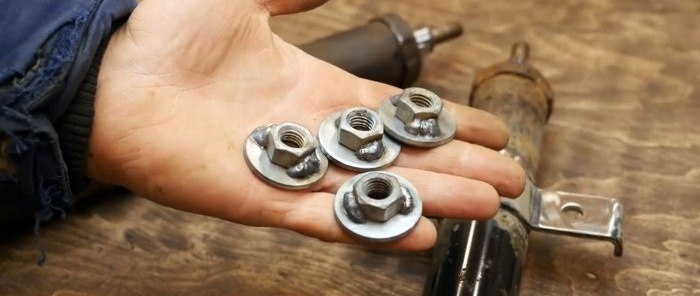
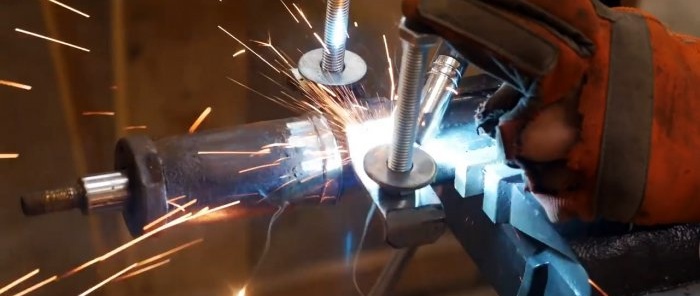
We weld wide washers to the nuts, which with screwed-in bolts are attached by welding to the standard shock absorber mounting units.
Apply WD-40 under the shock absorber caps, and after waiting for some time, remove them with hammer blows.
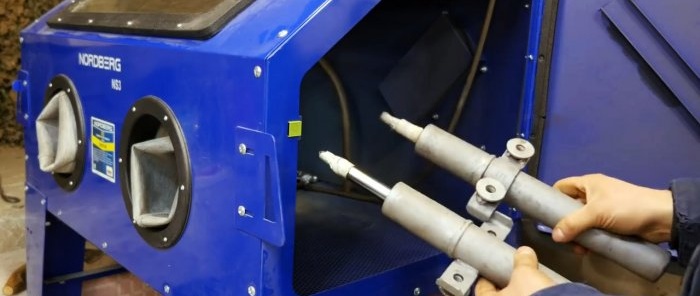
We press the rods all the way in, and wrap the remaining outside nickel-plated areas with tape. We place the shock absorbers in the spray booth for painting.
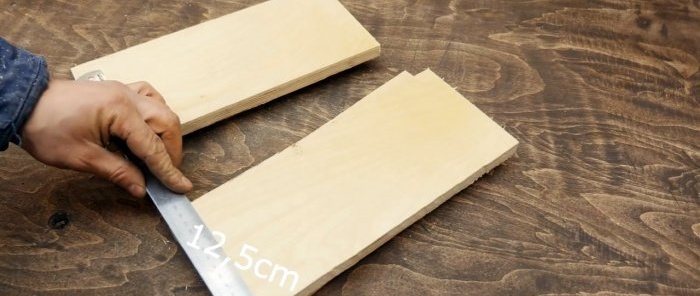
Using a circular saw, we cut a strip of the required width from a sheet of multilayer plywood. We mark it and use a pendulum saw to cut out four blanks 12.5x30 cm.
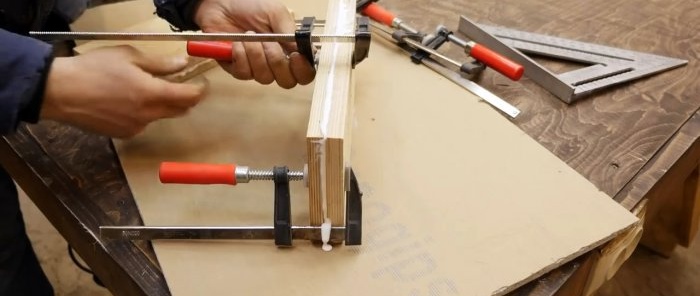
Apply Moment wood glue to the workpieces and glue them in pairs, squeezing them with clamps.
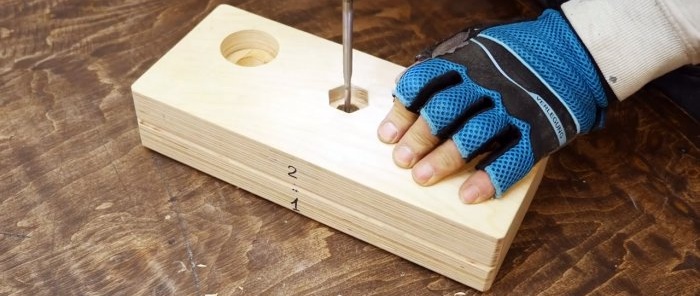
After the glue has hardened, remove the clamps and process the workpieces with a polishing head. Then we number them and use a router to make chamfers along the perimeter.
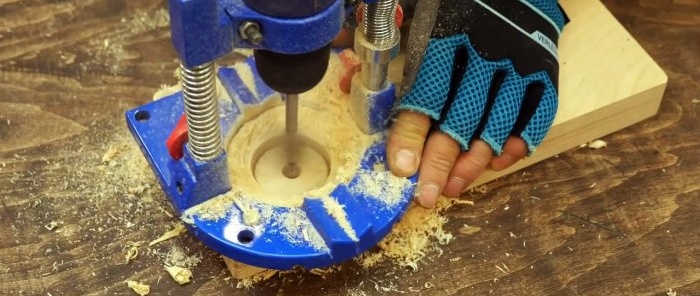
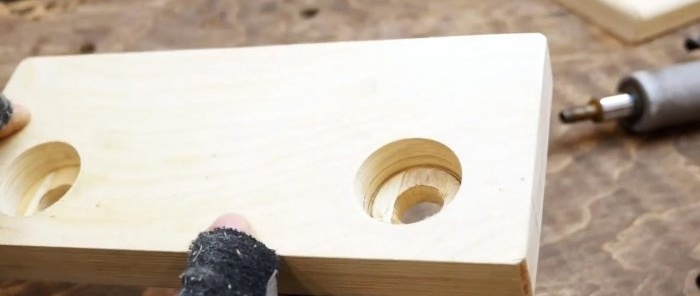
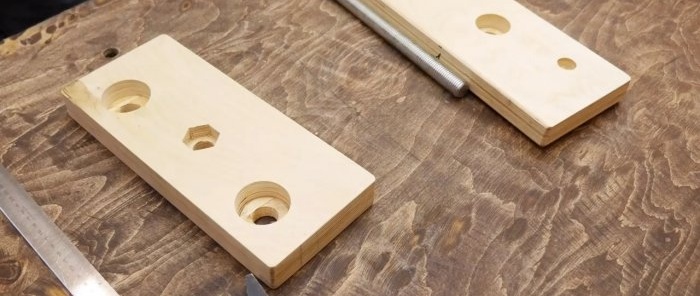
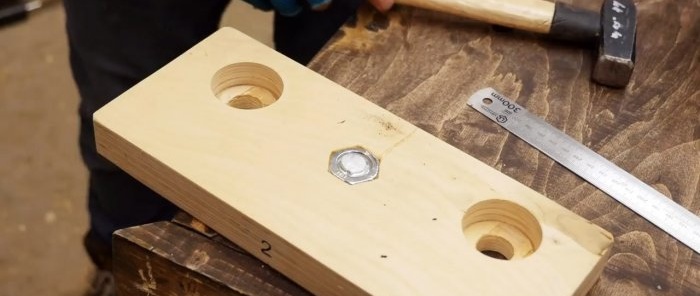
On workpiece No. 2, use a milling cutter to drill two stepped holes according to the markings. Between them we make another one under the hex nut.
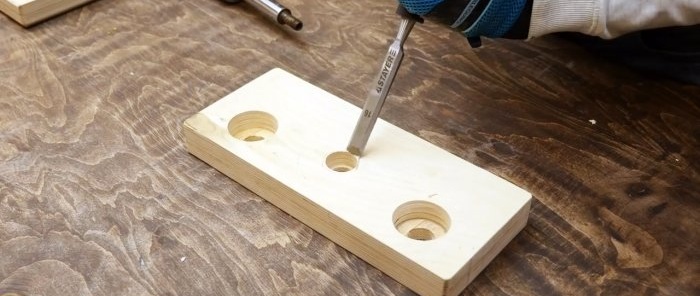
Using a chisel to the height of the nut, we transform the round hole into a hexagonal one.
We place workpiece No. 2 on the first one and drill three similar holes in it. Screw a nut onto the threaded rod and place it in the hexagonal socket of workpiece No. 2.
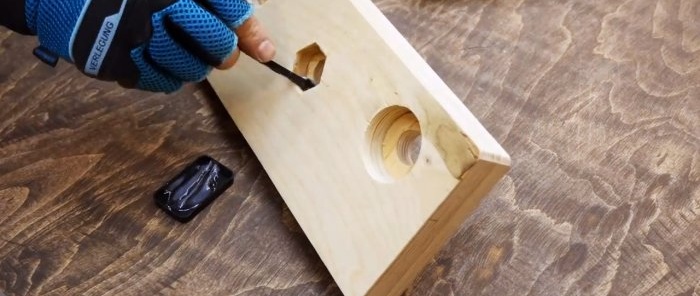
We cover the hexagonal socket with Moment glue on an epoxy base and insert a nut with a screwed-in rod there, hammer it with a wooden block, and let the glue harden.
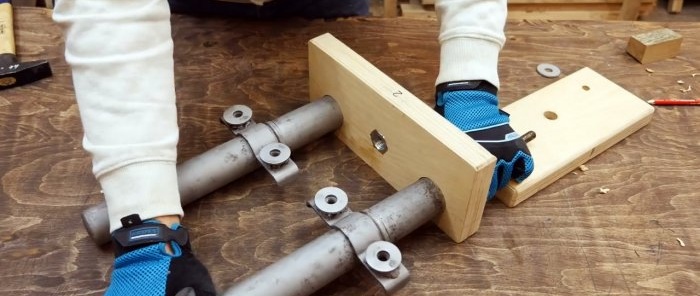
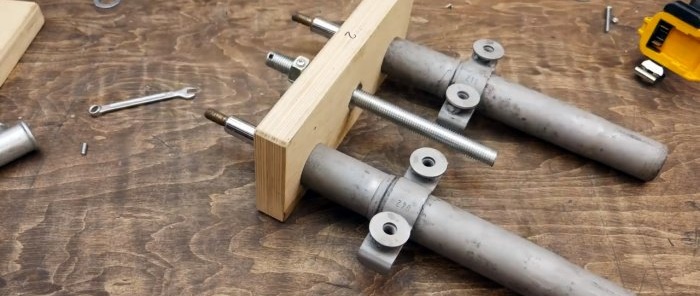
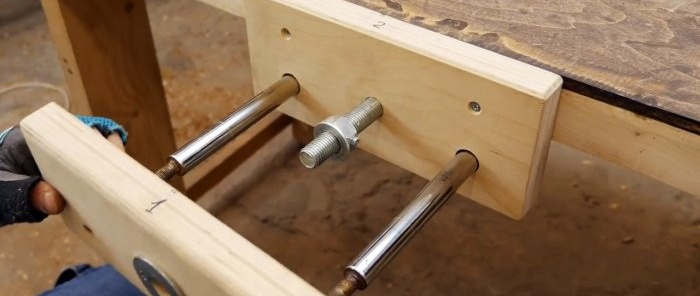
We insert the shock absorbers into the stepped holes of workpiece No. 2, and take the rods out on the other side. We tap the area around the rods with a hammer through a wooden block so that the shock absorber bodies fit tightly into their sockets.
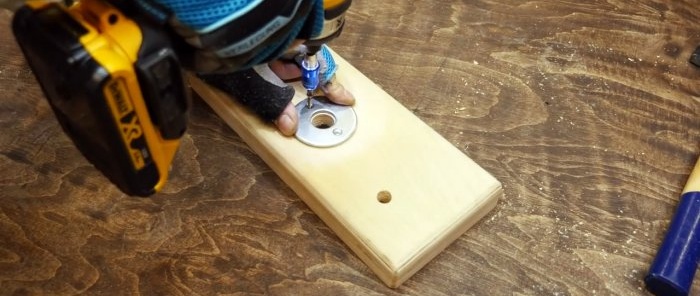
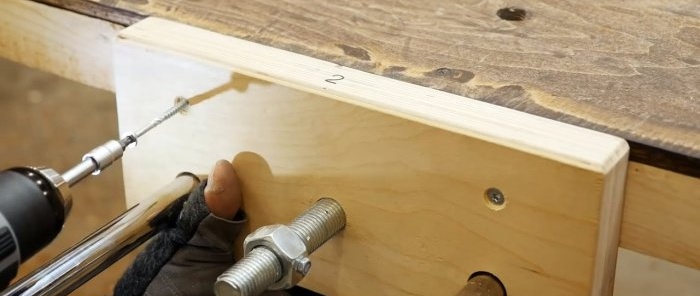
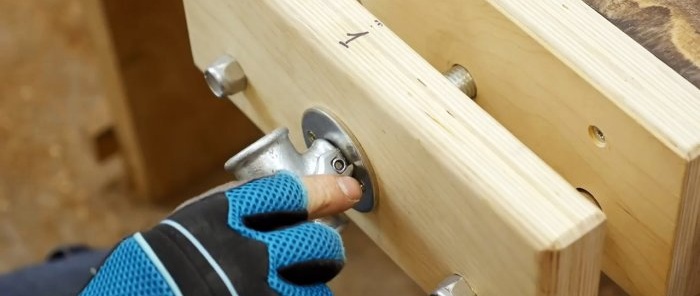
We place a wide washer on the hole in the center of workpiece No. 1 and secure it with screws through two holes. We insert a threaded rod from the outside and screw on a steel tee from the front side.
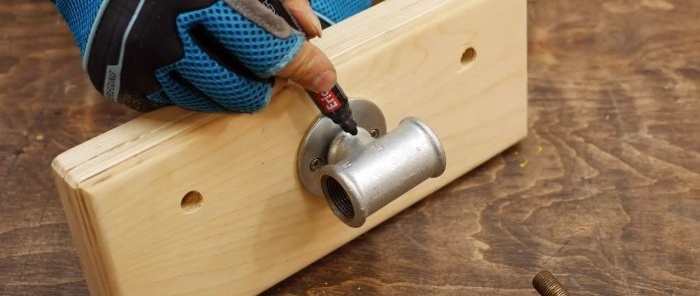
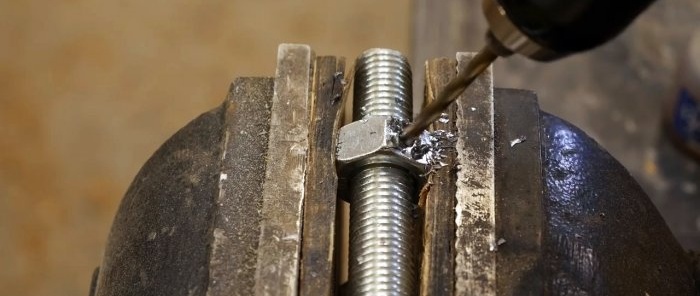
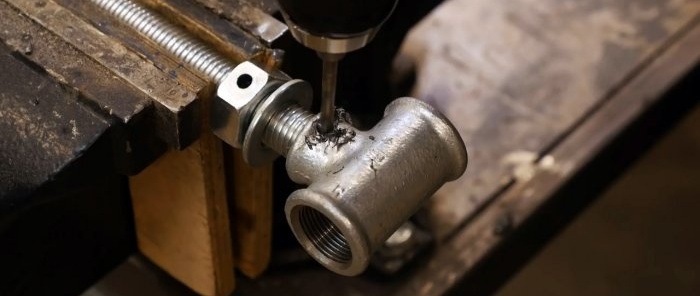
With the rod screwed into the nut and tee, drill through diametrical holes in them, insert screws and tighten the nuts. We cut off the excess rods.
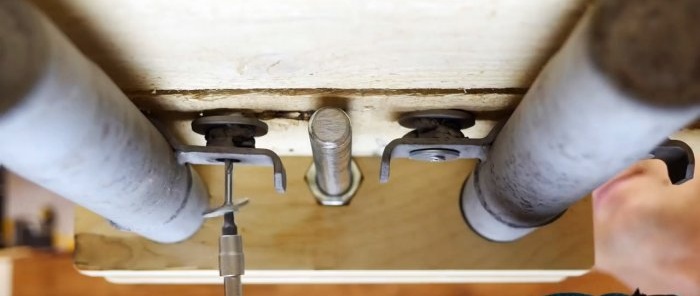
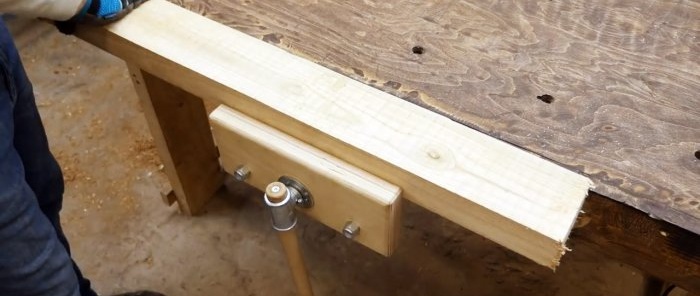
We place a fixed stop (workpiece No. 2) with shock absorbers and a rod with a nut under the workbench. We fix the stop with screws to the workbench. We attach the shock absorbers from below to the workbench table top.
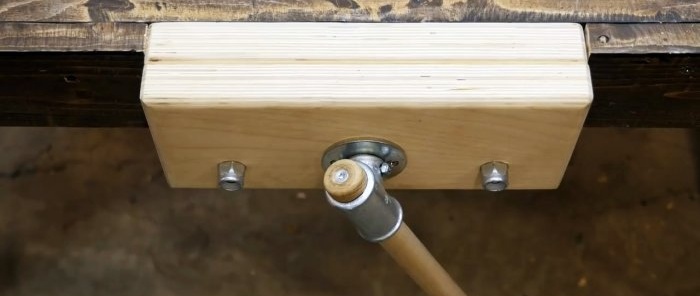
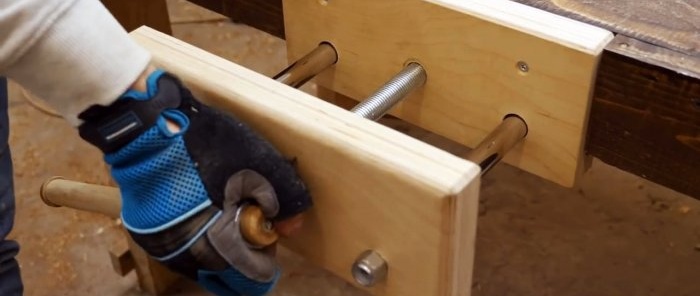
We put a washer on the rod with the nut and install a movable stop (workpiece No. 1) so that the shock absorber rods and the end of the rod pass through their holes. We screw and tighten the nuts onto the rods, holding the rods motionless. We screw a steel tee onto the end of the thread of the rod, align the holes and secure with a screw and nut.
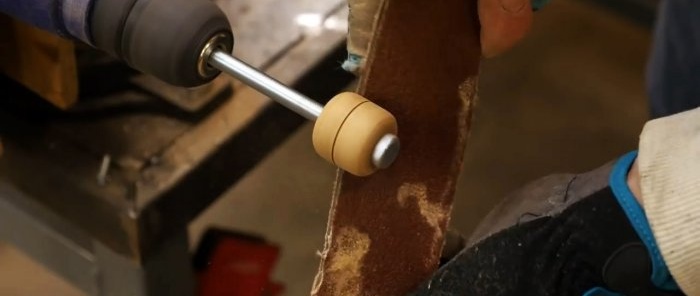
We cut two blanks from a round wooden rod, fix them on the drill spindle and process them with sandpaper until we get disks with smooth contours.
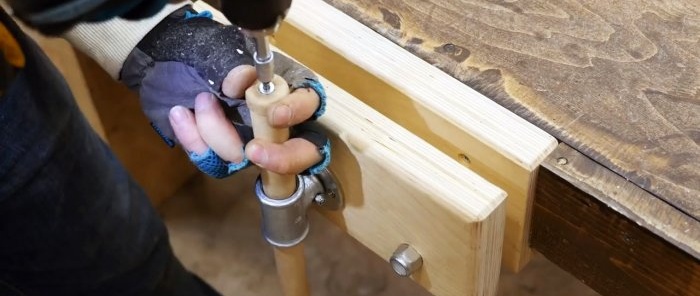
We insert a round wooden rod into the holes of the tee and secure wooden disks with a diameter slightly larger than the diameter of the rod at its ends with screws.
By twisting or unscrewing the collar-rod, we bring the stops together or apart, squeezing or unclenching the workpieces being processed.
Will need
To assemble a homemade vice, we need to prepare:
- old shock absorbers;
- bolts, nuts, washers, screws and screws;
- sheet of multilayer plywood;
- two types of Moment glue;
- rod with external thread (stud);
- steel tee for pipes;
- round wooden rod.
To work you will need: metal brush, vice, grinder, hammer, welding, paint booth, various saws, chisel, router, drill, etc.
Vise manufacturing process
First, we clean the old shock absorbers from dirt, including with a wire brush, and remove all unnecessary parts using a vice, grinder and hammer.
We weld wide washers to the nuts, which with screwed-in bolts are attached by welding to the standard shock absorber mounting units.
Apply WD-40 under the shock absorber caps, and after waiting for some time, remove them with hammer blows.
We press the rods all the way in, and wrap the remaining outside nickel-plated areas with tape. We place the shock absorbers in the spray booth for painting.
Using a circular saw, we cut a strip of the required width from a sheet of multilayer plywood. We mark it and use a pendulum saw to cut out four blanks 12.5x30 cm.
Apply Moment wood glue to the workpieces and glue them in pairs, squeezing them with clamps.
After the glue has hardened, remove the clamps and process the workpieces with a polishing head. Then we number them and use a router to make chamfers along the perimeter.
On workpiece No. 2, use a milling cutter to drill two stepped holes according to the markings. Between them we make another one under the hex nut.
Using a chisel to the height of the nut, we transform the round hole into a hexagonal one.
We place workpiece No. 2 on the first one and drill three similar holes in it. Screw a nut onto the threaded rod and place it in the hexagonal socket of workpiece No. 2.
We cover the hexagonal socket with Moment glue on an epoxy base and insert a nut with a screwed-in rod there, hammer it with a wooden block, and let the glue harden.
We insert the shock absorbers into the stepped holes of workpiece No. 2, and take the rods out on the other side. We tap the area around the rods with a hammer through a wooden block so that the shock absorber bodies fit tightly into their sockets.
We place a wide washer on the hole in the center of workpiece No. 1 and secure it with screws through two holes. We insert a threaded rod from the outside and screw on a steel tee from the front side.
With the rod screwed into the nut and tee, drill through diametrical holes in them, insert screws and tighten the nuts. We cut off the excess rods.
We place a fixed stop (workpiece No. 2) with shock absorbers and a rod with a nut under the workbench. We fix the stop with screws to the workbench. We attach the shock absorbers from below to the workbench table top.
We put a washer on the rod with the nut and install a movable stop (workpiece No. 1) so that the shock absorber rods and the end of the rod pass through their holes. We screw and tighten the nuts onto the rods, holding the rods motionless. We screw a steel tee onto the end of the thread of the rod, align the holes and secure with a screw and nut.
We cut two blanks from a round wooden rod, fix them on the drill spindle and process them with sandpaper until we get disks with smooth contours.
We insert a round wooden rod into the holes of the tee and secure wooden disks with a diameter slightly larger than the diameter of the rod at its ends with screws.
By twisting or unscrewing the collar-rod, we bring the stops together or apart, squeezing or unclenching the workpieces being processed.
Watch the video
Similar master classes
How to make a cutting machine from an angle grinder and old shock absorbers
How to make a hammer from hot glue
How to make a powerful vice from a diamond screw jack
How to make a simple carpenter's vice for a workbench
Powerful cutter from a washing machine engine
How to make a reliable vice from leftover metal
Particularly interesting
Comments (2)

