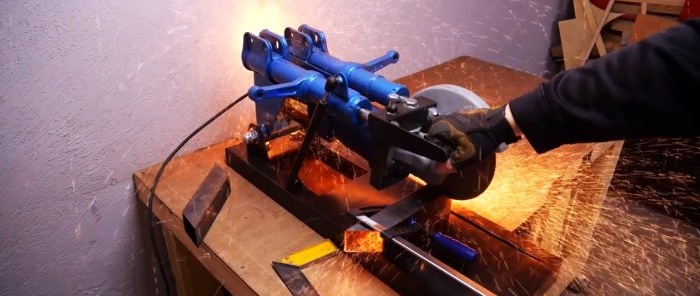
How to make a cutting machine from an angle grinder and old shock absorbers
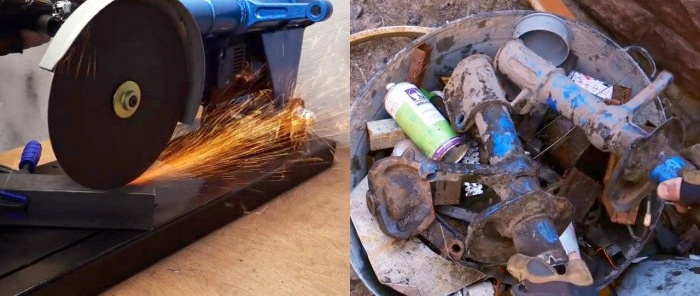
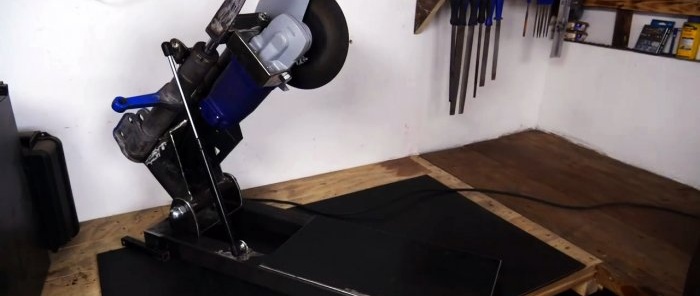
This machine, while maintaining the high performance of the grinder, provides greater versatility, precision and safety. Its assembly will not require excessive costs, special machines or high qualifications.
We will assemble the machine from the following materials and components:
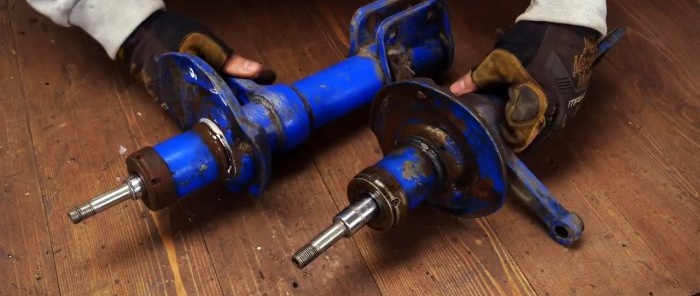
Use a wire brush to remove dirt from old shock absorbers.
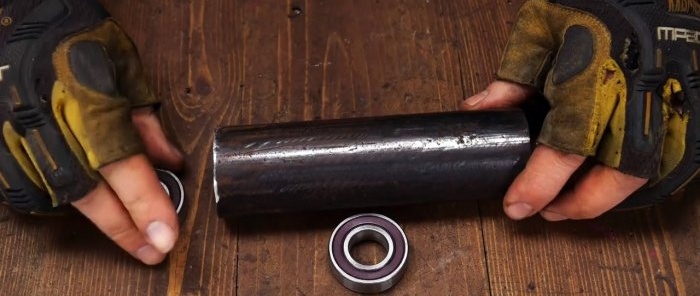
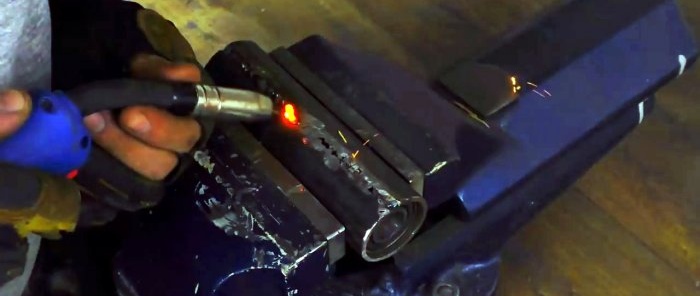
At the ends of the pipe cut along the length, lightly hitting a piece of plywood with a hammer, install bearings and weld the cut.
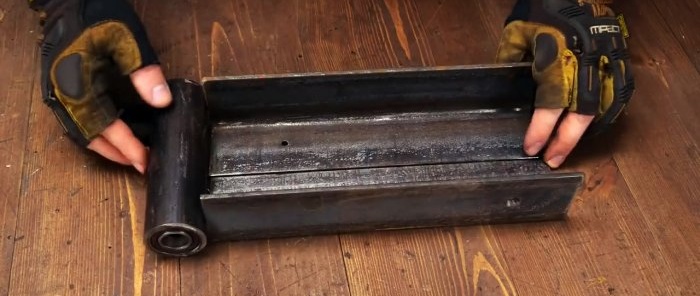
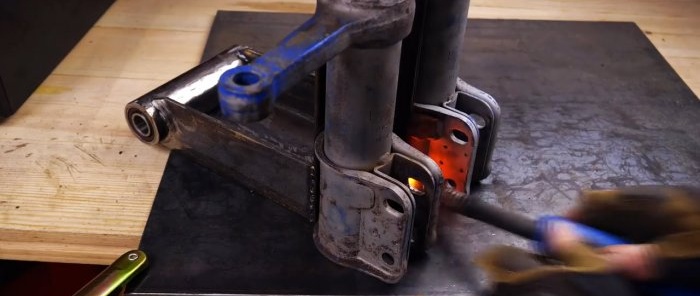
We weld a channel from two corners and from one end, using a pipe with bearings, we apply semicircular recesses and select them with a grinder. We place this pipe in the recesses and weld it.
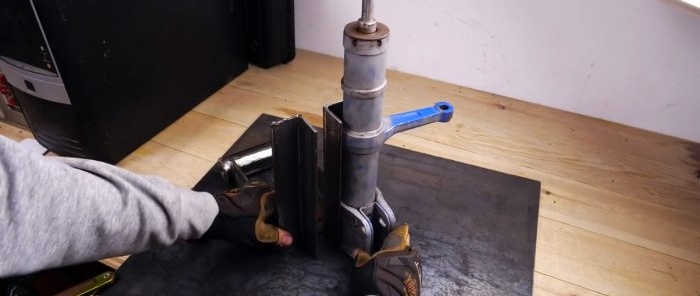
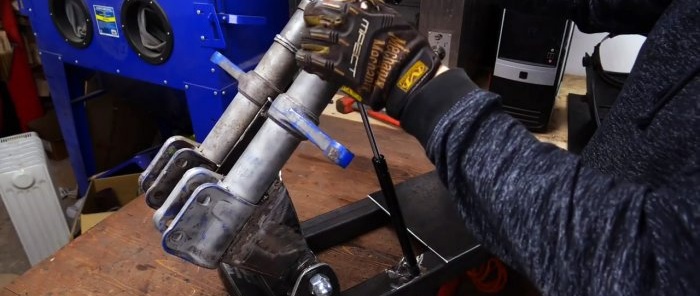
We vertically weld two corners one size smaller to the other end of the “channel” so that the adjacent shelves are in the center. We put a shock absorber in each corner and secure them by welding.
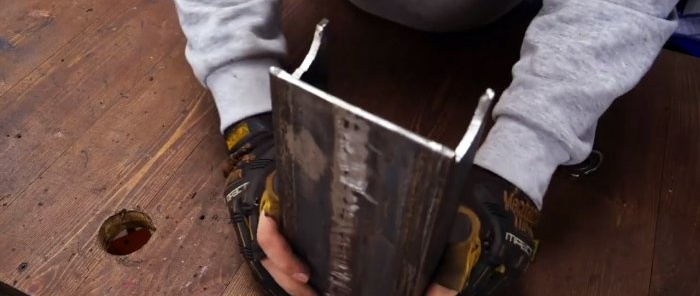
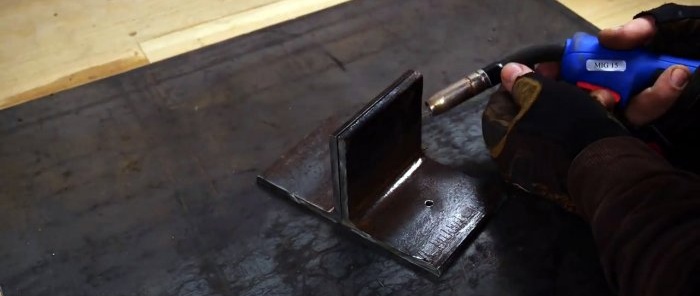
We connect two corners of equal length and height so that the two mating shelves are in the center, and secure them by welding.
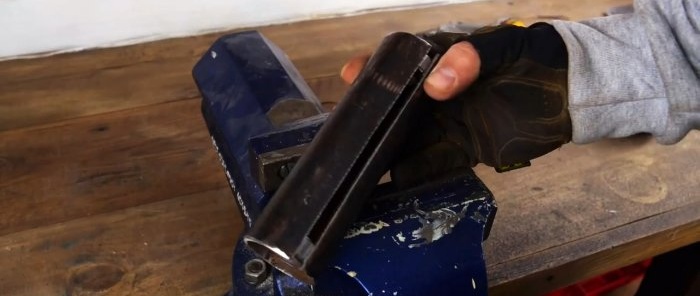
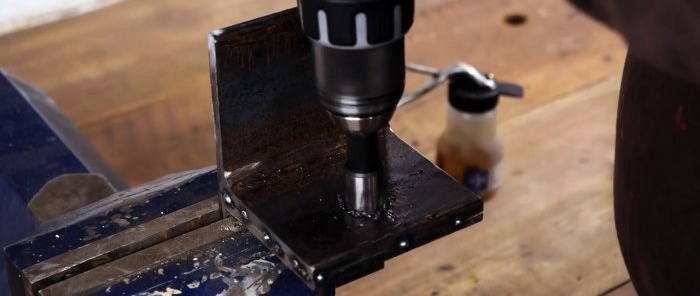
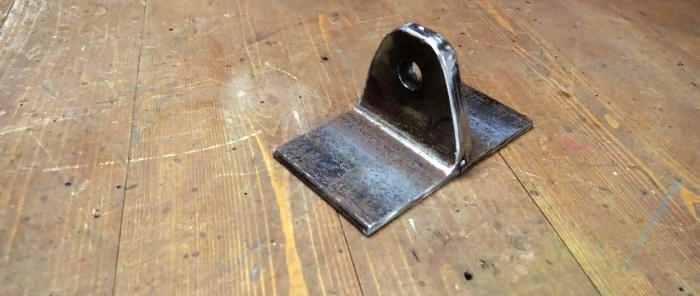
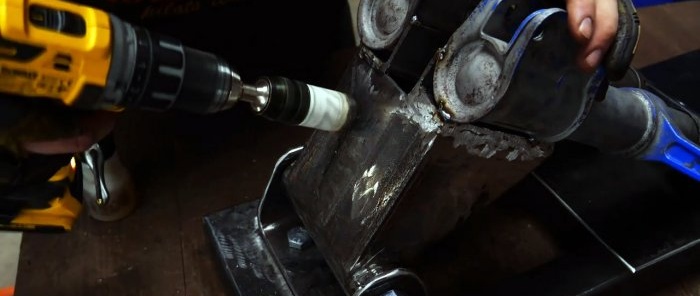
We clamp them in a vice and drill a hole in the paired shelves. Using a marker, draw an arched outline and cut it out with a grinder. We remove the welded tacks and separate the resulting parts.
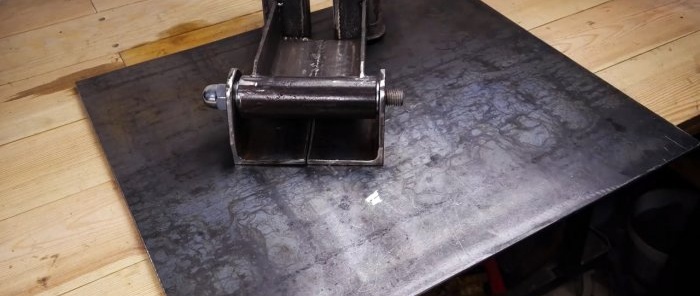
We insert a stud with a spherical nut at one end from the outside into the hole of the corner fragment with a flange sawn along an arc, put on a washer, push it through the bearings in the pipe, put another washer and pass it through the second fragment of the corner. From the outside, screw a regular nut onto the stud. We weld the lower flanges of the corners along the contact line.
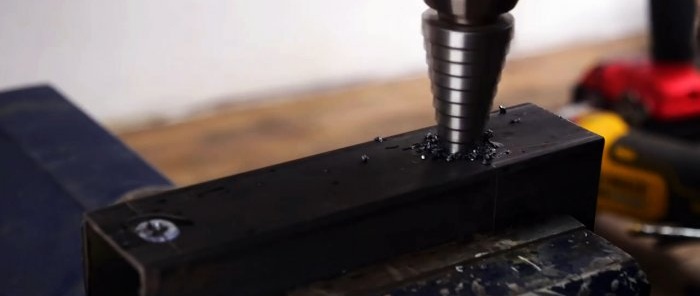
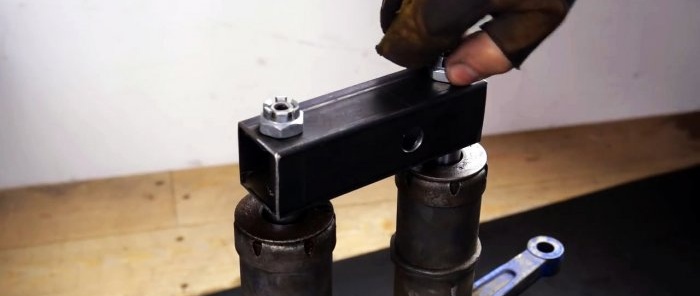
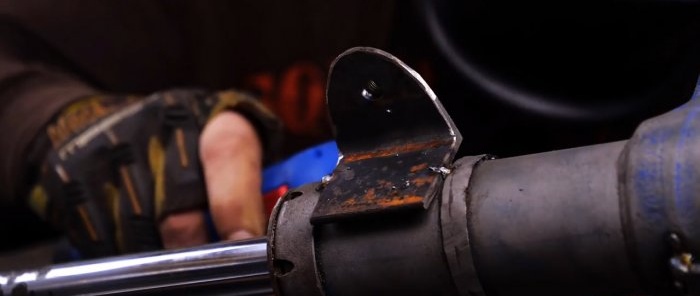
We apply paint to the ends of the shock absorber rods, apply a piece of profile square pipe to them and drill holes according to the paint marks. We put the square pipe on the rods and screw the castle nuts on top.
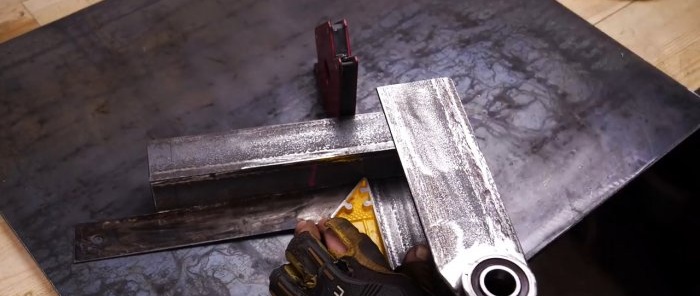
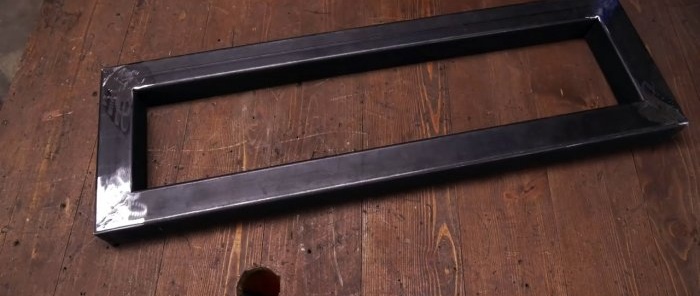
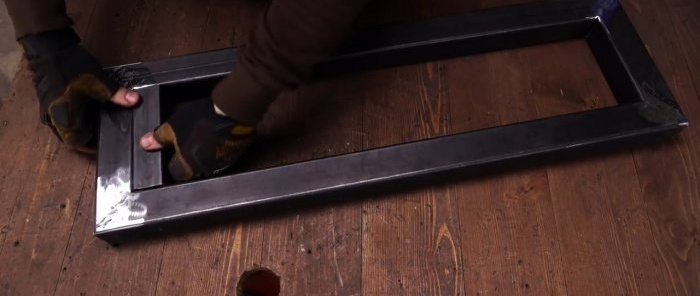
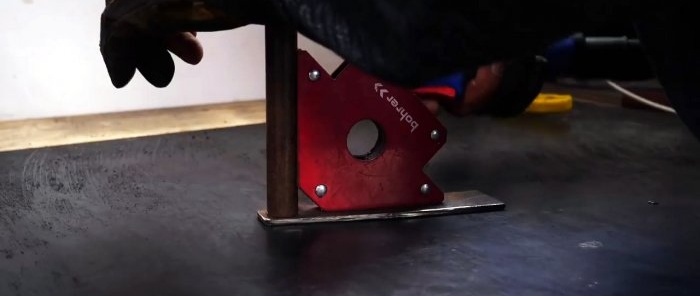
We assemble a frame from square pipes using measuring and magnetic squares, a scriber, a grinder and welding.
We sand the seams.
To secure the bracket from the corners to the frame, at one end we weld a square pipe across and end-to-end.
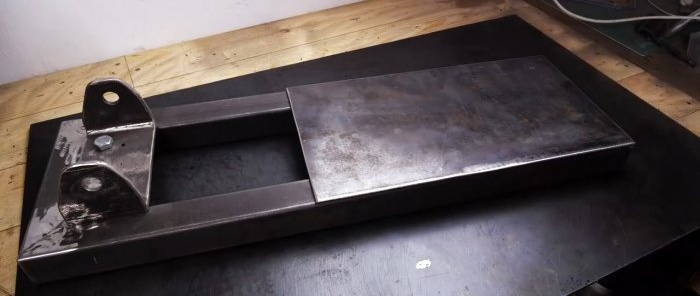
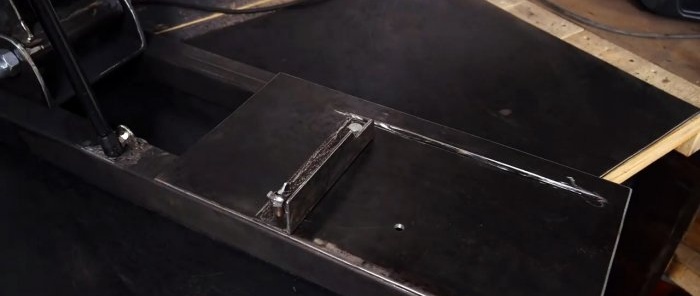
Using the mounting holes in the bracket, we mark the points for drilling holes in the cross member. We secure the bracket to the frame with bolts and nuts using an engraver. We weld a rectangular steel plate with a width equal to the width of the frame to the other end of the frame from the end.
We strengthen the connection of the shock absorbers to the base by welding the gussets. Insert a bolt with a nut into one of the holes in the square pipe and weld it to the pipe.
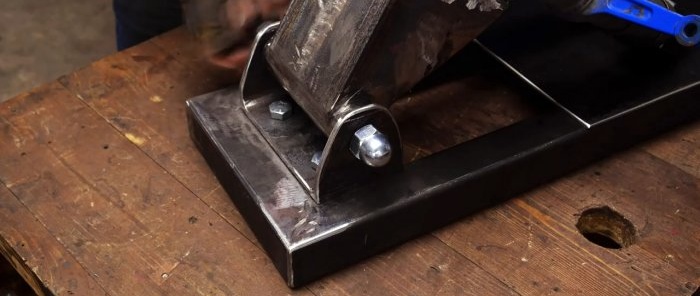
We secure the base of the shock absorbers in a bracket of angles on the frame using a pin, washers, a spherical and a simple nut. We drill a hole for the wire at the base of the shock absorbers.
We weld a bracket with holes to one shock absorber and frame. We fix the furniture gas lift in them.
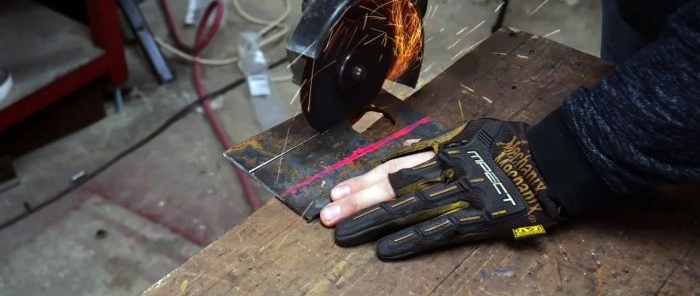
From a steel sheet we cut out a plate with a narrowing towards one end, starting from the middle. We weld a tube to the narrow end vertically along the magnetic corner. We attach the plate with its wide side by welding to the end of the square pipe, orienting the tube inward.
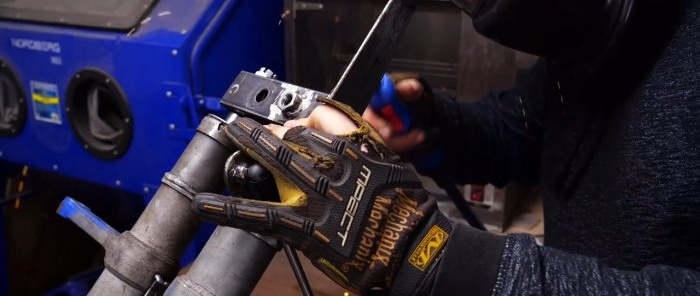
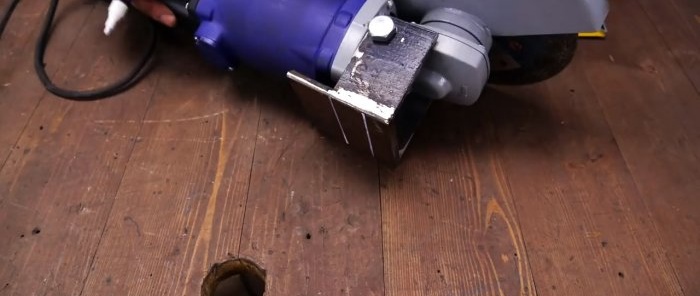
We install a mount welded from steel plates in the shape of the letter P onto the grinder with bolts. After marking, we remove the excess metal and clean the seams and cutting areas.
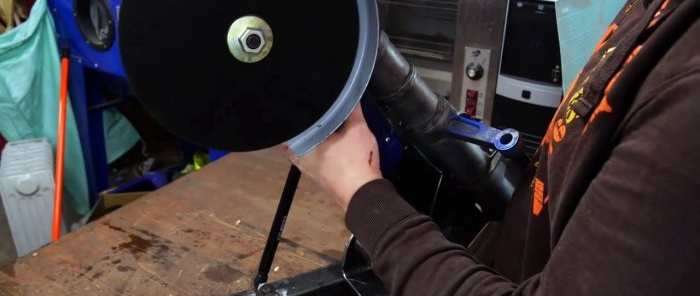
We fasten the angle grinder with bolts to the square pipe.
We turn on the tool and make a slot in the frame plate, we also drill holes in it to fix the stop straight or at an angle, changing the position of the movable bolt.
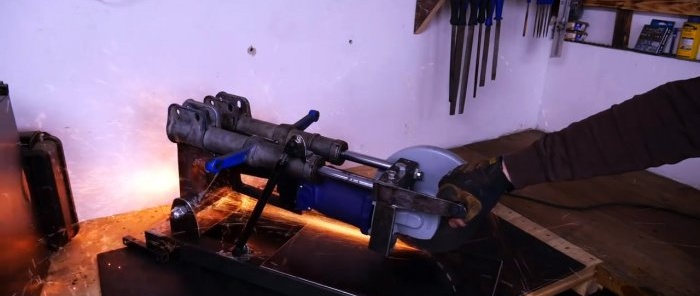
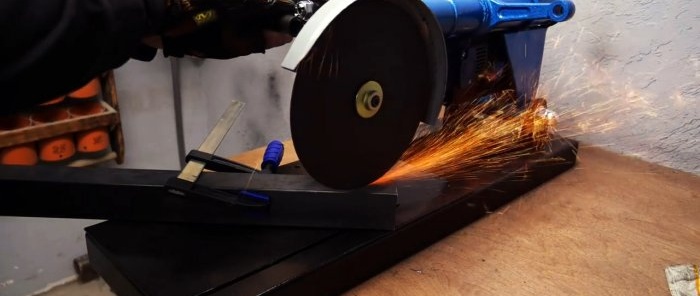
Now, securing workpieces of any profile with clamps to the stop, we cut them at 90 or 45 degrees with high precision.
We also cut sheet metal perfectly evenly by moving the grinder disc. The shock absorber rods serve as guides, and the gas lift returns the tool to its original position.
Will need
We will assemble the machine from the following materials and components:
- pairs of old shock absorbers;
- two sealed bearings;
- steel pipes;
- equal angles;
- studs, washers and nuts;
- profile square pipe;
- sheet metal;
- furniture gas lift.
- In this case we will need:
Cutting machine manufacturing process
Use a wire brush to remove dirt from old shock absorbers.
At the ends of the pipe cut along the length, lightly hitting a piece of plywood with a hammer, install bearings and weld the cut.
We weld a channel from two corners and from one end, using a pipe with bearings, we apply semicircular recesses and select them with a grinder. We place this pipe in the recesses and weld it.
We vertically weld two corners one size smaller to the other end of the “channel” so that the adjacent shelves are in the center. We put a shock absorber in each corner and secure them by welding.
We connect two corners of equal length and height so that the two mating shelves are in the center, and secure them by welding.
We clamp them in a vice and drill a hole in the paired shelves. Using a marker, draw an arched outline and cut it out with a grinder. We remove the welded tacks and separate the resulting parts.
We insert a stud with a spherical nut at one end from the outside into the hole of the corner fragment with a flange sawn along an arc, put on a washer, push it through the bearings in the pipe, put another washer and pass it through the second fragment of the corner. From the outside, screw a regular nut onto the stud. We weld the lower flanges of the corners along the contact line.
We apply paint to the ends of the shock absorber rods, apply a piece of profile square pipe to them and drill holes according to the paint marks. We put the square pipe on the rods and screw the castle nuts on top.
We assemble a frame from square pipes using measuring and magnetic squares, a scriber, a grinder and welding.
We sand the seams.
To secure the bracket from the corners to the frame, at one end we weld a square pipe across and end-to-end.
Using the mounting holes in the bracket, we mark the points for drilling holes in the cross member. We secure the bracket to the frame with bolts and nuts using an engraver. We weld a rectangular steel plate with a width equal to the width of the frame to the other end of the frame from the end.
We strengthen the connection of the shock absorbers to the base by welding the gussets. Insert a bolt with a nut into one of the holes in the square pipe and weld it to the pipe.
We secure the base of the shock absorbers in a bracket of angles on the frame using a pin, washers, a spherical and a simple nut. We drill a hole for the wire at the base of the shock absorbers.
We weld a bracket with holes to one shock absorber and frame. We fix the furniture gas lift in them.
From a steel sheet we cut out a plate with a narrowing towards one end, starting from the middle. We weld a tube to the narrow end vertically along the magnetic corner. We attach the plate with its wide side by welding to the end of the square pipe, orienting the tube inward.
We install a mount welded from steel plates in the shape of the letter P onto the grinder with bolts. After marking, we remove the excess metal and clean the seams and cutting areas.
We fasten the angle grinder with bolts to the square pipe.
We turn on the tool and make a slot in the frame plate, we also drill holes in it to fix the stop straight or at an angle, changing the position of the movable bolt.
Now, securing workpieces of any profile with clamps to the stop, we cut them at 90 or 45 degrees with high precision.
We also cut sheet metal perfectly evenly by moving the grinder disc. The shock absorber rods serve as guides, and the gas lift returns the tool to its original position.
Watch the video
Similar master classes
How to make a reliable vice from leftover metal
How to smoothly bend a profile pipe without a pipe bender and heating
How to make a great stand out of an old car pump
How to increase the functionality of an angle grinder with removable equipment
How to make a hydraulic press from a bottle jack
Do-it-yourself pipe bender - simple and almost free
Particularly interesting
Comments (0)

