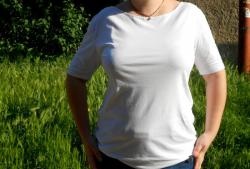
How to narrow the neckline of a sweater or T-shirt with your own hands
Clothing changes over time and, unfortunately, not for the better. One of the unpleasant phenomena is stretching of the neck in a T-shirt, jacket or sweater. And it seems that nothing can be done about it. Therefore, still quite good-quality clothes have to be shoved into the far corner of the wardrobe. But there is a way out (even two!) from this difficult situation, and it is within the power of anyone who has at least once held a needle and thread in their hands.
In our case, we will have to restore a sweater that is still quite good, but with a stretched neckline. To do this, we need to prepare the following materials and equipment:
Let's look at two ways to sew in the neckline of a sweater. In some cases, the first method may be preferable, in others, the second.
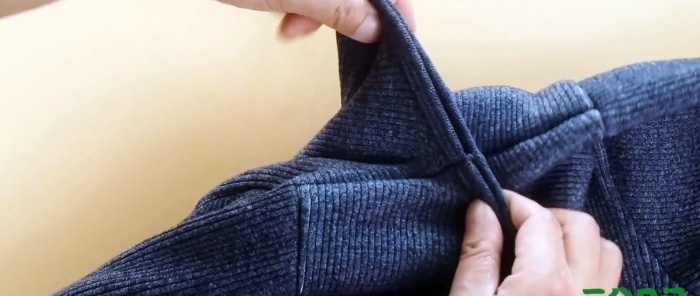
We combine the ends of the shoulder seams and hold them in this position. We stretch the front part of the neck into a line and fix the fold.It should be in the same vertical line with the point where the shoulder seams meet.
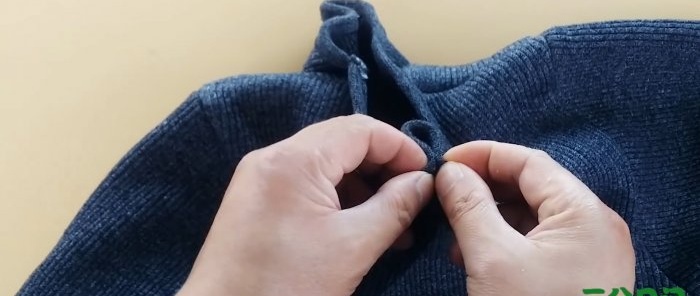
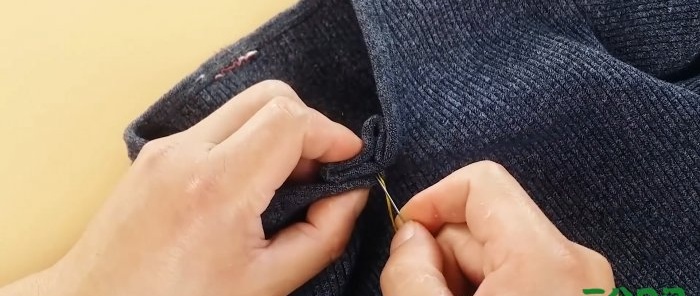
We retreat along the fold line of the neckline to a distance twice as short as the narrowing of the neckline. We fix this place with our fingers and, without removing them, turn the measured part of the neck inside.
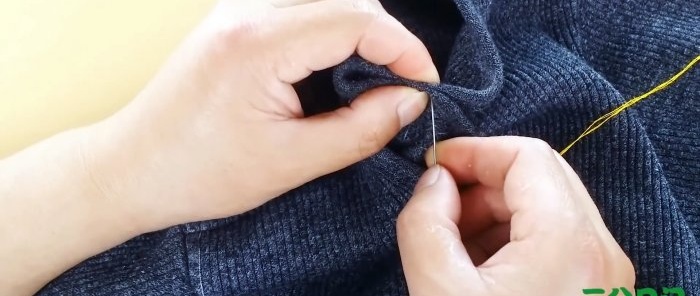
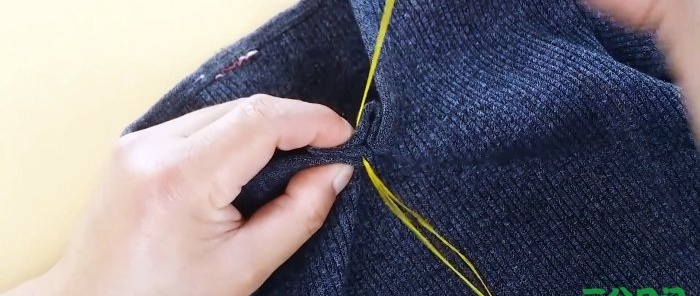
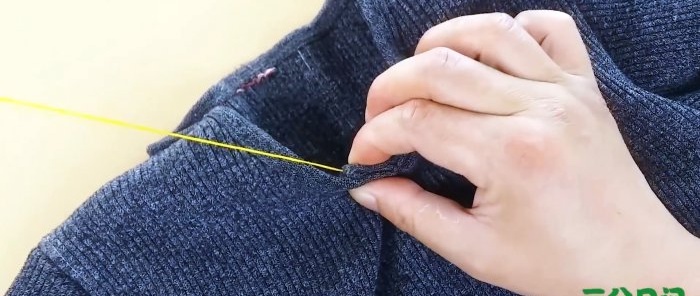
Next, grab the point under your fingers using a needle and thread. We press the top of the resulting fabric ring to the holding point and secure it again with one or two stitches. Make a knot and cut the thread with scissors.
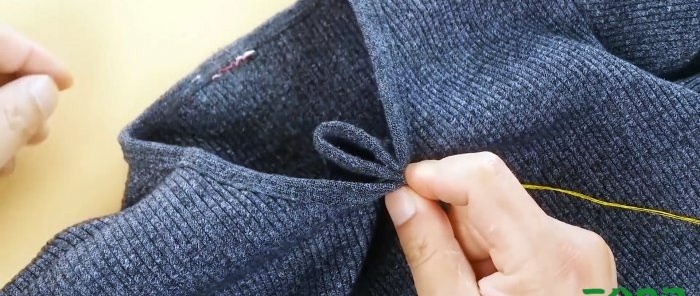
We do the same with the two ends of the resulting fold. The most important thing here is that the thread does not come out and spoil the appearance of the clothing.
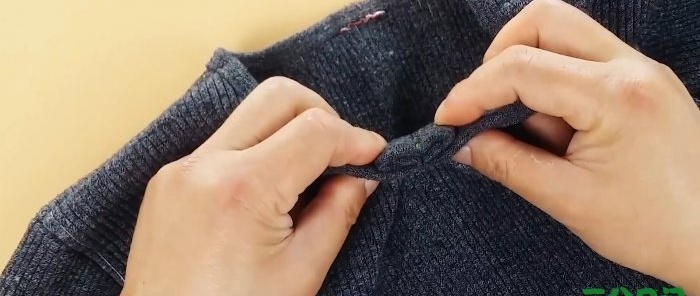
After such reconstruction, the neckline is reduced, and a fold is formed in the front, which may well pass for an element of the style of this particular sweater.
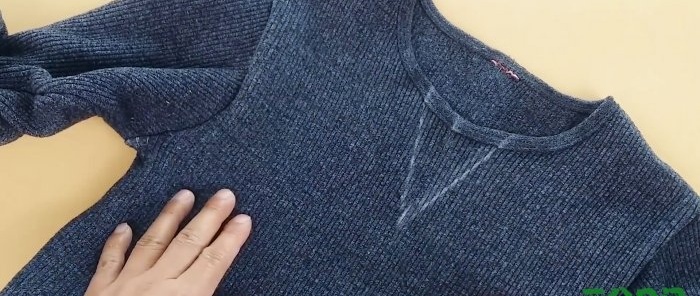
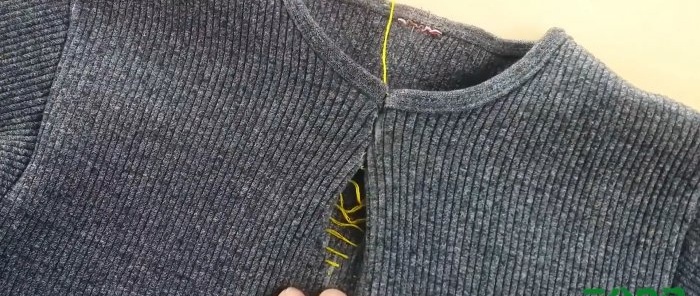
Lay the sweater on the table, align it along the shoulder seams and smooth the fabric. We mark a point in the center of the cutout using a piece of chalk or dry soap. Place a second point lower vertically.
From the bottom point we draw two straight lines at the same angle until they intersect with the cutout line. The distance between these two points shows the amount of narrowing of the sweater neck.
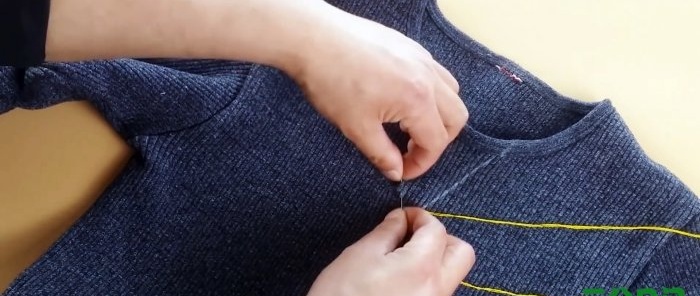
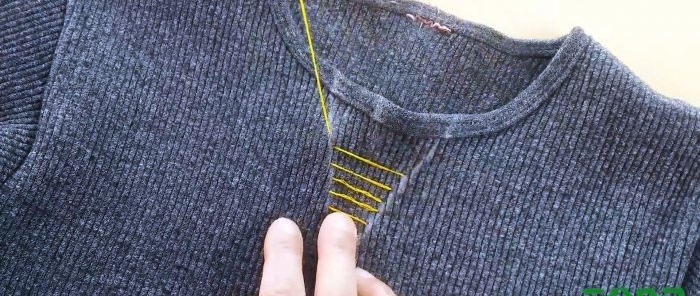
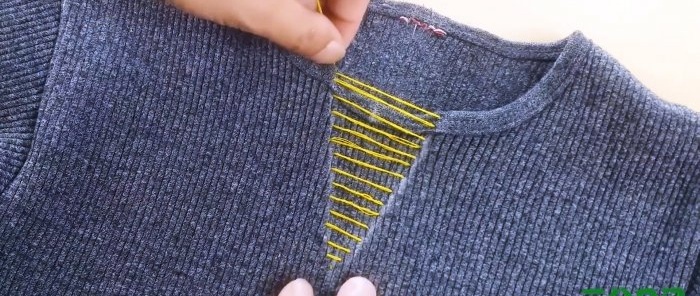
At the bottom point, we pierce the fabric from the inside with a needle with thread tucked into it. Then, alternately along the side lines, we make stitches directed upwards, so that between them a system of thread crossbars is formed, gradually expanding towards the neckline.
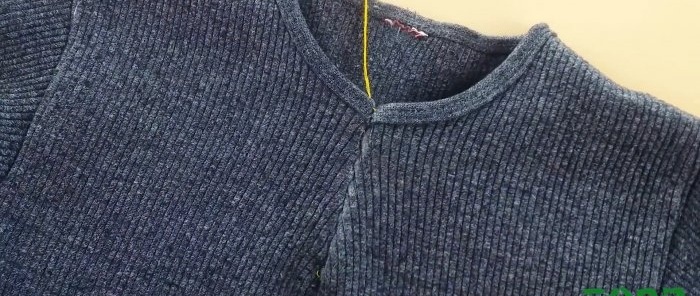
Having reached the end, we begin to carefully tighten the thread so that the material meets along a vertical line in the center from top to bottom. To prevent the thread from weakening, we make a knot from the inside and cut off the thread.
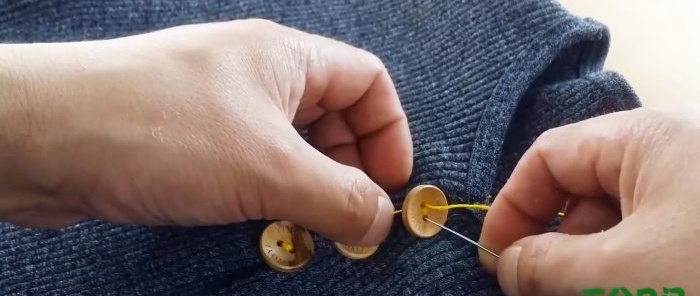
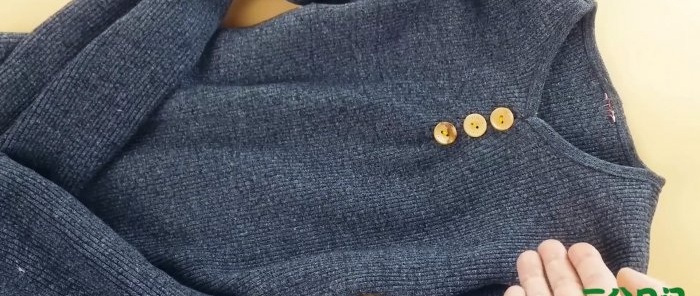
To disguise the fold of the material, sew three buttons on top of it to match the color of the sweater fabric. It will look as intended when sewing these clothes.
Will need
In our case, we will have to restore a sweater that is still quite good, but with a stretched neckline. To do this, we need to prepare the following materials and equipment:
- needle for hand sewing;
- thicker threads;
- scissors;
- chalk or soap;
- decorative buttons.
The process of narrowing the neck of a garment
Let's look at two ways to sew in the neckline of a sweater. In some cases, the first method may be preferable, in others, the second.
Method No. 1
We combine the ends of the shoulder seams and hold them in this position. We stretch the front part of the neck into a line and fix the fold.It should be in the same vertical line with the point where the shoulder seams meet.
We retreat along the fold line of the neckline to a distance twice as short as the narrowing of the neckline. We fix this place with our fingers and, without removing them, turn the measured part of the neck inside.
Next, grab the point under your fingers using a needle and thread. We press the top of the resulting fabric ring to the holding point and secure it again with one or two stitches. Make a knot and cut the thread with scissors.
We do the same with the two ends of the resulting fold. The most important thing here is that the thread does not come out and spoil the appearance of the clothing.
After such reconstruction, the neckline is reduced, and a fold is formed in the front, which may well pass for an element of the style of this particular sweater.
Method number 2
Lay the sweater on the table, align it along the shoulder seams and smooth the fabric. We mark a point in the center of the cutout using a piece of chalk or dry soap. Place a second point lower vertically.
From the bottom point we draw two straight lines at the same angle until they intersect with the cutout line. The distance between these two points shows the amount of narrowing of the sweater neck.
At the bottom point, we pierce the fabric from the inside with a needle with thread tucked into it. Then, alternately along the side lines, we make stitches directed upwards, so that between them a system of thread crossbars is formed, gradually expanding towards the neckline.
Having reached the end, we begin to carefully tighten the thread so that the material meets along a vertical line in the center from top to bottom. To prevent the thread from weakening, we make a knot from the inside and cut off the thread.
To disguise the fold of the material, sew three buttons on top of it to match the color of the sweater fabric. It will look as intended when sewing these clothes.
Watch the video
Similar master classes
Particularly interesting
How to narrow the neckline of a sweater or T-shirt with your own hands
How to easily replace a broken zipper slider
How to make a hand sewing machine for leather
How to press the zipper slider correctly
Life hack: how to sew up a broken seam on a jacket

How to sew a hole neatly with a blind stitch, even if you hold
Comments (1)


