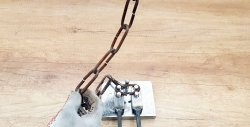
How to make a hand sewing machine for leather
When sewing leather, it is convenient to use a manual sewing machine. It makes it easier to thread threads through previously cut holes, which speeds up the process compared to crocheting. This is a very simple tool that you can make with your own hands, and a homemade machine is in no way inferior to a purchased one.
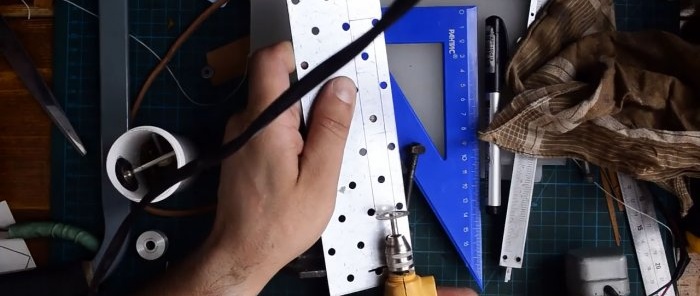
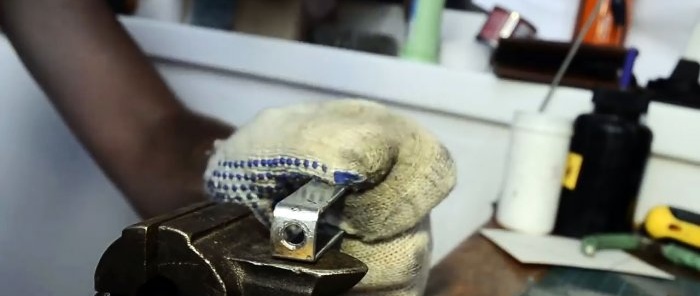
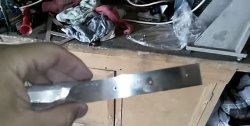
To make a machine's mounting bracket, you need to cut a strip of at least 14 cm long and 1.5-2 cm wide from sheet steel, preferably stainless steel. You can simply buy a perforated plate and cut the part out of it. In this case, there will immediately be holes on it that will be required later.
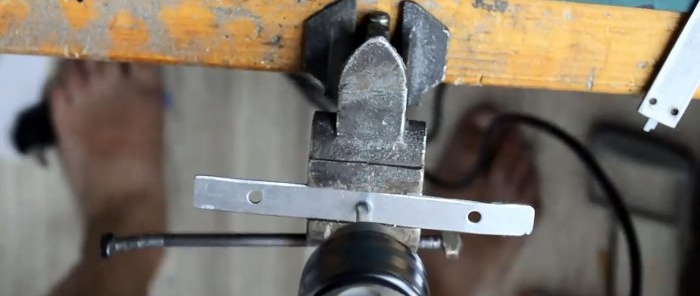
The plate needs to have 3 holes, so if it is simply cut from sheet steel, they will need to be drilled. The diameter of the central one must match the collet chuck so that it can be inserted and clamped into it.
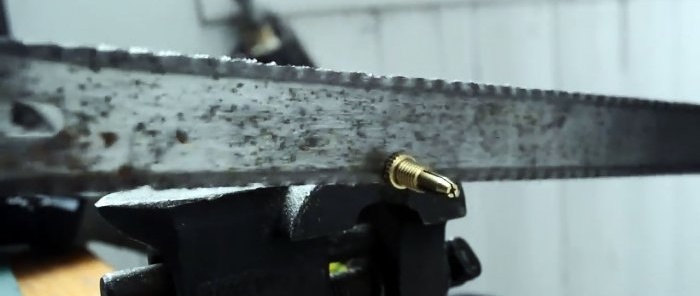
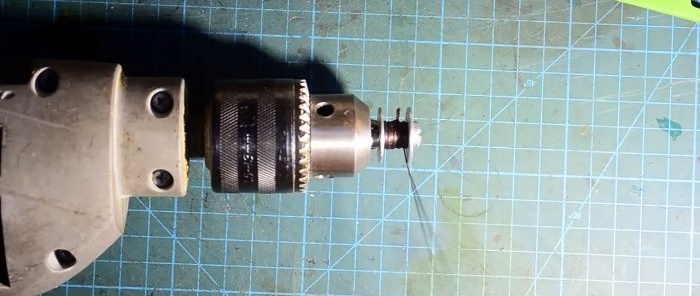
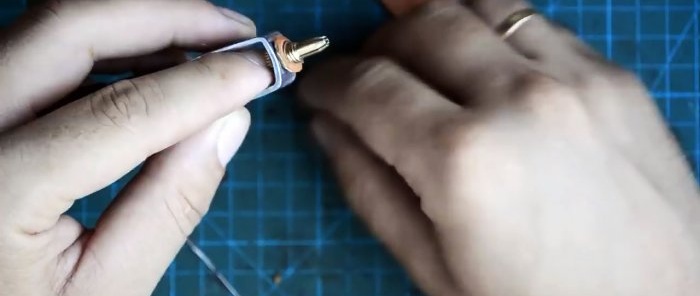
Before this, the part of the cartridge that fits onto the motor shaft should be cut off.
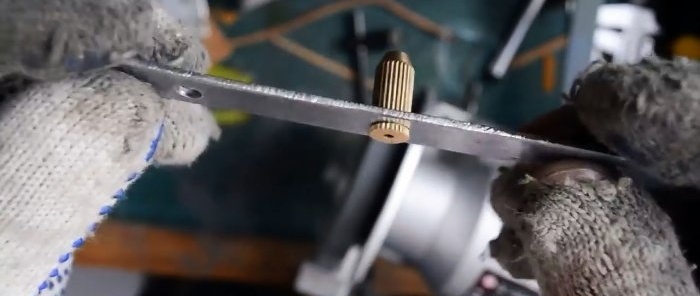
Next, the plate is bent into a U-shaped bracket. It is important that the distance between its folded edges is no less than the width of the available thread bobbin.
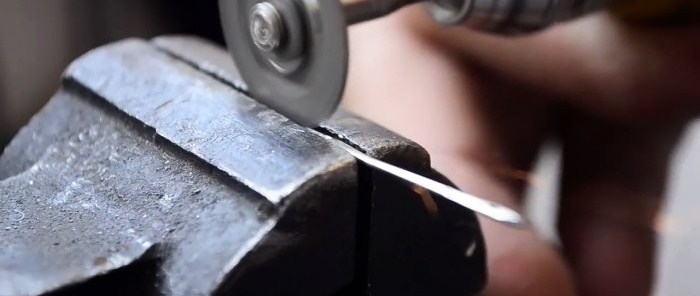
You also need to make a specialized needle. To do this, take a regular sewing machine needle and cut a groove at its base. The size of the resulting groove must exceed the diameter of the threads that will be used. In this regard, it is necessary to initially remake the thickest possible needle.
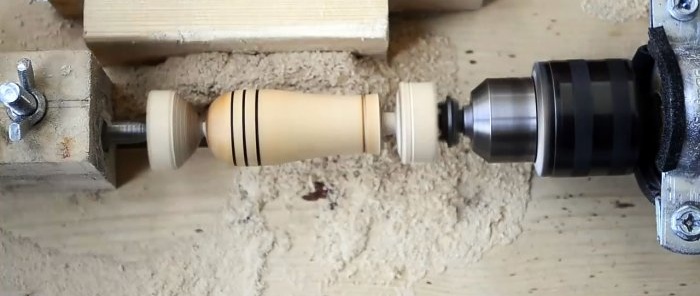
A handle for the machine is turned from a wooden blank, the same shape as that used on files. It should be comfortable and smooth.
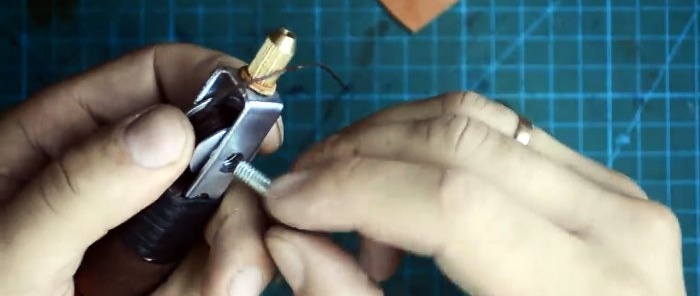
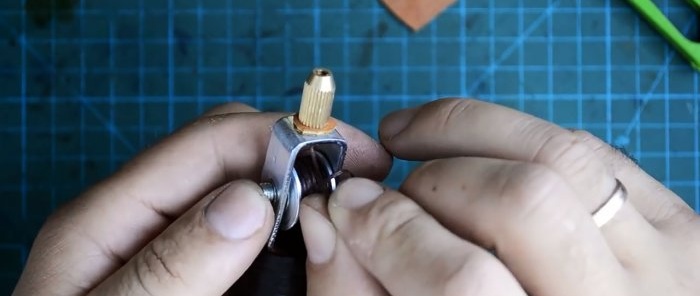
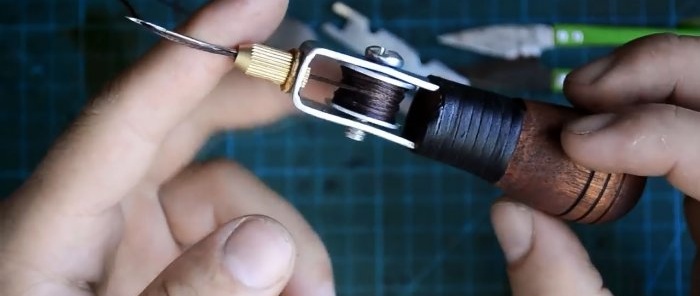
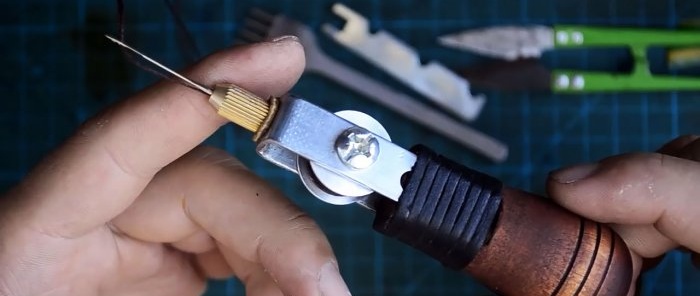
The made bracket is attached to the handle. Then a collet chuck is inserted and clamped into its central hole. After this, a fastening screw from a bobbin with already wound threads is threaded through 2 side holes.
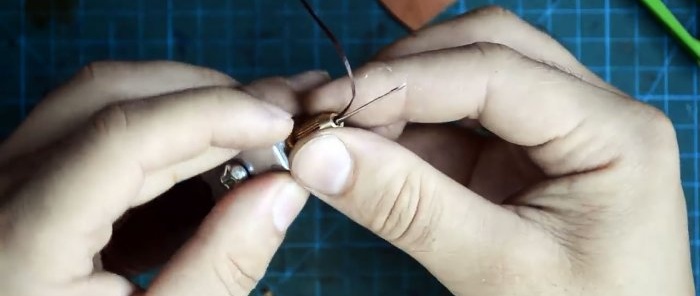
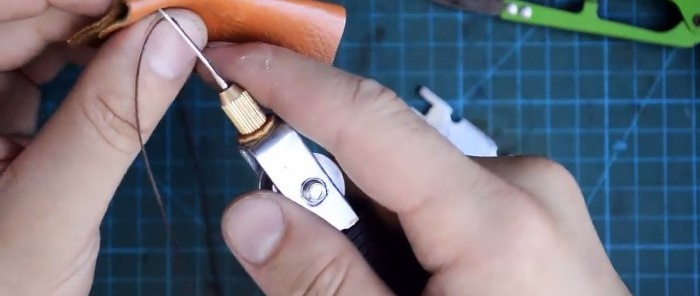
The end of the thread is threaded through the cartridge from the side of the staple. Next, the needle is clamped in the collet so that the thread falls into the cut groove. As a result, she will be able to stretch freely. Then the end of the thread is passed through the eye of the needle. In this form, the tool is ready for use.
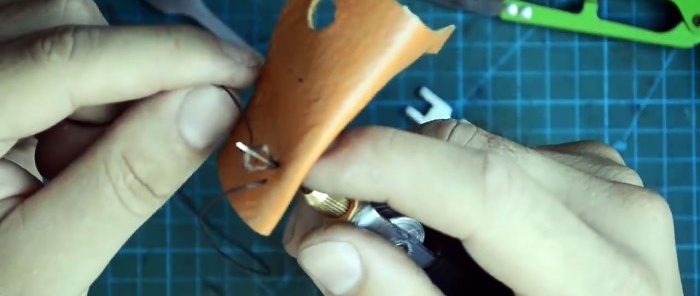
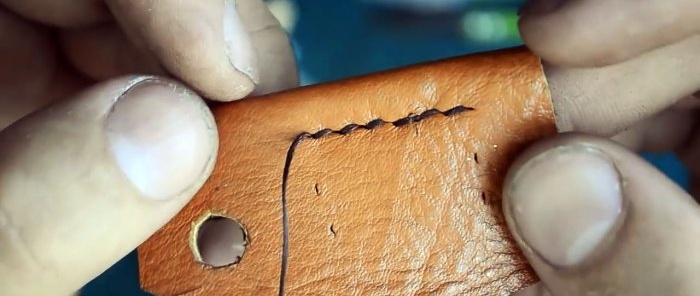
To use it, you need to punch holes in the skin with a fork. After this, a needle is inserted into the first of them, and the end of the thread is pulled through with a margin for the length of the seam. Next, the needle is stitched into the next hole, the free end of the thread on the back is passed through the resulting loop and the action is repeated until the end of the seam.
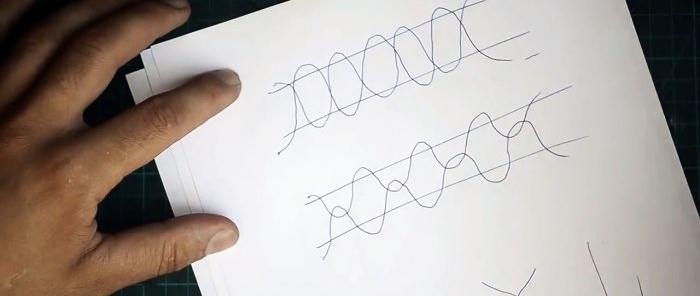
Seam patterns:
Materials:
- collet;
- sewing machine needle;
- bobbin for thread;
- a block or handle made of hardwood;
- perforated plate or stainless steel sheet;
- M6 screw with nut.
Assembling a sewing machine
To make a machine's mounting bracket, you need to cut a strip of at least 14 cm long and 1.5-2 cm wide from sheet steel, preferably stainless steel. You can simply buy a perforated plate and cut the part out of it. In this case, there will immediately be holes on it that will be required later.
The plate needs to have 3 holes, so if it is simply cut from sheet steel, they will need to be drilled. The diameter of the central one must match the collet chuck so that it can be inserted and clamped into it.
Before this, the part of the cartridge that fits onto the motor shaft should be cut off.
Next, the plate is bent into a U-shaped bracket. It is important that the distance between its folded edges is no less than the width of the available thread bobbin.
You also need to make a specialized needle. To do this, take a regular sewing machine needle and cut a groove at its base. The size of the resulting groove must exceed the diameter of the threads that will be used. In this regard, it is necessary to initially remake the thickest possible needle.
A handle for the machine is turned from a wooden blank, the same shape as that used on files. It should be comfortable and smooth.
The made bracket is attached to the handle. Then a collet chuck is inserted and clamped into its central hole. After this, a fastening screw from a bobbin with already wound threads is threaded through 2 side holes.
The end of the thread is threaded through the cartridge from the side of the staple. Next, the needle is clamped in the collet so that the thread falls into the cut groove. As a result, she will be able to stretch freely. Then the end of the thread is passed through the eye of the needle. In this form, the tool is ready for use.
To use it, you need to punch holes in the skin with a fork. After this, a needle is inserted into the first of them, and the end of the thread is pulled through with a margin for the length of the seam. Next, the needle is stitched into the next hole, the free end of the thread on the back is passed through the resulting loop and the action is repeated until the end of the seam.
Seam patterns:
Watch the video
Similar master classes
Particularly interesting
How to narrow the neckline of a sweater or T-shirt with your own hands
How to easily replace a broken zipper slider
How to make a hand sewing machine for leather
How to press the zipper slider correctly
Life hack: how to sew up a broken seam on a jacket
How to sew a hole neatly with a blind stitch, even if you hold
Comments (8)


