How to make a chain-link mesh from a regular PET bottle
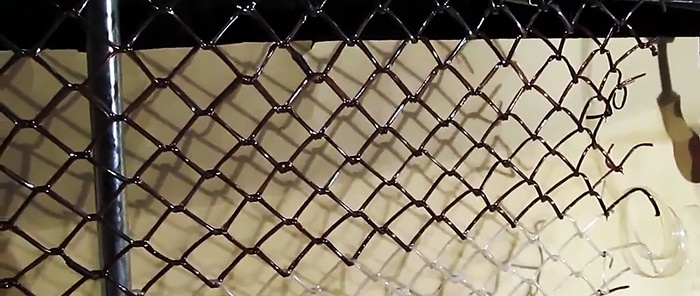
PET bottles are used for cutting tape with heat-shrinkable properties. This tape can be used in many areas. One of the most unusual options for recycling it is the production of a chain-link barrier mesh. For this, a simple technology is used that can be repeated at home.
Materials:
- plastic bottles;
- copper wire.
Mesh weaving process
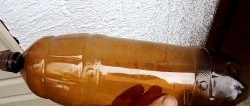
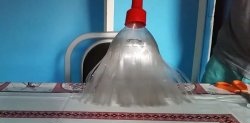
To weave a chain-link mesh, you need to cut plastic bottles into strips. To do this, the “bottle cutter” is adjusted to a cutting width of 20 mm.
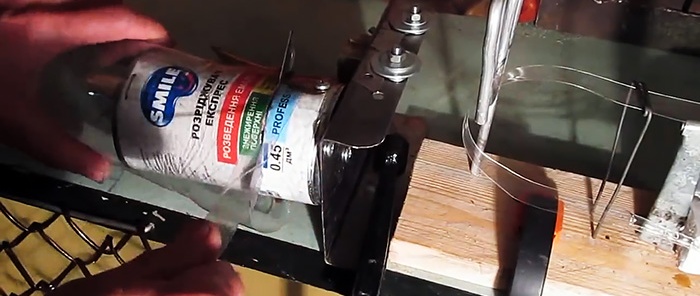
Naturally, bottles are selected strictly according to color, so that the finished grid is not full of shades.
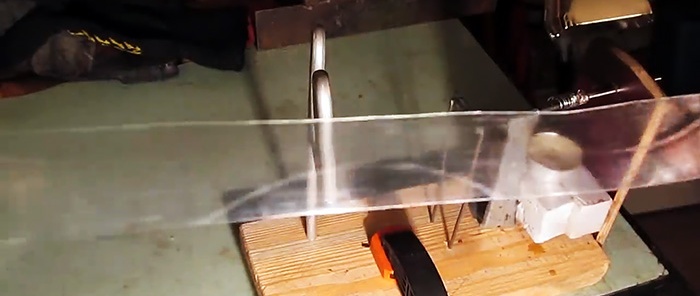
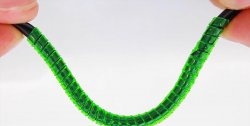
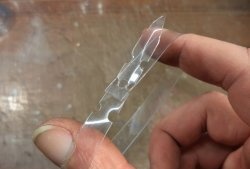
Next you need to twist the tape into a tube. A special device is made for this. Its main parts are the metal body of a ballpoint pen and a nail.
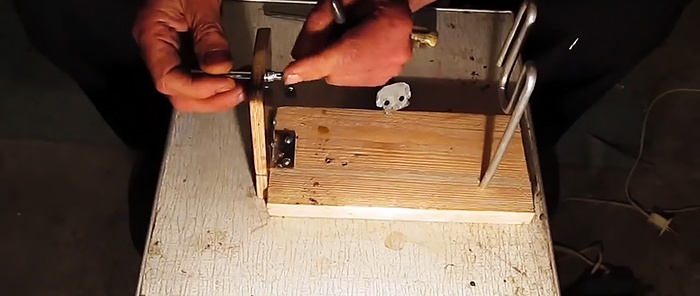
The conical nose of the body is shortened so that the diameter of the outlet hole is 3-4 mm. The inlet hole of the housing needs to be slightly flared. The modified body is mounted on a stand. Then a nail is not fully inserted into it, for which a separate stand is made.The essence of the device is that when a heated tape is pulled through it, it will begin to twist into a tube with a diameter of 3-4 mm.
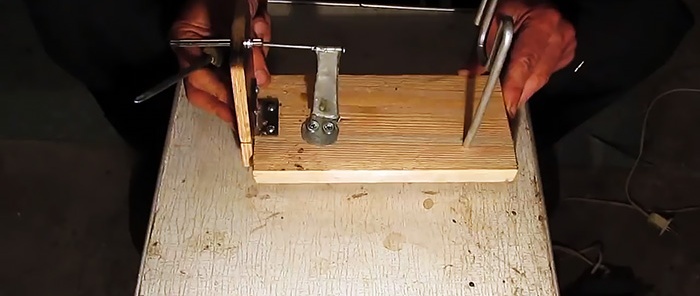
Then a guide rail is prepared, which will serve as a mold for the chain-link segments. A wooden lath, a strip of plywood or fiberboard 5 mm thick is used. On it, a file is used to make grooves for the cells with an inclination of 45 degrees. The length of the slats should be slightly larger than the width of the mesh you want to obtain. The width of the guide is made half the desired cell.
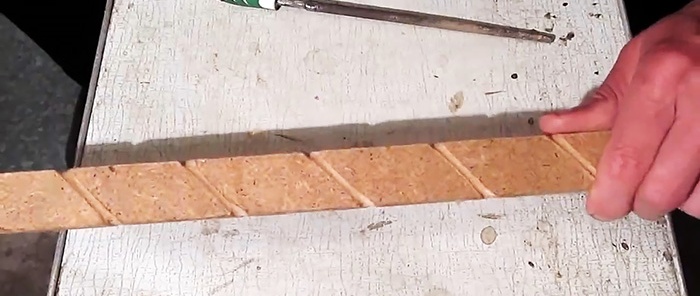
To make mesh segments, you need to insert the tape into the ballpoint pen guide from the nail side. Candles are placed and lit before entering and exiting. You can simply attach the hair dryer by pointing it at the part of the tape in front of the entrance to the handle body.
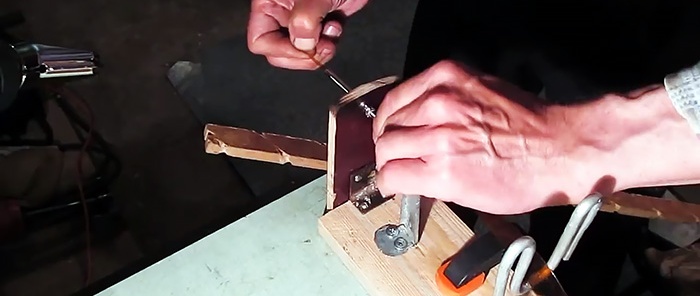
Then the tip of the tape must be pressed to the beginning of the guide rail with a small clamp.
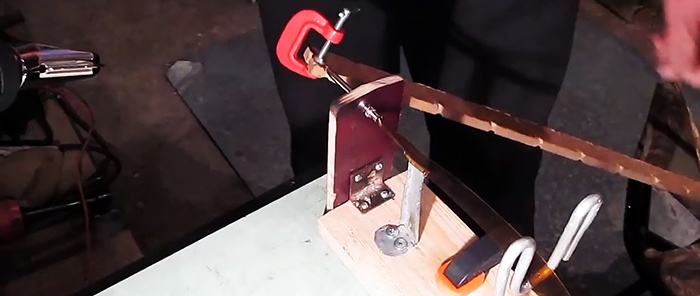
Next, the tape is pulled through the body of the ballpoint pen, twisted into a tube and wound along the grooves. Having reached the edge, it is cut off and a pause is made so that the tube retains its shape as it cools.
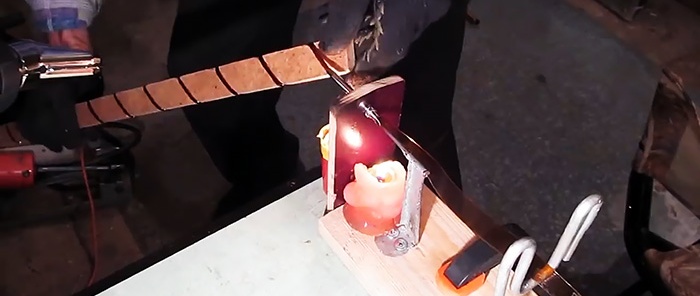
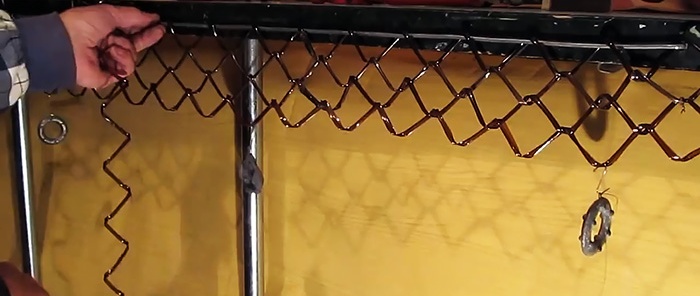
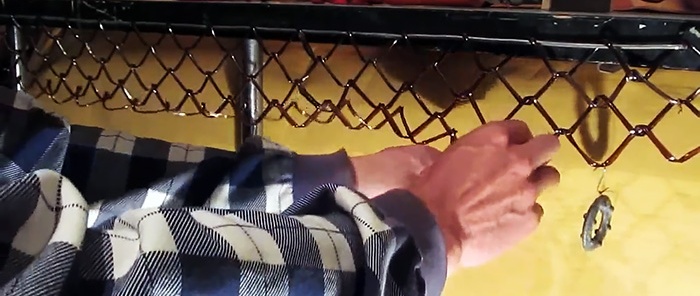
Having made a sufficient number of segments, you need to weave them into a mesh. To do this, the first of them is suspended horizontally. After that, the second segment is woven into it, the third into the second, etc. At the edges, the segments are connected with thin copper wire. For convenience, you should attach sinkers to each last segment so that the net is pulled down and makes it easier to weave into it.

Watch the video
Similar master classes
Particularly interesting
Comments (2)


