We make a budget drainage system for the roof from sewer pipes
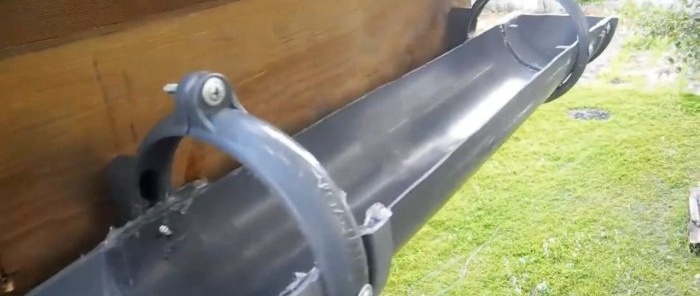
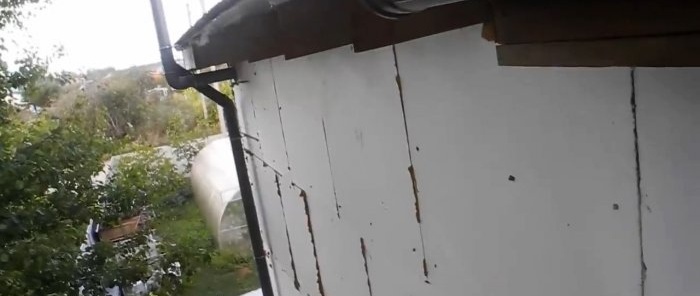
When building a house, such a small thing as a system for draining water from the roof is not much cheaper than the roof itself. It requires a lot of expensive little things that add up to a significant amount. To save money without losing quality and appearance, you can make a drainage system using much cheaper sewer pipes.
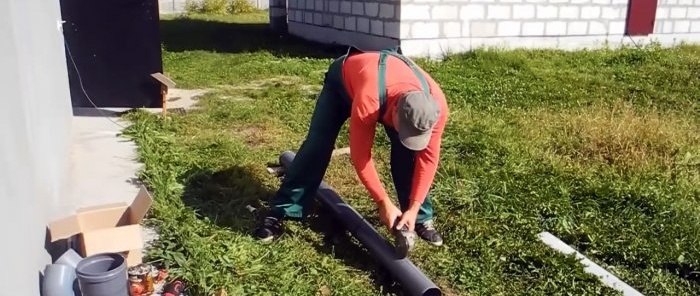
Installation of a drain must begin with the manufacture of a gutter. To do this, you need to unravel a 110 mm plastic pipe lengthwise.
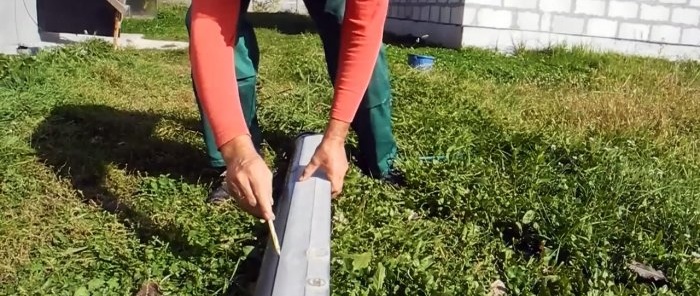
As a result, from one 2 m pipe you will get 2 gutters with a total length of 4 m. It is very important to make an even cut. To do this, the first line is drawn with a marker according to the inscription along the pipe.
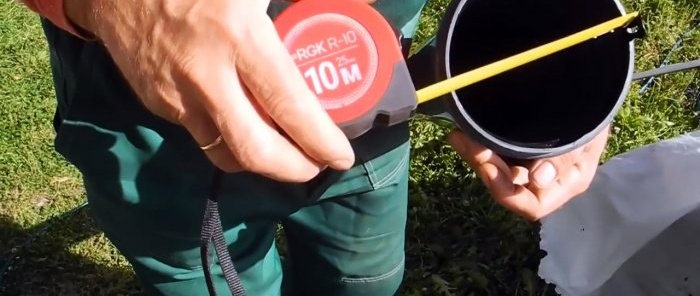
The second is marked exactly the opposite. To determine the points for this, you need to attach a ruler from the end of the pipe to the edge of an existing line.The ruler must be moved so that from its center to the outermost side wall the distance is equal to half the diameter of the pipe. If the ruler is in this position, then it runs exactly in the center and marks can be placed along it for the second line.
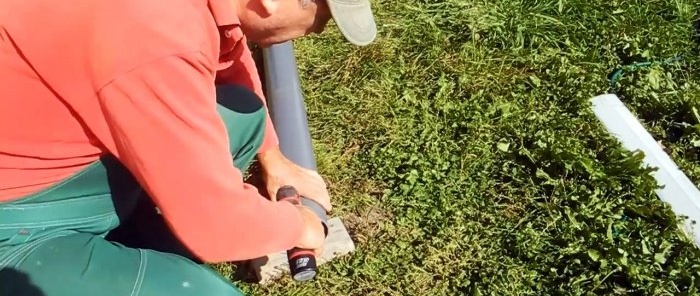
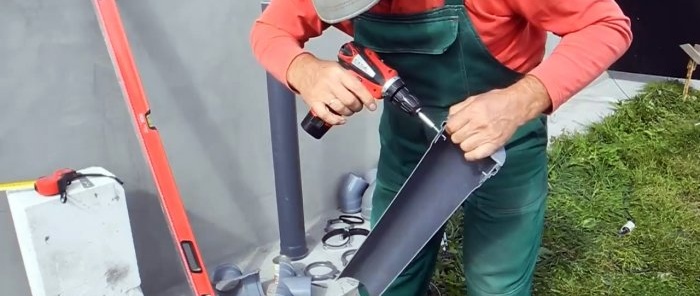
To cut the pipe, it is necessary to screw it with self-tapping screws at the edges through the walls to wooden substrates.
The cut is made with a grinder with a disc for metal or a diamond for tiles.
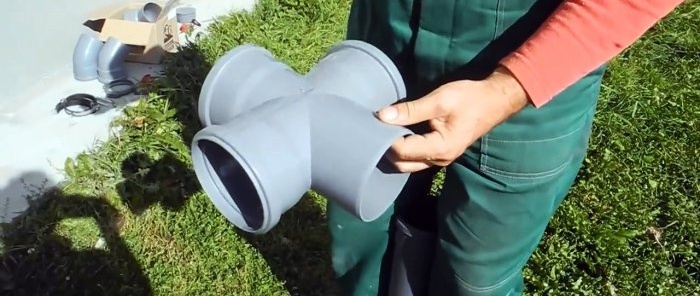
To make a drain funnel, you must use a cross.
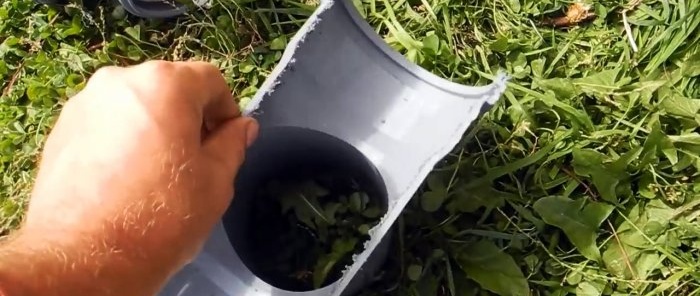
It is also cut in half, but only on the sides with sockets. A tee is not suitable for this purpose, since its straight branch without a socket is never made perpendicular to the entrances. The plugs are also cut in half. The plastic fringe remaining after the cut is removed along the cuts using a mounting knife.
When assembling the system, plugs are installed at the edges. They are mounted without rubber seals on silicone sealant. They are fastened from the sides with two self-tapping screws. To prevent the plastic from bursting, the holes for the fasteners are visible.
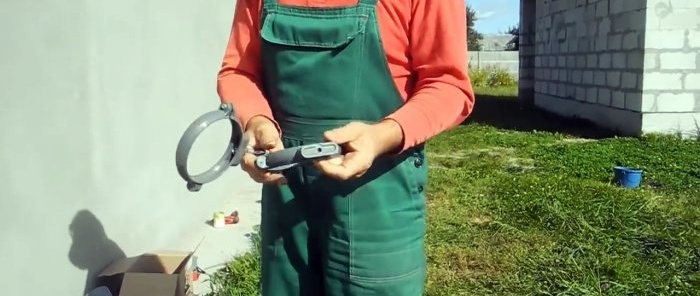
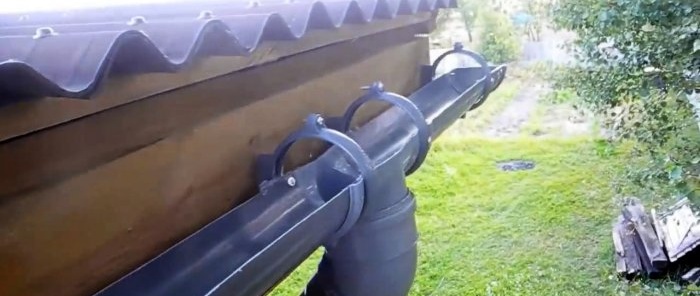
In place, the gutters are secured to the front board with clamps.
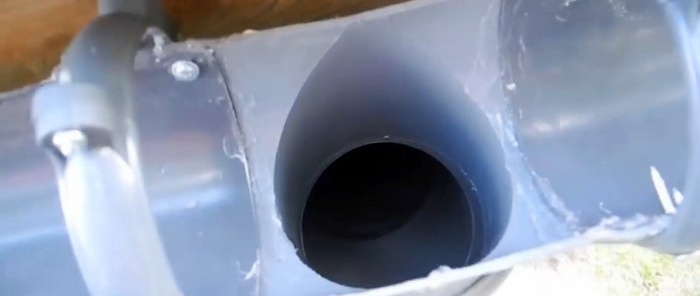
To connect the gutters, a funnel with a straight branch, cut from a cross, is used. The second part of the cross is wasted, since when it is used, the socket is on top, which can lead to water getting between it and the drain pipe. In cold weather this is dangerous, as the ice will simply tear the plastic. The gutters are installed with a slope towards the funnel of at least 0.5 cm per 1 m. These parts are also fastened with self-tapping screws and silicone.
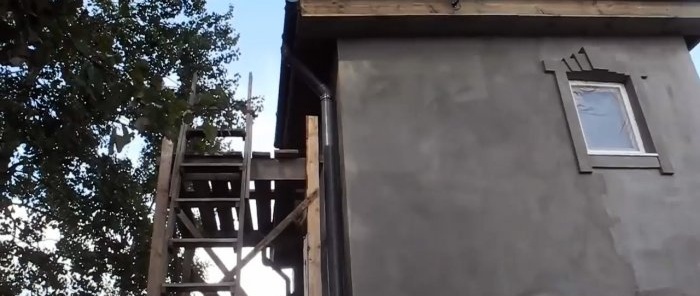
A 45 degree elbow is connected to the lower outlet of the funnel, and then a regular uncut pipe.Depending on the characteristics of the roof, several elbows can be used to bring the drain to the facade wall so that it can be attached to clamps. A corner is installed at the bottom of the drain pipe to drain water away from the foundation.
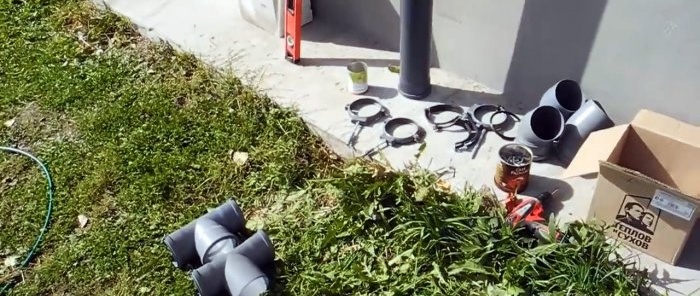
Necessary materials:
- sewer pipes 110 mm;
- plugs;
- crosses;
- knees 45 degrees;
- clamps for fastening;
- self-tapping screws;
- silicone sealant.
The process of assembling a drain from sewer pipes
Installation of a drain must begin with the manufacture of a gutter. To do this, you need to unravel a 110 mm plastic pipe lengthwise.
As a result, from one 2 m pipe you will get 2 gutters with a total length of 4 m. It is very important to make an even cut. To do this, the first line is drawn with a marker according to the inscription along the pipe.
The second is marked exactly the opposite. To determine the points for this, you need to attach a ruler from the end of the pipe to the edge of an existing line.The ruler must be moved so that from its center to the outermost side wall the distance is equal to half the diameter of the pipe. If the ruler is in this position, then it runs exactly in the center and marks can be placed along it for the second line.
To cut the pipe, it is necessary to screw it with self-tapping screws at the edges through the walls to wooden substrates.
The cut is made with a grinder with a disc for metal or a diamond for tiles.
To make a drain funnel, you must use a cross.
It is also cut in half, but only on the sides with sockets. A tee is not suitable for this purpose, since its straight branch without a socket is never made perpendicular to the entrances. The plugs are also cut in half. The plastic fringe remaining after the cut is removed along the cuts using a mounting knife.
When assembling the system, plugs are installed at the edges. They are mounted without rubber seals on silicone sealant. They are fastened from the sides with two self-tapping screws. To prevent the plastic from bursting, the holes for the fasteners are visible.
In place, the gutters are secured to the front board with clamps.
To connect the gutters, a funnel with a straight branch, cut from a cross, is used. The second part of the cross is wasted, since when it is used, the socket is on top, which can lead to water getting between it and the drain pipe. In cold weather this is dangerous, as the ice will simply tear the plastic. The gutters are installed with a slope towards the funnel of at least 0.5 cm per 1 m. These parts are also fastened with self-tapping screws and silicone.
A 45 degree elbow is connected to the lower outlet of the funnel, and then a regular uncut pipe.Depending on the characteristics of the roof, several elbows can be used to bring the drain to the facade wall so that it can be attached to clamps. A corner is installed at the bottom of the drain pipe to drain water away from the foundation.
Watch the video
Similar master classes
Particularly interesting

How to install a socket if there are short wires left

How to eliminate gaps between the chimney and slate

How to mix an ultra-reliable solution for the oven that does not give

There will be no more cracks: What to add to concrete to make it

Never buy ball valves without checking with me

New technology for floor insulation with penoplex
Comments (1)

