How to make a garden windmill from a plastic bottle
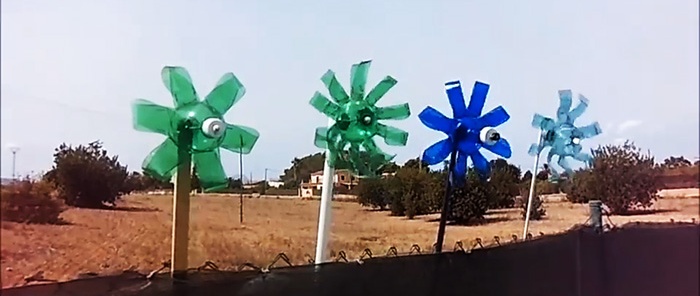
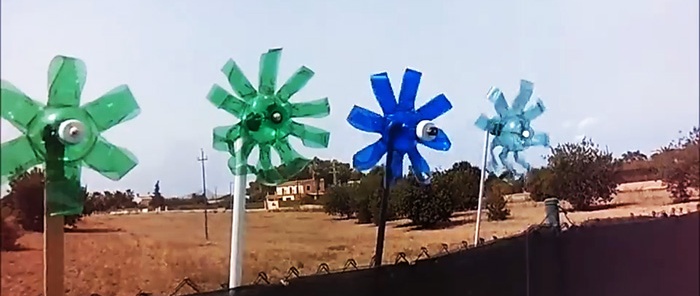
Colored plastic bottles make very beautiful and fast garden windmills. The shape of the bottle allows the formation of wide blades that react even to light winds.
Stepping back 1.5 cm from the bottom of the bottle, you need to draw a ring on its walls. The same line is marked below the neck in the place where the walls become smooth. Another ring needs to be drawn next to the lines made, stepping back from them to the center of the bottle by 1.5 cm.
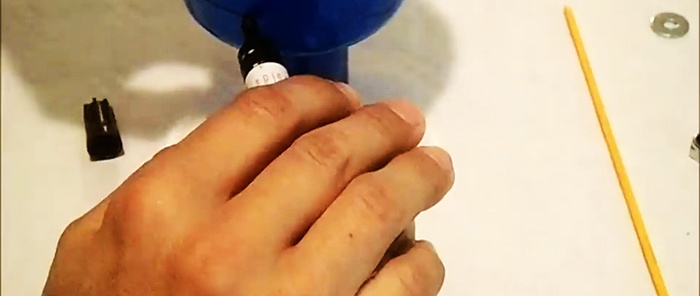
Next, you need to mark the central part of the bottle with vertical lines to break it into 8 equal parts. You can determine their width by measuring the circumference of the bottle and dividing the resulting length by 8.
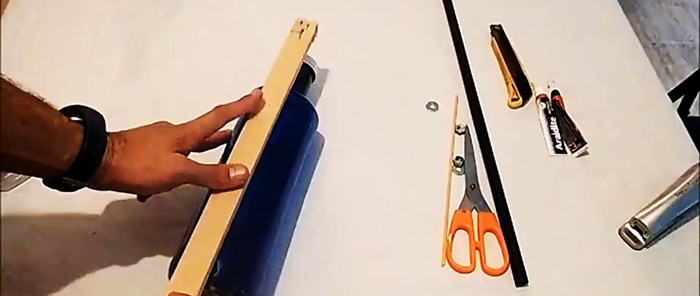
In rectangles formed from lines at the bottom and neck of the bottle, you need to draw diagonals running from the top to the bottom corner. Then, using a sharp knife and scissors, you need to cut the bottle into strips along vertical lines.
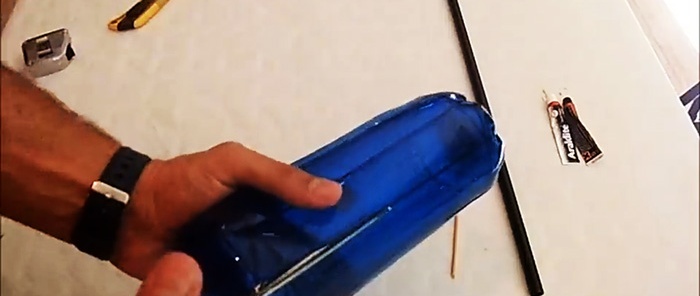
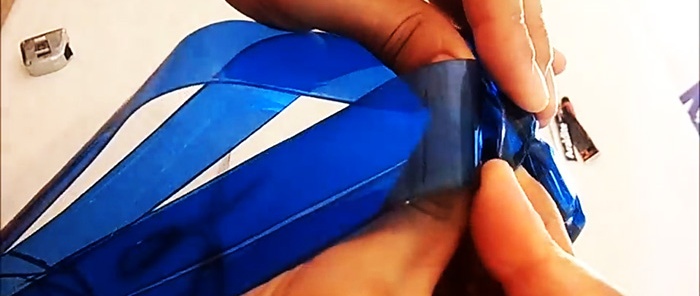
From the bottom side, the strips must be bent with the bend inward along the drawn diagonals to form folds. After this, the same bends are made diagonally at the neck.
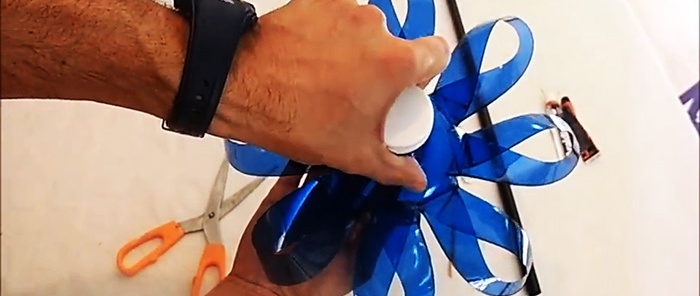
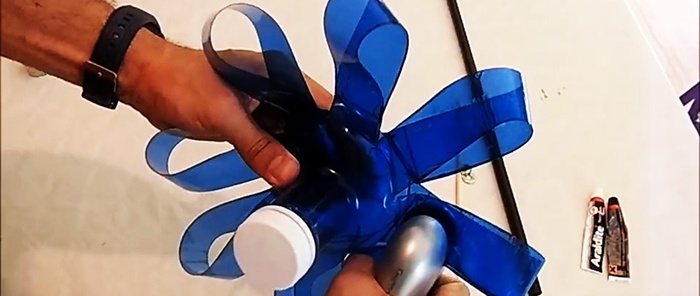
If you squeeze the bottle to bring the bottom and neck together, while turning it a little, the folded strips will form blades. Each of them needs to be fixed by punching it with a stationery stapler. 2 staples are driven into one blade.
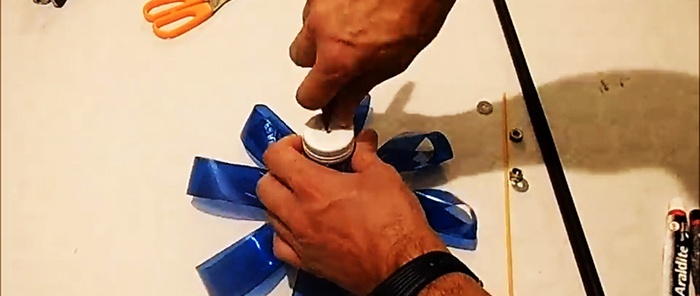
Next, you need to make holes in the bottom and center of the lid for the axis of rotation, for which you can use a bamboo skewer. The holes should be slightly larger than the diameter of the axle.
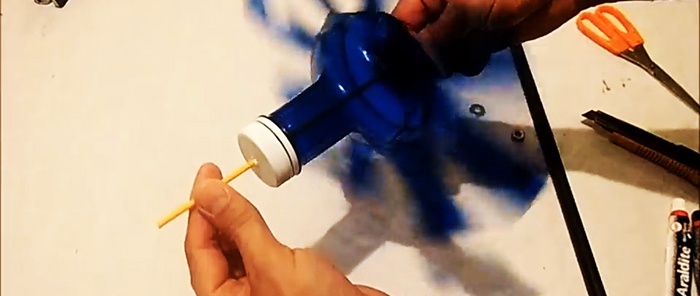
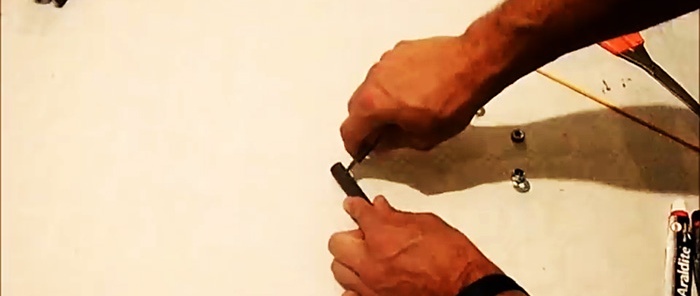
Then you need to secure the axle to the stand. A plastic tube or even stick will do. A narrow hole is made in the rack closer to the top and a skewer is inserted into it at a right angle. A washer and nut are put on the axle, after which the blades are pushed down to the stand.
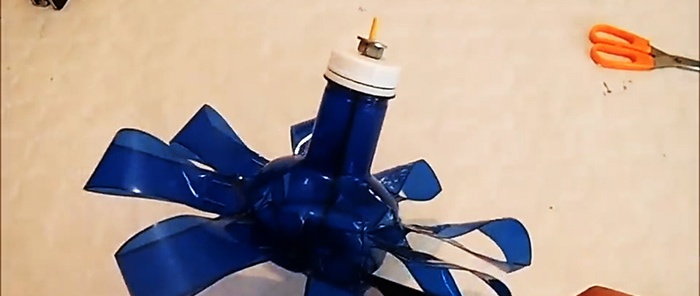
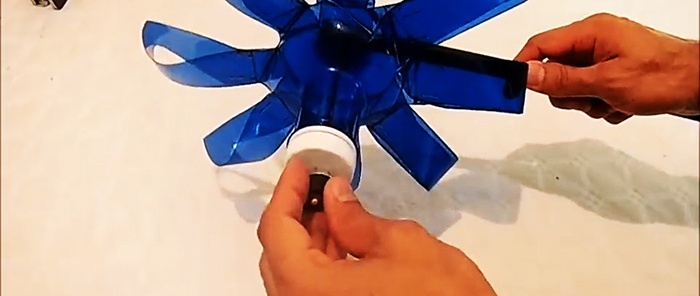
To secure the blades, a nut and washer are also put on the plug side. After this, retreating 1 cm, you need to cut the skewer. All that remains is to stop it. To do this, you need to stretch a piece of rubber or soft plastic over the tip of the axle. You can also apply a little hot glue or wrap the axle with wire. It is important not to pinch the blades so that they can rotate freely. After this, the windmill can be installed in the garden, on the roof, on the balcony or used in another place.

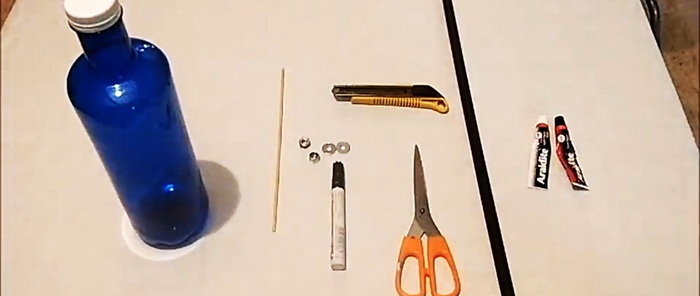
Materials:
- colored PET bottle;
- bamboo skewer;
- nuts M3-M5 - 2 pcs.;
- washers M3-M5 - 2 pcs.;
- plastic tube or flat stick.

Wind turbine manufacturing process
Stepping back 1.5 cm from the bottom of the bottle, you need to draw a ring on its walls. The same line is marked below the neck in the place where the walls become smooth. Another ring needs to be drawn next to the lines made, stepping back from them to the center of the bottle by 1.5 cm.

Next, you need to mark the central part of the bottle with vertical lines to break it into 8 equal parts. You can determine their width by measuring the circumference of the bottle and dividing the resulting length by 8.

In rectangles formed from lines at the bottom and neck of the bottle, you need to draw diagonals running from the top to the bottom corner. Then, using a sharp knife and scissors, you need to cut the bottle into strips along vertical lines.


From the bottom side, the strips must be bent with the bend inward along the drawn diagonals to form folds. After this, the same bends are made diagonally at the neck.

If you squeeze the bottle to bring the bottom and neck together, while turning it a little, the folded strips will form blades. Each of them needs to be fixed by punching it with a stationery stapler. 2 staples are driven into one blade.

Next, you need to make holes in the bottom and center of the lid for the axis of rotation, for which you can use a bamboo skewer. The holes should be slightly larger than the diameter of the axle.


Then you need to secure the axle to the stand. A plastic tube or even stick will do. A narrow hole is made in the rack closer to the top and a skewer is inserted into it at a right angle. A washer and nut are put on the axle, after which the blades are pushed down to the stand.


To secure the blades, a nut and washer are also put on the plug side. After this, retreating 1 cm, you need to cut the skewer. All that remains is to stop it. To do this, you need to stretch a piece of rubber or soft plastic over the tip of the axle. You can also apply a little hot glue or wrap the axle with wire. It is important not to pinch the blades so that they can rotate freely. After this, the windmill can be installed in the garden, on the roof, on the balcony or used in another place.

Watch the video
Similar master classes
Particularly interesting
Comments (0)


