We make mega cheap Venetian plaster from cement and PVA
Ready-made Venetian plaster in buckets is expensive, so it is not available for budget repairs. If you really like this method of finishing, but don’t want to overpay, you can make decorative plaster yourself from more affordable finishing materials. The beauty of homemade plaster is its low cost, as well as its weather resistance. It can be used both indoors and outdoors. It is also suitable for finishing a shower.
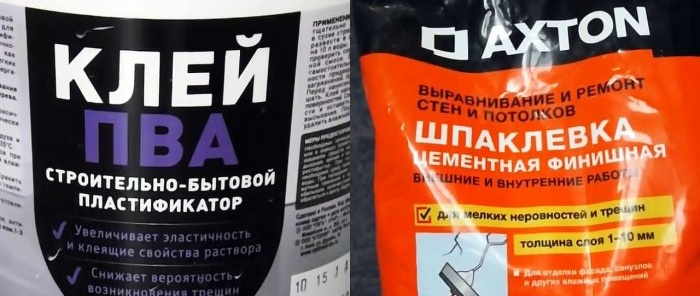
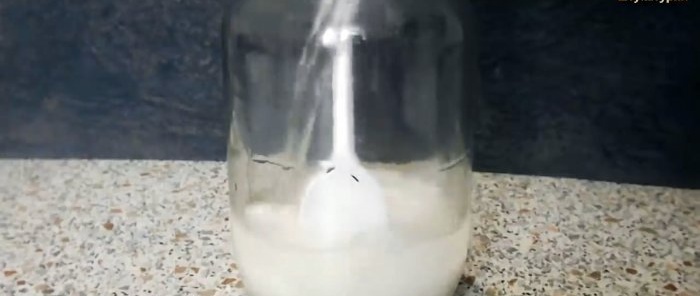
To prepare plaster, you need to dilute PVA glue in water in a ratio of 1:10.
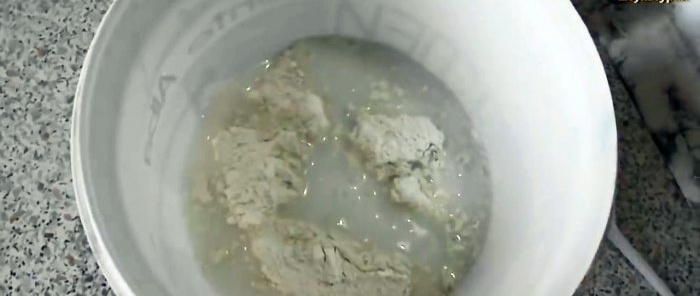
The resulting composition is used instead of ordinary water when mixing the finishing cement putty. Thanks to the presence of glue, it acquires the necessary plasticity. You need to prepare a small amount of Venetian plaster, as it sets quickly and you simply may not have time to work it on the walls.
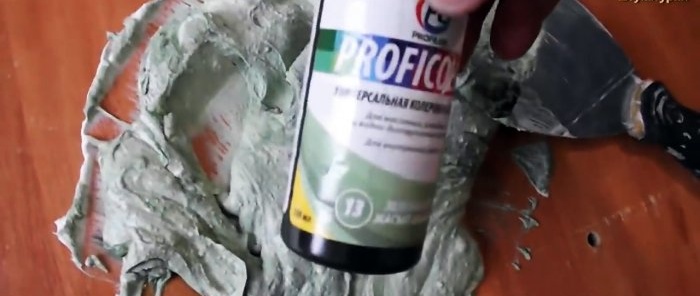
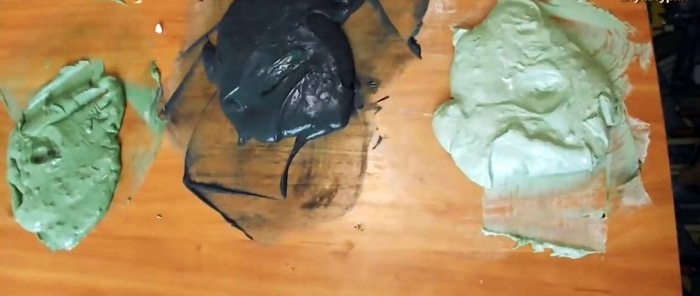
Next, the finished mixture is divided into portions and tinted with ordinary paint colors.
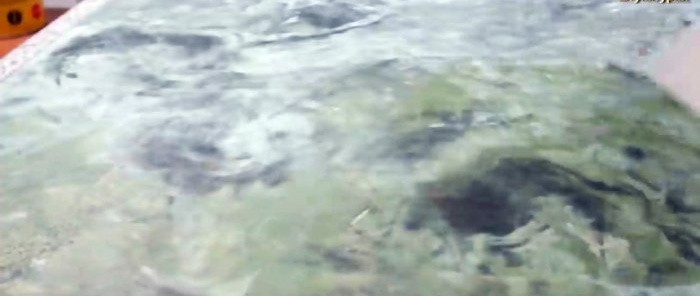
In this case, 3 colors are prepared: dark green, light green and black.
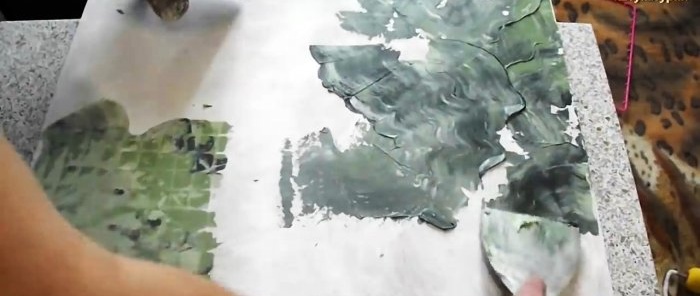
To apply the composition to the wall, you need to throw a little plaster of each color onto a trowel using a spatula. Then they are mixed several times directly on the trowel to obtain streaks. After this, the plaster is applied to the wall in wave-like movements with vibration. The spatula should not be pressed too hard to leave a thin layer.
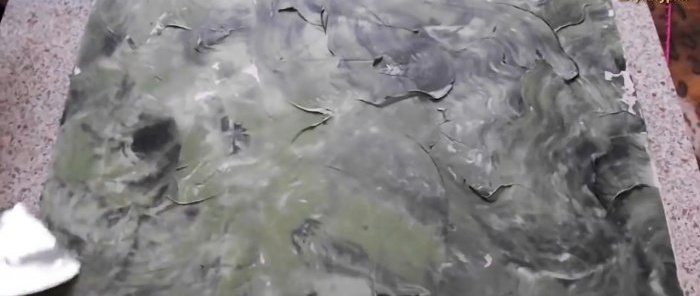
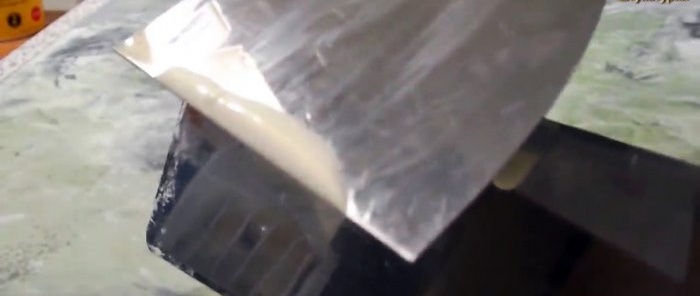
Having covered a small area of the wall, remove the sagging while the material is wet. Then you need to do the ironing with a Venetian trowel.
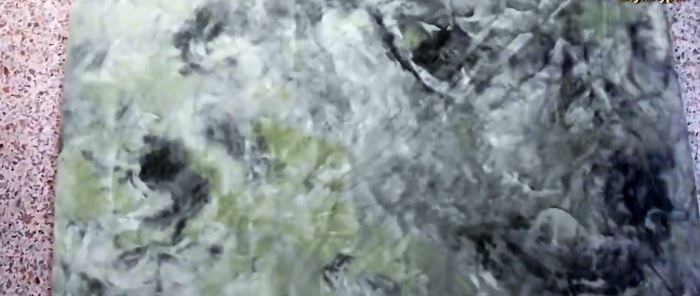
The plaster is smoothed first with light pressure, and as it dries with stronger pressure. After this, a metallic sheen will appear and the clarity of the pattern will increase.
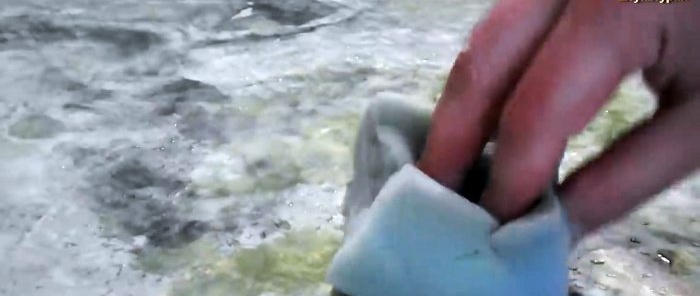
To protect the finished plaster and better display the color, the walls should be treated with wax, varnish, or simply coated with mother-of-pearl enamel for exterior and interior use. The finishing composition is applied with a spatula and very thinly distributed over the surface.
It will make the plaster moisture resistant. You can use beeswax dissolved in turpentine. This option is high-quality and cheap, but in the future it requires ventilating the room for more than a week until the smell disappears.
The degree of gloss of Venetian plaster depends on the protective coating used and the number of its layers. When working with a homemade composition, you must adhere to the same rules as with factory-made plaster. It should not be applied to too large an area at once, so that the sagging does not harden until it hardens.
source
Materials:
- finishing cement putty (white);
- PVA construction glue;
- paint colors;
- Venetian plaster wax, varnish or pearlescent enamel.
The process of preparing and applying homemade Venetian plaster
To prepare plaster, you need to dilute PVA glue in water in a ratio of 1:10.
The resulting composition is used instead of ordinary water when mixing the finishing cement putty. Thanks to the presence of glue, it acquires the necessary plasticity. You need to prepare a small amount of Venetian plaster, as it sets quickly and you simply may not have time to work it on the walls.
Next, the finished mixture is divided into portions and tinted with ordinary paint colors.
In this case, 3 colors are prepared: dark green, light green and black.
To apply the composition to the wall, you need to throw a little plaster of each color onto a trowel using a spatula. Then they are mixed several times directly on the trowel to obtain streaks. After this, the plaster is applied to the wall in wave-like movements with vibration. The spatula should not be pressed too hard to leave a thin layer.
Having covered a small area of the wall, remove the sagging while the material is wet. Then you need to do the ironing with a Venetian trowel.
The plaster is smoothed first with light pressure, and as it dries with stronger pressure. After this, a metallic sheen will appear and the clarity of the pattern will increase.
To protect the finished plaster and better display the color, the walls should be treated with wax, varnish, or simply coated with mother-of-pearl enamel for exterior and interior use. The finishing composition is applied with a spatula and very thinly distributed over the surface.
It will make the plaster moisture resistant. You can use beeswax dissolved in turpentine. This option is high-quality and cheap, but in the future it requires ventilating the room for more than a week until the smell disappears.
The degree of gloss of Venetian plaster depends on the protective coating used and the number of its layers. When working with a homemade composition, you must adhere to the same rules as with factory-made plaster. It should not be applied to too large an area at once, so that the sagging does not harden until it hardens.
Watch the video
source
Similar master classes
Particularly interesting

How to install a socket if there are short wires left

How to eliminate gaps between the chimney and slate

How to mix an ultra-reliable solution for the oven that does not give

There will be no more cracks: What to add to concrete to make it

Never buy ball valves without checking with me

New technology for floor insulation with penoplex
Comments (0)

