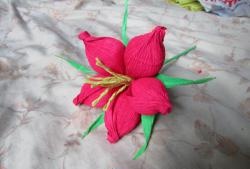
Flower from notes
Today we will make a craft - a flower from colored notes.
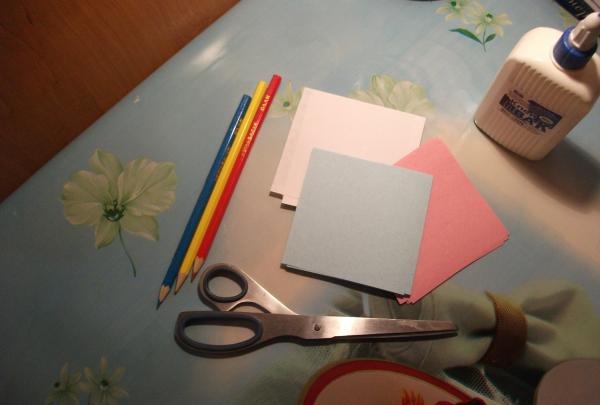
Necessary materials:
To do this we need to take notes of different colors. We had blue, red and white, as well as green - for stems and leaves. To create a flower frame, you also need to prepare a pencil. To glue the petals we need glue.
Description of work:
Flower.
Take one piece of note, bend the upper right corner,
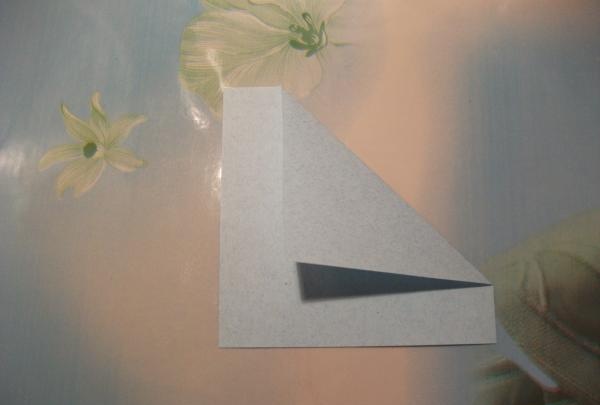
as it shown on the picture. Then we bend the upper left corner and get a petal.
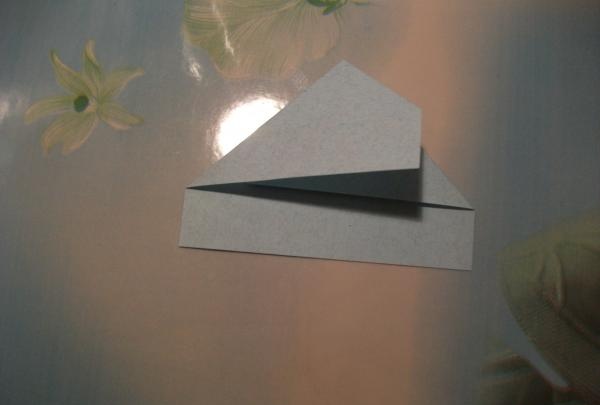
You need to make a lot of these petals - in different colors.
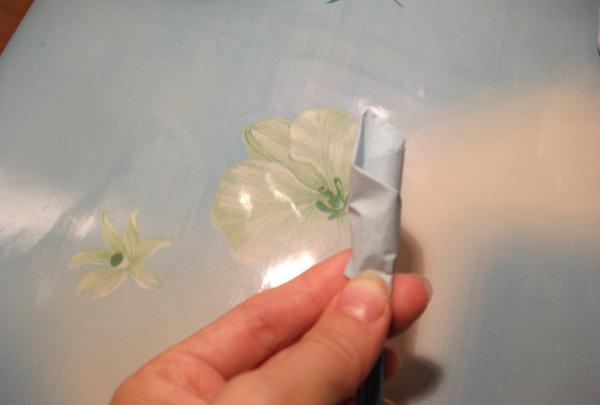
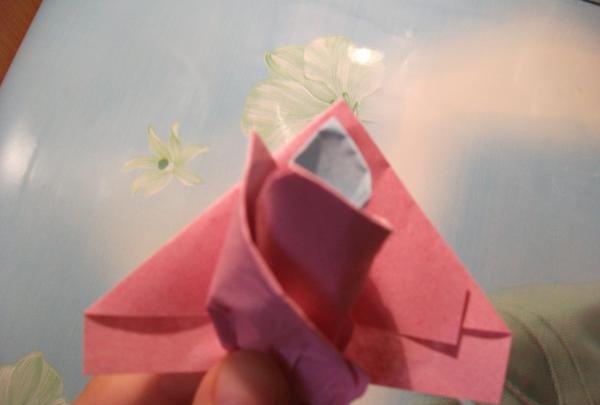
We wrap the petal around the pencil.
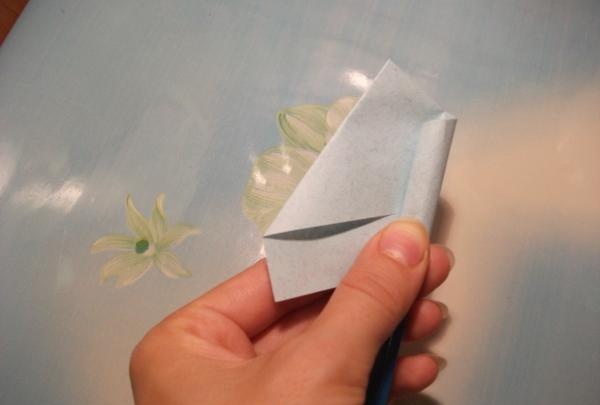
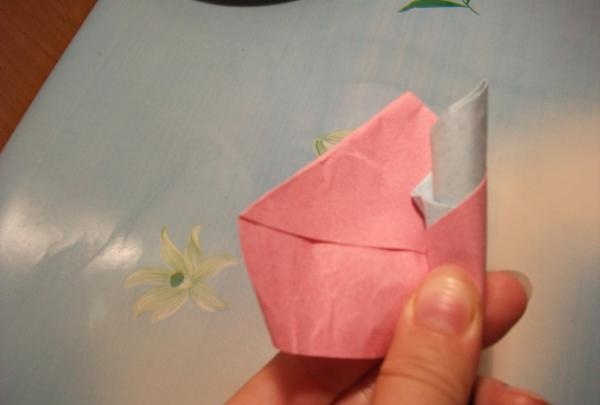
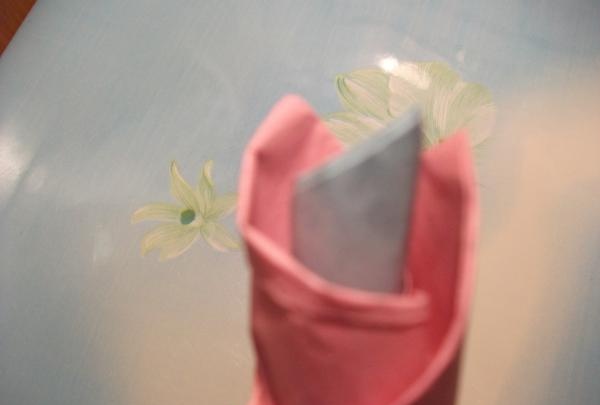
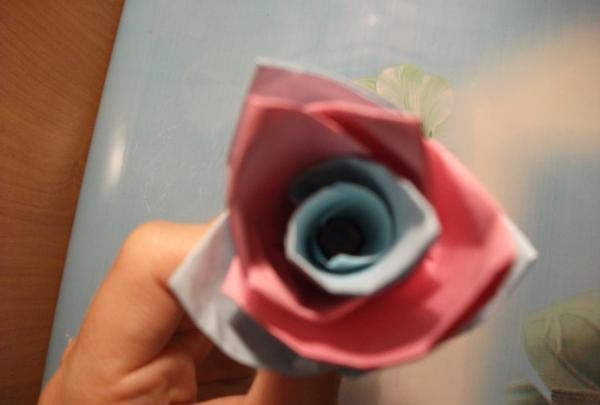
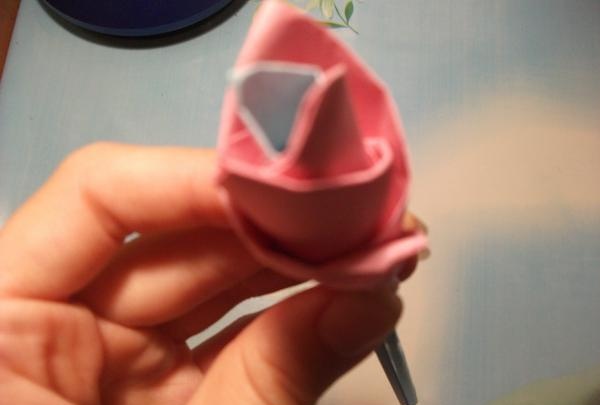
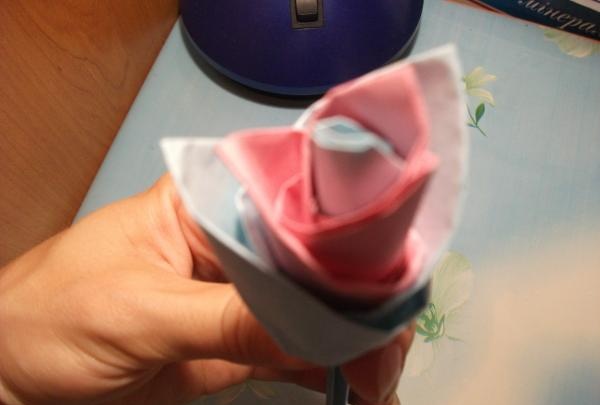
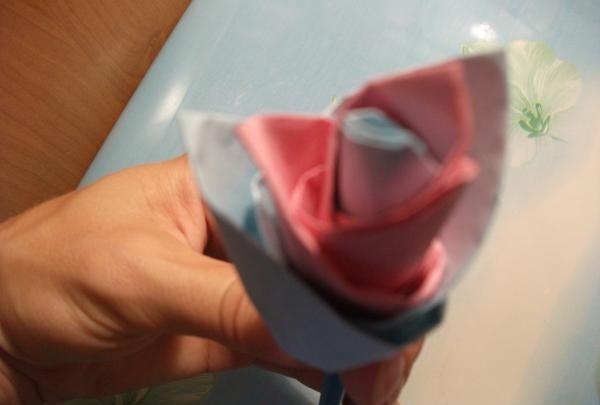
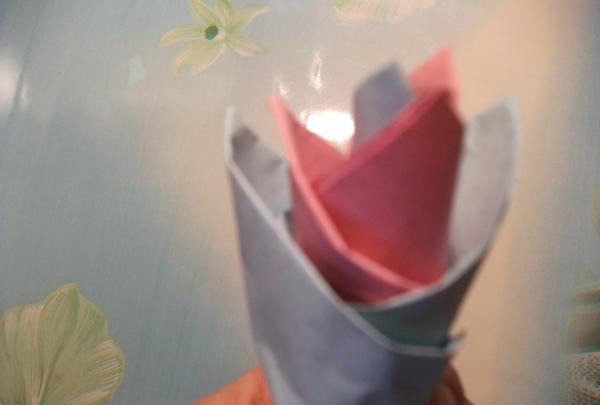
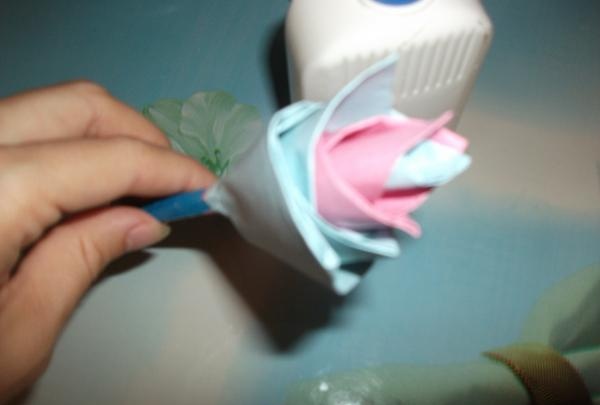
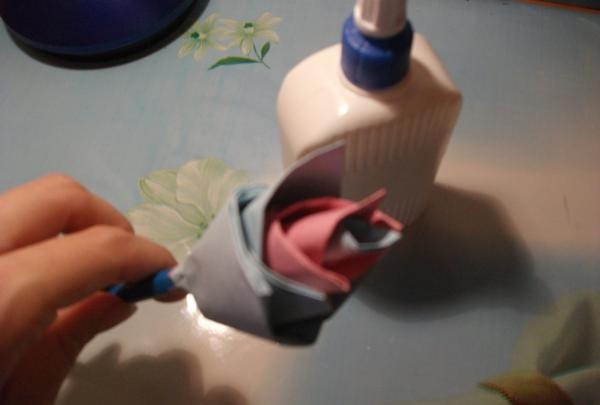
Then we attach the next petal, gluing the free edges to the flower as necessary to keep it in place. This is how we form a bud on a pencil. Having received a sufficiently lush flower, we secure the free edges with glue.
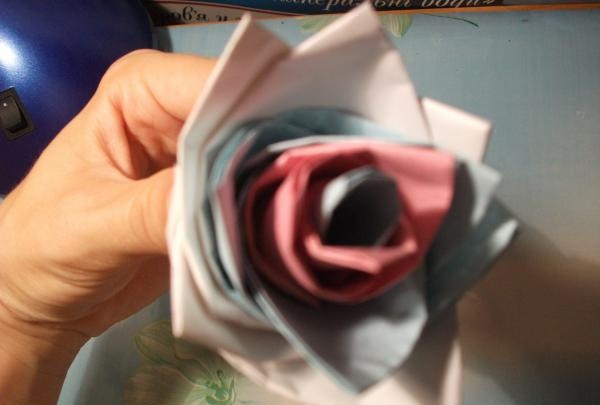
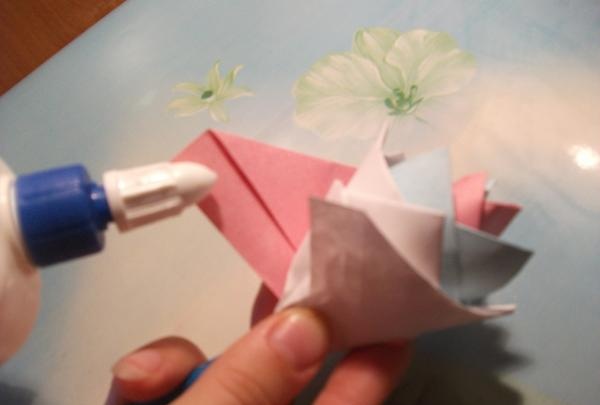
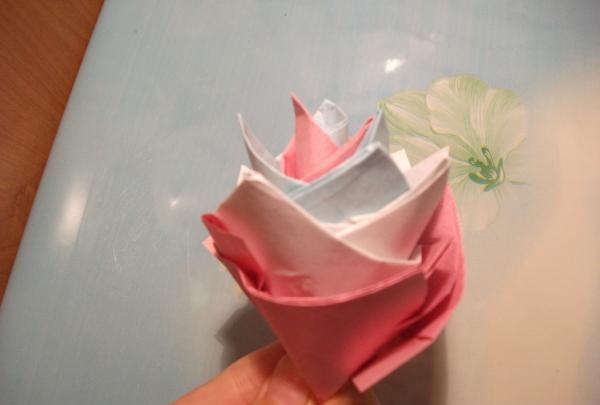
Stem and leaf
Take the green paper and wrap it tightly around the pencil, slightly covering the base of the bud to hide the uneven edges.
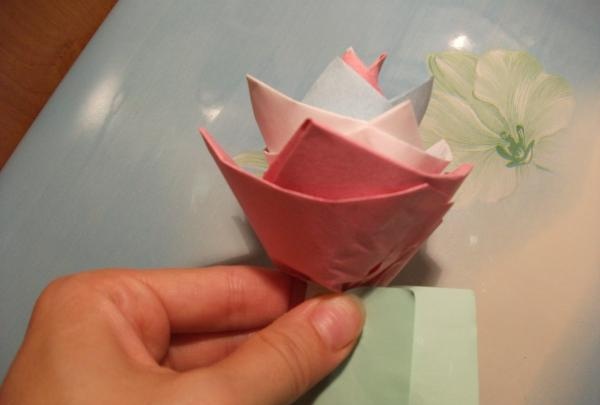
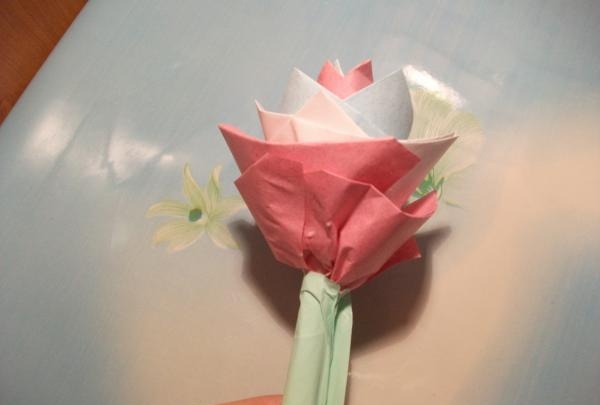
We place the second piece of green paper diagonally, as shown in the figure.
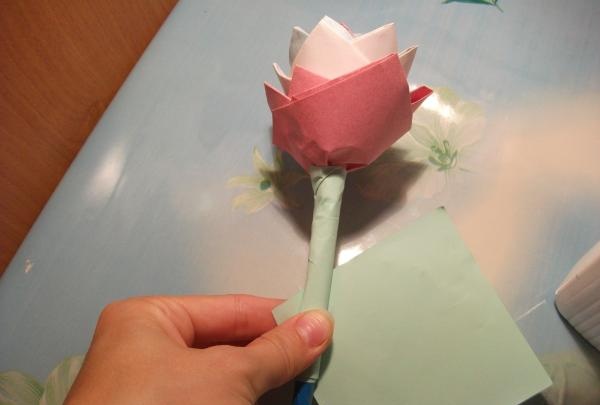
Apply a little glue to it and wrap it around the stem, leaving a piece of free edge.
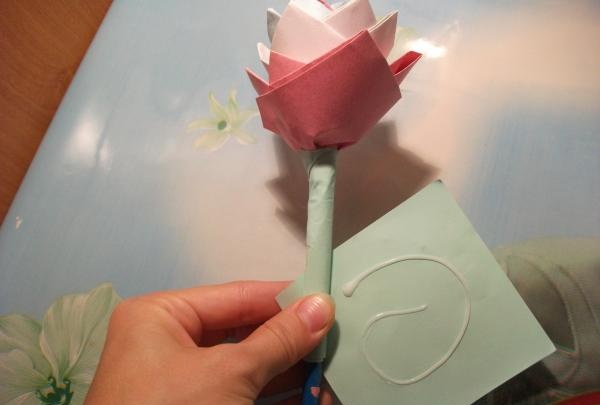
Then take another green leaf and fold it in half diagonally, making a triangle. We attach this triangle to the free edge remaining on the flower stem, as shown in the figure.
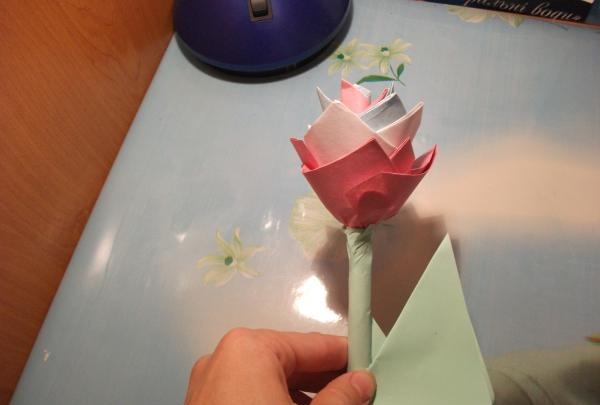
We fix the free edge together with the cast glue to the stem and bend the lower edge of the triangle, forming a leaf.
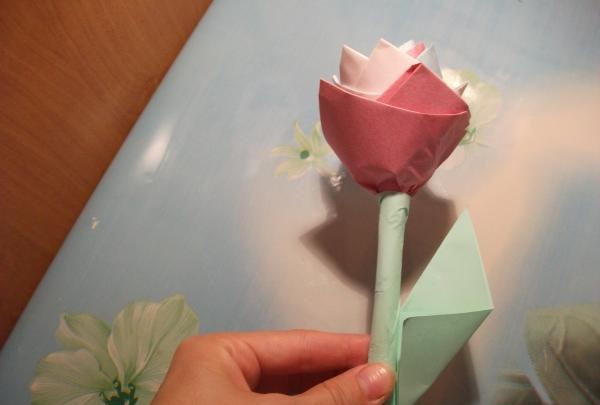
We glue the sheet so that it is solid.
That's it, the craft is ready.
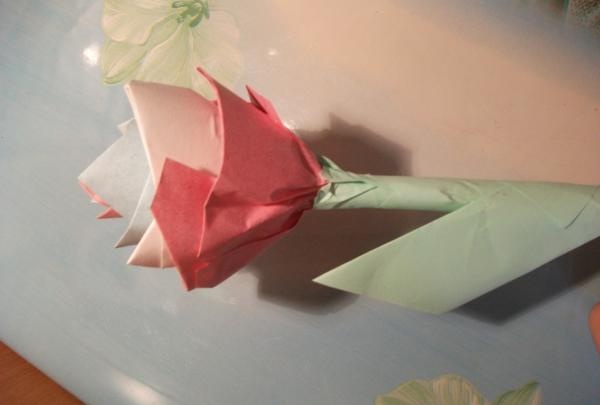
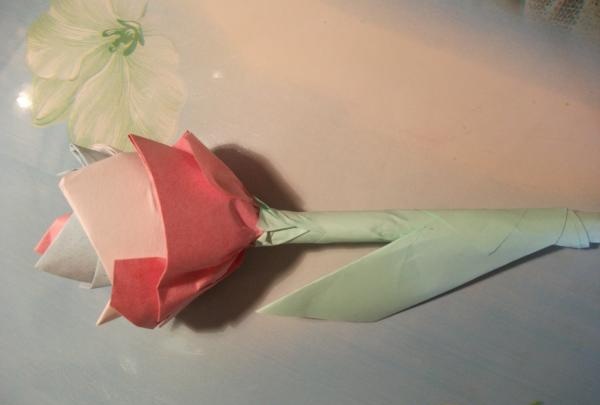
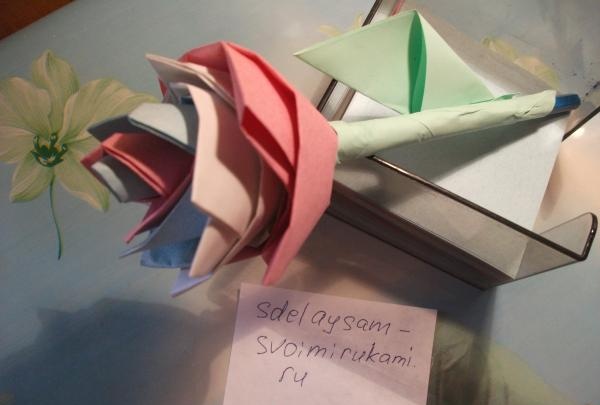
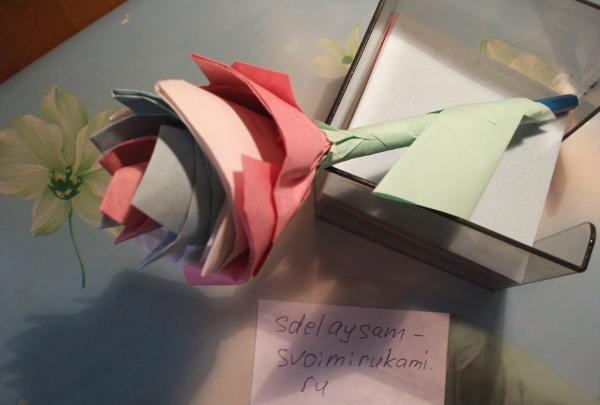
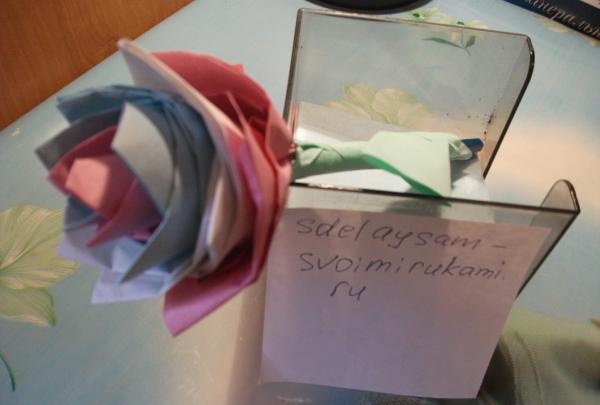
We leave it for several hours so that the glue dries well and remove the pencil from the middle.
You can make such a simple flower with your children, it will give you a lot of pleasure and pleasant emotions.
Necessary materials:
To do this we need to take notes of different colors. We had blue, red and white, as well as green - for stems and leaves. To create a flower frame, you also need to prepare a pencil. To glue the petals we need glue.

Description of work:
Flower.
Take one piece of note, bend the upper right corner,

as it shown on the picture. Then we bend the upper left corner and get a petal.

You need to make a lot of these petals - in different colors.
We wrap the petal around the pencil.

Then we attach the next petal, gluing the free edges to the flower as necessary to keep it in place. This is how we form a bud on a pencil. Having received a sufficiently lush flower, we secure the free edges with glue.


Stem and leaf
Take the green paper and wrap it tightly around the pencil, slightly covering the base of the bud to hide the uneven edges.


We place the second piece of green paper diagonally, as shown in the figure.

Apply a little glue to it and wrap it around the stem, leaving a piece of free edge.

Then take another green leaf and fold it in half diagonally, making a triangle. We attach this triangle to the free edge remaining on the flower stem, as shown in the figure.

We fix the free edge together with the cast glue to the stem and bend the lower edge of the triangle, forming a leaf.

We glue the sheet so that it is solid.
That's it, the craft is ready.


We leave it for several hours so that the glue dries well and remove the pencil from the middle.
You can make such a simple flower with your children, it will give you a lot of pleasure and pleasant emotions.
Similar master classes
Particularly interesting
Comments (1)

