Making a tandoor from a barrel with an insulated bottom without mortar
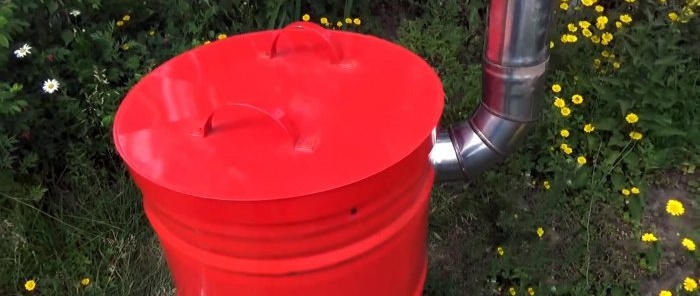
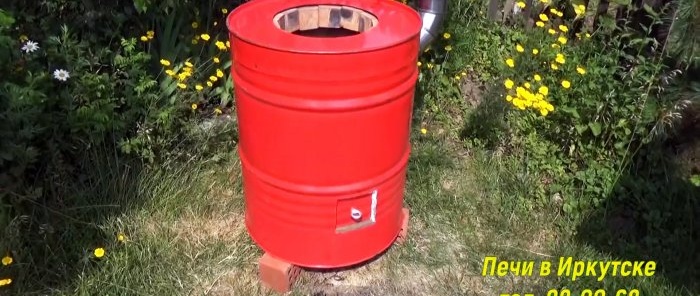
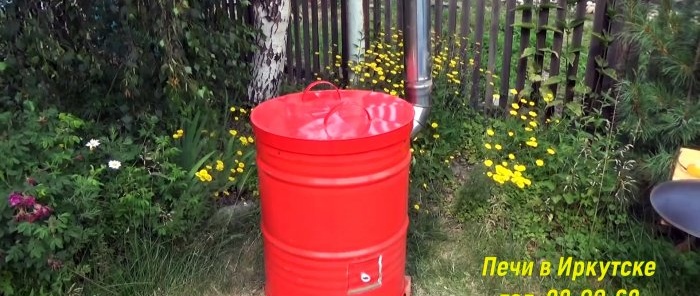
To prepare delicious meat and vegetable dishes in the fresh air, you can make a compact, neat tandoor from a barrel. In this design, it is not afraid of rain and wind, so it can be outdoors all year round. To make a tandoor in a barrel you need a minimum of skills, the main thing is to have the desire.
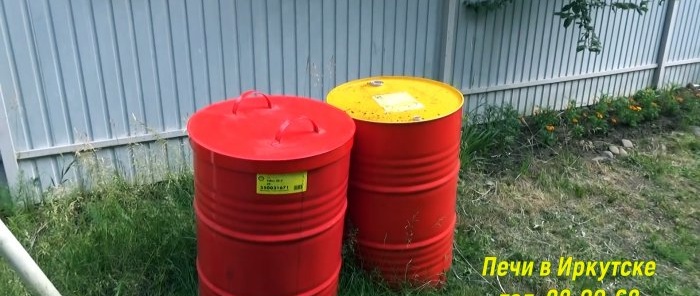
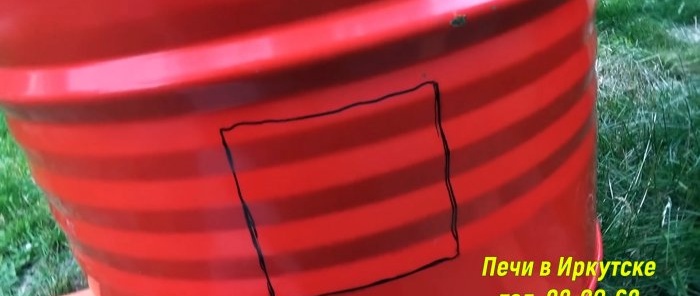
The barrel for the tandoor needs to be turned upside down and a marking made for the ash pit. Taking into account the thermal insulation underneath, the window underneath is cut out at a height of 130 mm. Then the bottom of the barrel is cut upside down so that the total height of the tandoor is 700 mm. The cut bottom is set aside for now; it will be needed later.
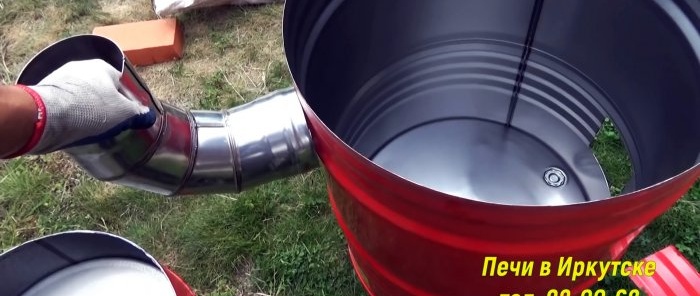
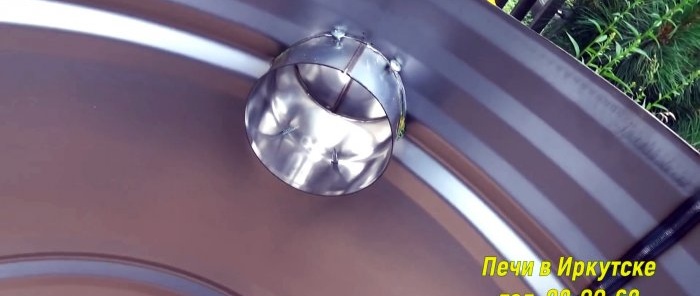
A chimney window is cut in the upper part of the barrel on the side or opposite the blower. An elbow is inserted into it and secured with self-tapping screws. The height of the chimney pipe inserted into the elbow should be above eye level so that smoke does not interfere.
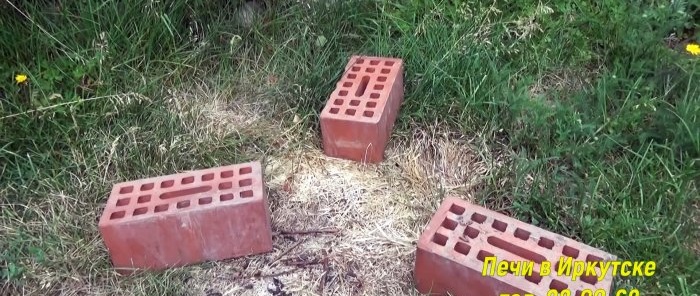
The barrel is installed in its permanent place. 3 bricks are placed under it so that it does not stand on the ground.
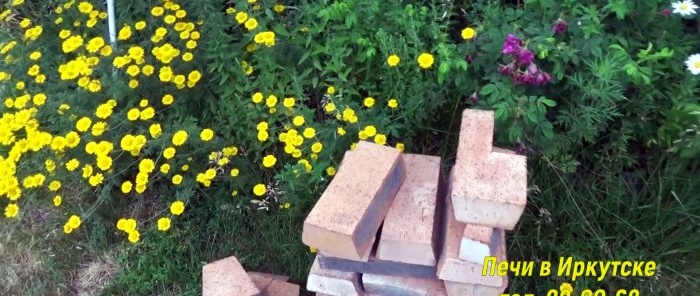
Foam diatomite brick is laid at the bottom.
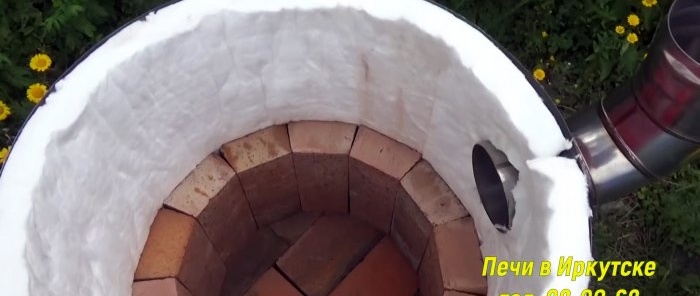
A second layer is laid on top, but already of ordinary oven bricks. Then the walls of the barrel are insulated with basalt wool or other insulation for fireplaces and stoves.
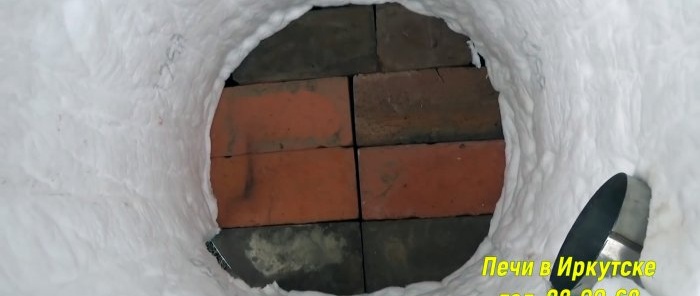
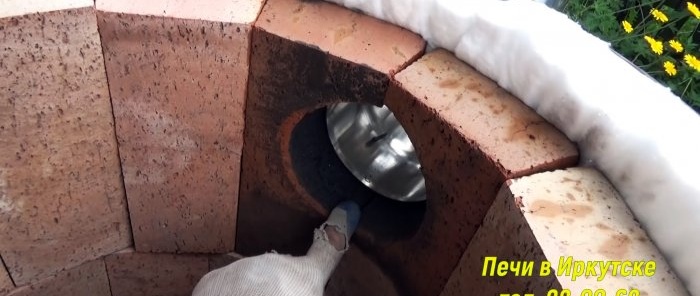
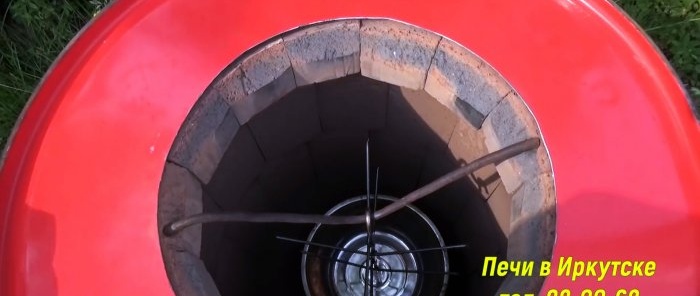
Next, you need to lay the walls of the barrel with stove bricks. To do this, it is cut at the corners. This will allow you to form a ring out of it without mortar. Due to its shape, the brick will support itself. When laying the ash pit, you need to use 2 trimmed bricks so as not to block it. The same should be done with the hole for the chimney.
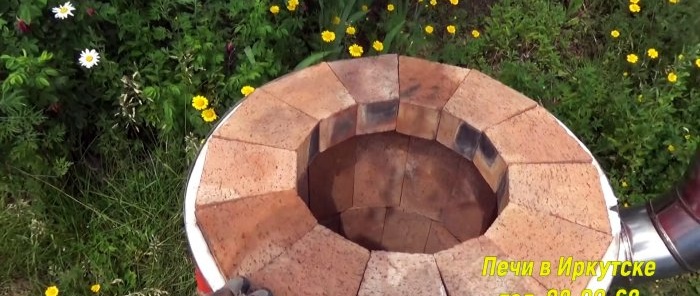
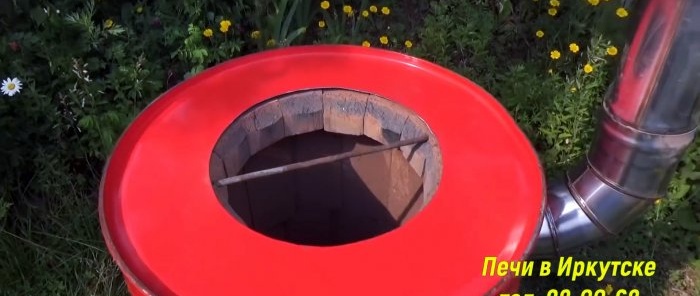
Having reached the top of the barrel with a brick, you need to make a narrowing. To do this, the brick is cut into a trapezoid shape and laid out along the rim. As a result, in the center of the tandoor there should be a hole of sufficient diameter to install an existing cauldron.
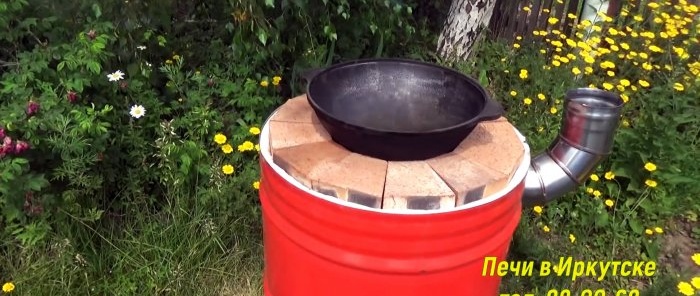
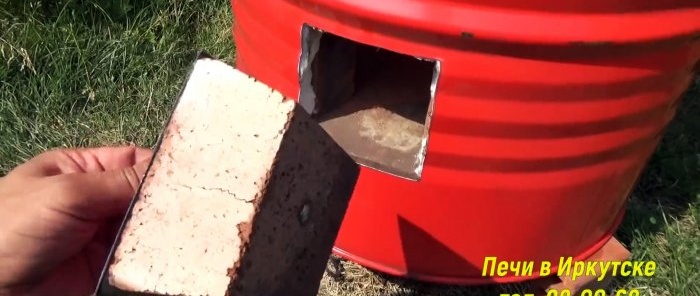
Next, you need to make a lid from the previously cut bottom of the barrel. It is shortened to 70 mm and a hole for the cauldron is cut in its center. Then the lid is stuffed onto the barrel and secured with a pair of self-tapping screws. You also need to make a ash door. To do this, a brick adjusted to the shape is screwed onto a piece of metal cut off during insertion with a bolt and an eye-nut. The result is a fairly airtight plug for the ash pan.
To prevent the tandoor from getting dirty, you should choose a lid for it, or make it out of tin. You can also install a canopy on the chimney. Due to the fact that the brick in the tandoor does not transfer all the heat to the walls of the barrel, they do not heat up very much. They can be painted, the paint will stick well. The result is a comfortable, moderately large, neat tandoor, which can be disassembled and moved if necessary.
Basic materials:
- steel barrel;
- foam diatomite brick;
- chimney pipe;
- chimney elbow;
- ordinary stove brick;
- basalt wool.
Tandoor making process
The barrel for the tandoor needs to be turned upside down and a marking made for the ash pit. Taking into account the thermal insulation underneath, the window underneath is cut out at a height of 130 mm. Then the bottom of the barrel is cut upside down so that the total height of the tandoor is 700 mm. The cut bottom is set aside for now; it will be needed later.
A chimney window is cut in the upper part of the barrel on the side or opposite the blower. An elbow is inserted into it and secured with self-tapping screws. The height of the chimney pipe inserted into the elbow should be above eye level so that smoke does not interfere.
The barrel is installed in its permanent place. 3 bricks are placed under it so that it does not stand on the ground.
Foam diatomite brick is laid at the bottom.
A second layer is laid on top, but already of ordinary oven bricks. Then the walls of the barrel are insulated with basalt wool or other insulation for fireplaces and stoves.
Next, you need to lay the walls of the barrel with stove bricks. To do this, it is cut at the corners. This will allow you to form a ring out of it without mortar. Due to its shape, the brick will support itself. When laying the ash pit, you need to use 2 trimmed bricks so as not to block it. The same should be done with the hole for the chimney.
Having reached the top of the barrel with a brick, you need to make a narrowing. To do this, the brick is cut into a trapezoid shape and laid out along the rim. As a result, in the center of the tandoor there should be a hole of sufficient diameter to install an existing cauldron.
Next, you need to make a lid from the previously cut bottom of the barrel. It is shortened to 70 mm and a hole for the cauldron is cut in its center. Then the lid is stuffed onto the barrel and secured with a pair of self-tapping screws. You also need to make a ash door. To do this, a brick adjusted to the shape is screwed onto a piece of metal cut off during insertion with a bolt and an eye-nut. The result is a fairly airtight plug for the ash pan.
To prevent the tandoor from getting dirty, you should choose a lid for it, or make it out of tin. You can also install a canopy on the chimney. Due to the fact that the brick in the tandoor does not transfer all the heat to the walls of the barrel, they do not heat up very much. They can be painted, the paint will stick well. The result is a comfortable, moderately large, neat tandoor, which can be disassembled and moved if necessary.
Watch the video
Similar master classes
Particularly interesting
Comments (1)

