How to cheaply concrete a garage entrance
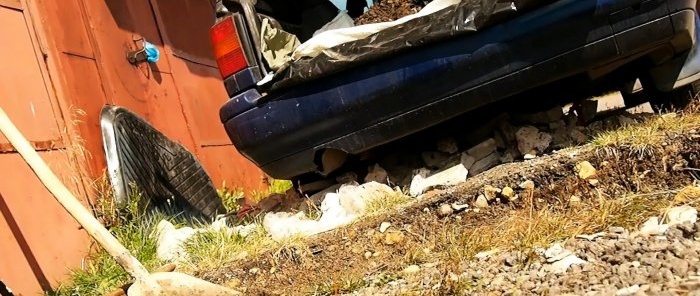
Precipitation, drainage and groundwater, wheel slipping gradually lower the ground level in front of the garage and a noticeable difference is created with the floor level. It is difficult to enter and exit, especially when there is a corner or channel across it - an element of the load-bearing frame of a metal garage. You have to put down stones, boards, and all sorts of rubbish. Dangerous and ugly. But everything can be fixed, and almost without spending money.
All you need is an attitude and a willingness to run around and collect what people and builders and repairmen have thrown away:
Unless you have to buy several bags of cement-sand mixture (CPS) and construction sand, which, however, can also be obtained for free. You will also need the following tools: a hammer drill, shovels, a pick, a tamper, a container for mixing PCB, etc.
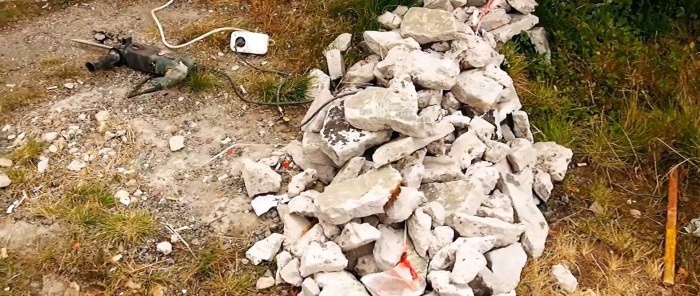
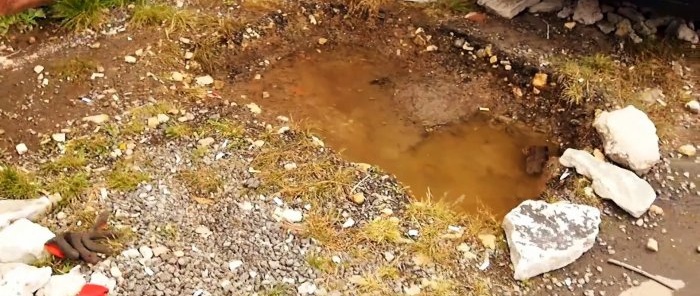
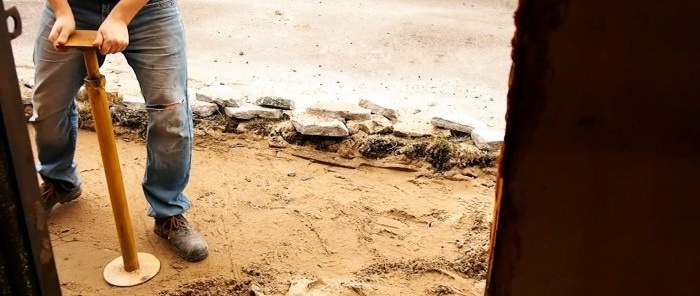
Having determined the dimensions of the entrance base, we mark them with cords. Using a hammer drill, we loosen the soil and remove it. If we encounter stones and fragments of concrete debris, we remove them to the side.They will still come in handy.
We drain the drainage water and fill the bottom with sand, compacting it until a layer 2-3 cm thick is obtained. Thus, we begin to create waterproofing of the concrete entrance from drainage and groundwater.
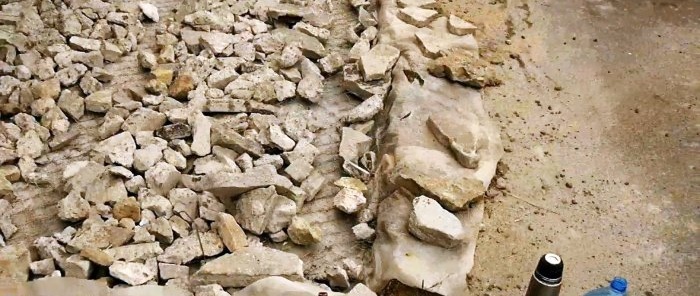
We lay two layers of roofing felt and one layer of oilcloth on the sand. We cover them with a double chain-link mesh made of thin wire. On top of it we lay out small fragments of concrete debris and small stones.
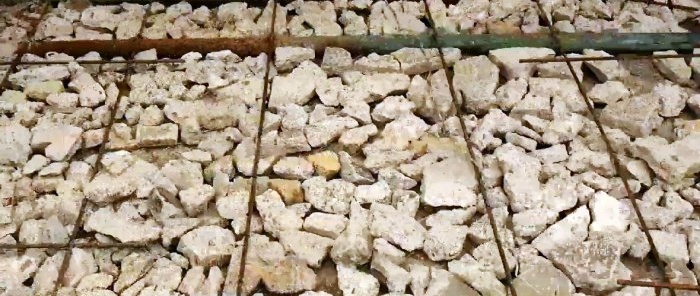
Let's take care of the fittings. To do this, using a level, we lay 2 or 3 old pipes, preferably of the same diameter, parallel to each other and perpendicular to the plane of the garage facade. We place reinforcement crosswise on them and tie the joints together with knitting wire. Where the reinforcement is sparse, we add short pieces of reinforcement and also bandage the joints.
Now - an important point: ensuring a guaranteed gap between the top of the concrete entrance and the bottom of the gate leaves.
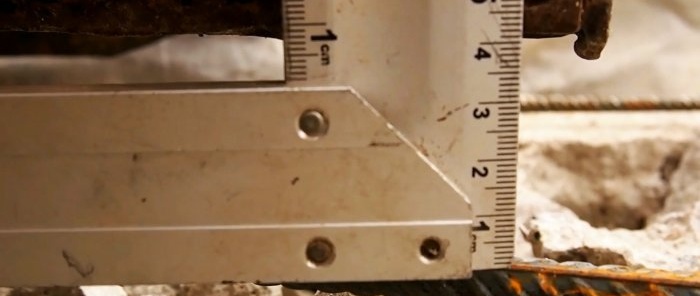
To do this, at the time of laying the reinforcement, the clearance must be at least 4 cm. One cm is the thickness of the concrete layer above the reinforcement, 1.5 cm is the raising of the platform in autumn and spring. The actual gap is 1.5 cm, which is enough even for winter.
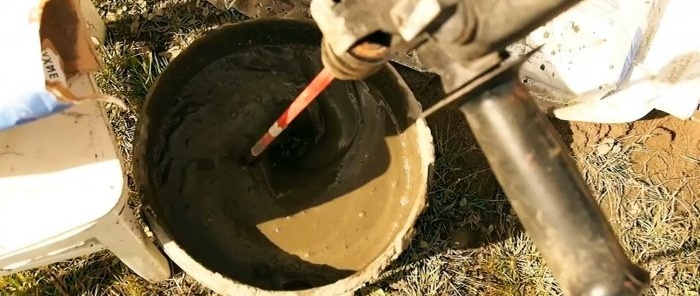
Fill the bottom layer with liquid solution, mixing the CPS and water with a hammer drill with a nozzle. Thanks to its mobility, such a mixture penetrates into all voids and crevices, cements fragile structures and creates a solid foundation after hardening.
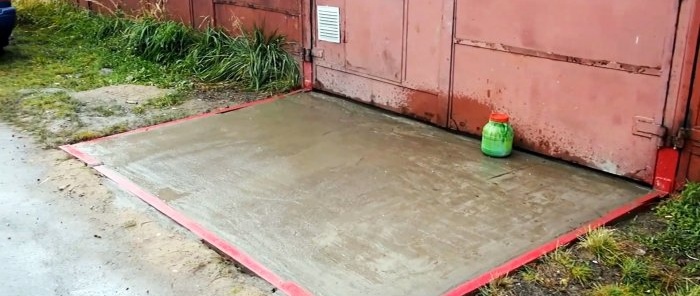
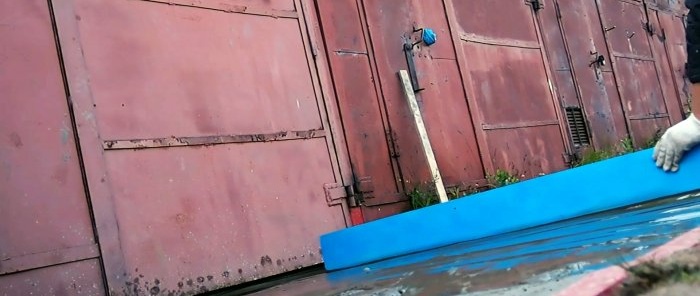
Fill the top layer with a thicker solution, installing steel corners around the perimeter to protect the edges of the screed from cracking when driven by car wheels. Level the surface with a trowel.
In a week, or better yet, in three, the screed will gain the required strength and will last for many years.
Such a screed, in addition to its direct functions, will protect the garage from moisture and provide convenience during repair, welding, carpentry and other work.
Required
All you need is an attitude and a willingness to run around and collect what people and builders and repairmen have thrown away:
- pieces of roofing felt and oilcloth;
- construction and concrete waste;
- scraps of old fittings, pipes and binding wire;
- remnants of chain-link mesh;
- discarded pieces of steel angles.
Unless you have to buy several bags of cement-sand mixture (CPS) and construction sand, which, however, can also be obtained for free. You will also need the following tools: a hammer drill, shovels, a pick, a tamper, a container for mixing PCB, etc.
Concreting process
Having determined the dimensions of the entrance base, we mark them with cords. Using a hammer drill, we loosen the soil and remove it. If we encounter stones and fragments of concrete debris, we remove them to the side.They will still come in handy.
We drain the drainage water and fill the bottom with sand, compacting it until a layer 2-3 cm thick is obtained. Thus, we begin to create waterproofing of the concrete entrance from drainage and groundwater.
We lay two layers of roofing felt and one layer of oilcloth on the sand. We cover them with a double chain-link mesh made of thin wire. On top of it we lay out small fragments of concrete debris and small stones.
Let's take care of the fittings. To do this, using a level, we lay 2 or 3 old pipes, preferably of the same diameter, parallel to each other and perpendicular to the plane of the garage facade. We place reinforcement crosswise on them and tie the joints together with knitting wire. Where the reinforcement is sparse, we add short pieces of reinforcement and also bandage the joints.
Now - an important point: ensuring a guaranteed gap between the top of the concrete entrance and the bottom of the gate leaves.
To do this, at the time of laying the reinforcement, the clearance must be at least 4 cm. One cm is the thickness of the concrete layer above the reinforcement, 1.5 cm is the raising of the platform in autumn and spring. The actual gap is 1.5 cm, which is enough even for winter.
Fill the bottom layer with liquid solution, mixing the CPS and water with a hammer drill with a nozzle. Thanks to its mobility, such a mixture penetrates into all voids and crevices, cements fragile structures and creates a solid foundation after hardening.
Fill the top layer with a thicker solution, installing steel corners around the perimeter to protect the edges of the screed from cracking when driven by car wheels. Level the surface with a trowel.
In a week, or better yet, in three, the screed will gain the required strength and will last for many years.
Such a screed, in addition to its direct functions, will protect the garage from moisture and provide convenience during repair, welding, carpentry and other work.
Watch the video
Similar master classes
Particularly interesting
Comments (1)

