Potatoes come out on their own: a simple potato digger for a walk-behind tractor that is easy to repeat
If, when using a regular potato digger, weed roots and tops remains collect on it, causing the walk-behind tractor to be stopped periodically for cleaning, you can convert it into two stands, and the problem will completely go away. With a modernized digger, working will become much easier and faster. This equipment is suitable only if the potatoes are located at the crest of the row and do not go deep into the dense lower layers of the soil.
Materials:
- pointed cultivator paw;
- razor blades KRN right and left;
- strip 40x4 mm;
- reinforcement 8-10 mm;
- M10 bolts with nuts – 2 pcs.
The process of making a potato digger
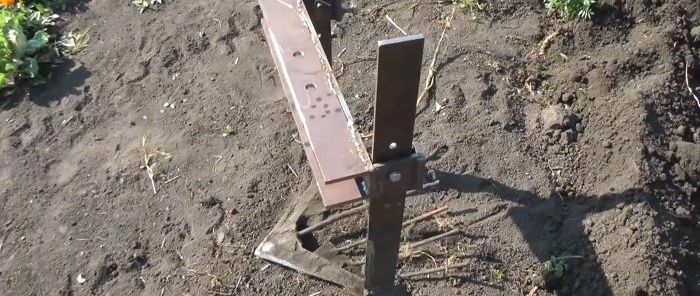
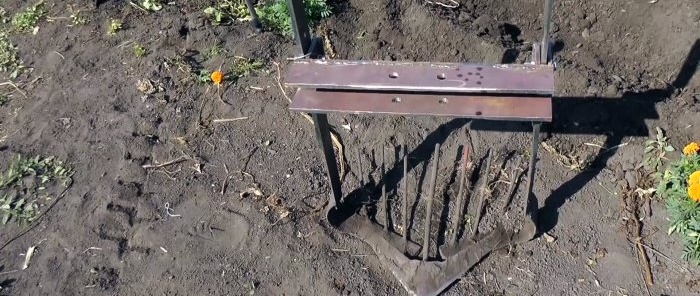
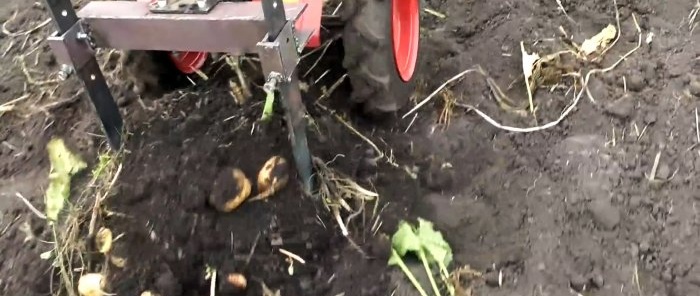
In the design of this potato digger, the main load will be taken by the pointed cultivator tine without a stand. On the sides, a razor blade is welded to it. The distance between their edges is such that the potato digger covers the entire row and has a small margin in width.
Strips 450 mm long are welded to the razor legs, like standard racks.Before this, holes are made in them on the upper half with a 10 mm drill in increments of several centimeters in order to be able to change the depth.
Next, the fan is welded. To do this, the reinforcement is cut into pieces 30 cm long. 7 pieces are enough. They are then welded behind the spliced foot. One reinforcement goes in the center, the rest symmetrically on the sides with the same indentation, but no wider than an average potato. The fan is welded with a slight upward slope.
Then a traverse is made to attach the paw stands. It can be welded in the form of a U-shaped profile of 3 strips. Holes are drilled in the center of the traverse so that it can be attached to a suspension instead of a coulter support. If your walk-behind tractor uses a different type of mount, then you need to upgrade the design to accommodate it.
At the edges of the traverse, fastenings for the racks are welded. They are welded from strip. A hole is drilled through the fasteners on the side. When installing racks in them, you need to align the holes and secure the leg with bolts and nuts.
Before using the digger, it is important to thoroughly clean the welds between the blade and the razors. It is also advisable to remove rust so that the potato digger glides better. Then it is installed on the suspension.
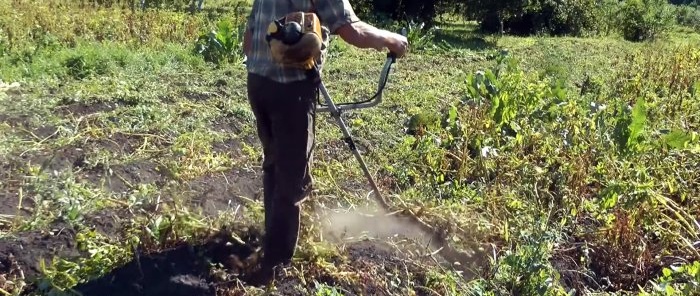
For ease of use, we mow down the already dried potato stems.
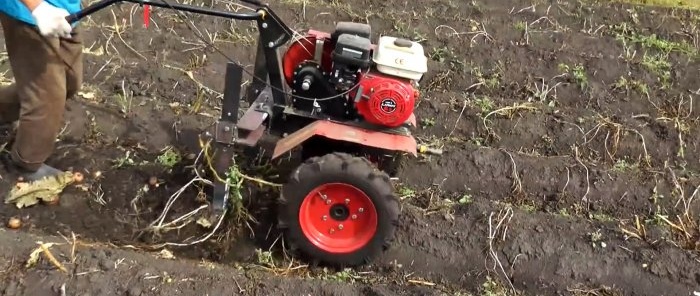
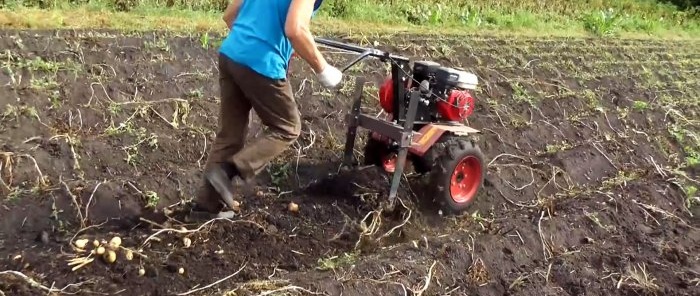
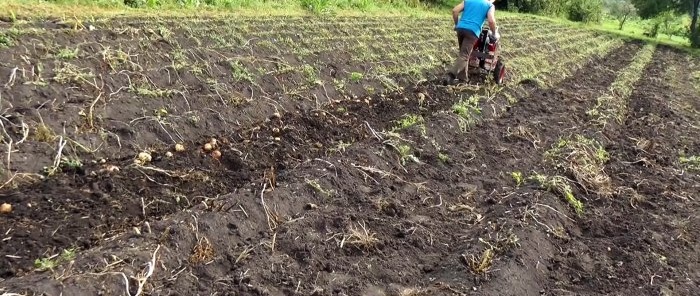
And we begin to walk in rows. A potato digger of this design goes straight, it is less likely to move to the side when encountering large weed roots, and most importantly, it does not get clogged.
But for it to work well, it is important not to deepen it when planting potatoes. It should be located in the ridge. In this case, the digger will not cut the tubers, and they will all be thrown up.
Then it's just a matter of harvesting.
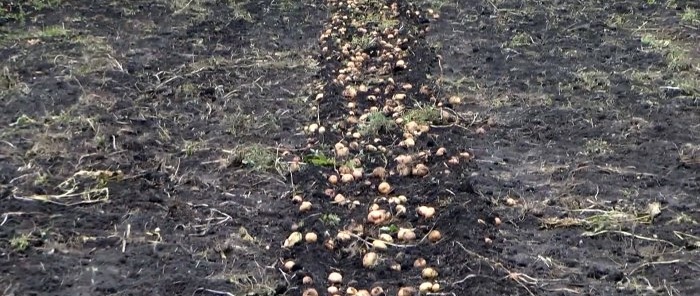
All potatoes remain on the open surface.
Watch the video
Similar master classes

Harvesting potatoes with a walk-behind tractor. How to improve

Lugs for a walk-behind tractor made from old VAZ wheels

Making a clamp from a stabilizer bar

How to make a device for removing weeds by the root

How to convert a gasoline walk-behind tractor to gas

With this tool you can forget about a shovel for digging.
Particularly interesting
Comments (0)


