How to 100% repair a remote control with a pencil and glue
The remote control for a TV, air conditioner or other household appliances begins to malfunction after a couple of years. At first, in order for the buttons to work, you need to press them with all your might, but over time, this does not help. If something like this happens, don’t rush to buy a new remote control or take the old one to the workshop; you can fix everything yourself.
What you will need:
- graphite pencil;
- Super glue;
- needle file;
- alcohol;
- cotton swab.
Remote control repair process
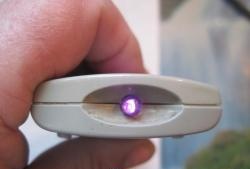
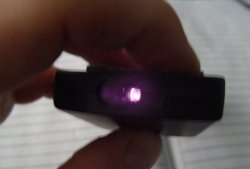
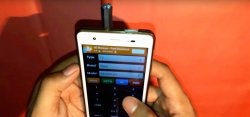
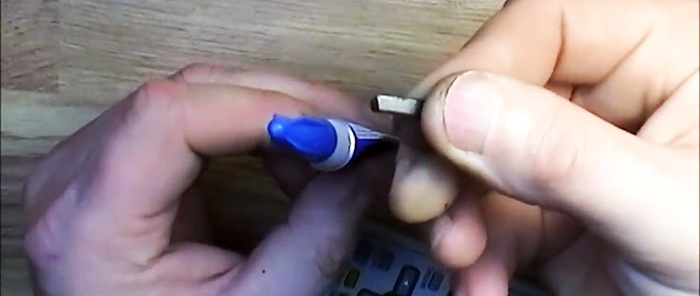
Before repairing the remote control, you need to determine which buttons have stopped working. This is very easy to do if, when pressing them, you look at the IR diode through the camera of your mobile phone, since its flashes are invisible to the naked eye. It will light up on working buttons. Broken buttons are marked with a pen or felt-tip pen so that they cannot be repaired.
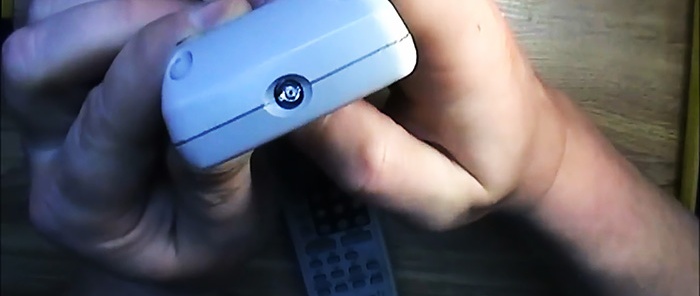
Next, the screws on the back of the remote control are unscrewed and it is disassembled.
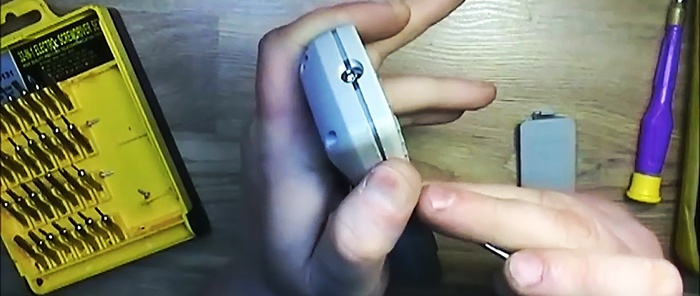
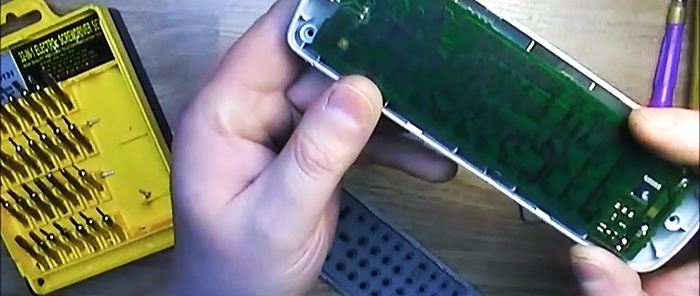
We are interested in a rubber plate with buttons.
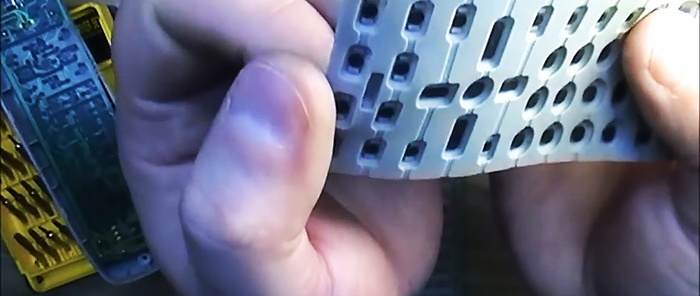
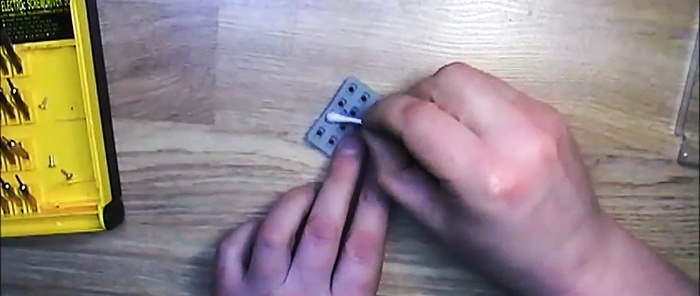
It must be wiped on the back side with a cotton swab dipped in alcohol, especially in front of the buttons.
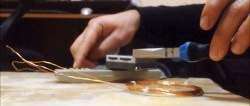
Now you need to rub the pencil lead on the file. It is important that it is graphite.This can be checked by measuring the resistance on it with a multimeter. For graphite it is low, for a chemical pencil it is high.
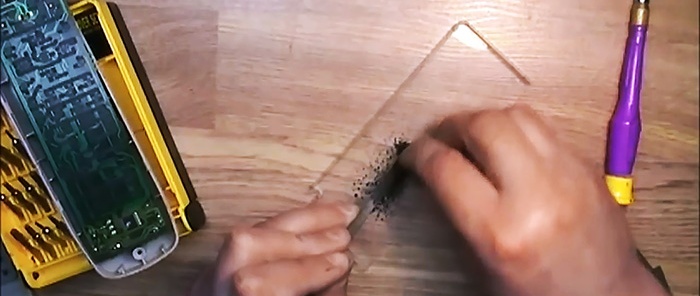
Superglue is added to graphite dust in a 1:1 ratio.
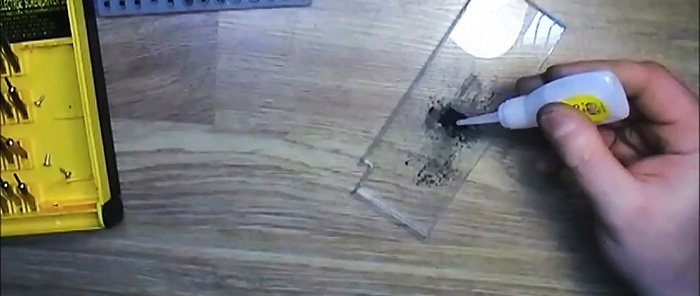
Everything is mixed and applied drop by drop on the back of each non-working button. This can be done with a paper strip.
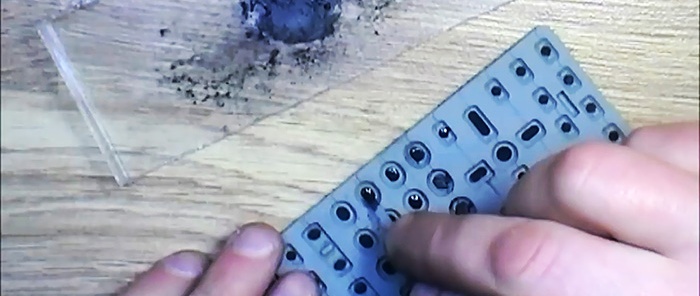
You need to act quickly in order to catch the glue before it sets.
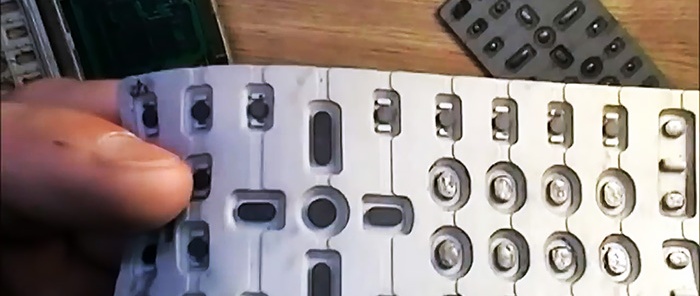
Then the buttons are dried with a hairdryer or set aside for 5-10 minutes to allow the mixture to dry. After this, the remote control is put back together. After such a repair, each button will work like new, unless, of course, the rubber has not yet worn out or lost its shape.
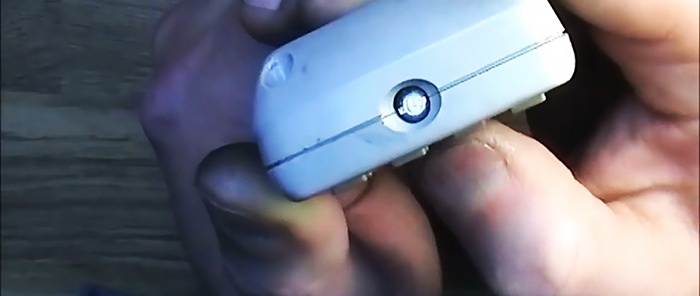
Watch the video
Similar master classes
Particularly interesting
Comments (3)

