How to make a powerful pump with two motors from cans
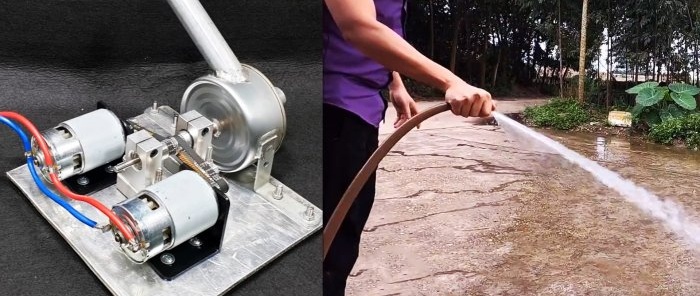
If you have a couple of motors from cordless tools lying around in your workshop, you can use them to make a powerful water pump. It is useful where there is no power supply, as it can be powered by a battery. With its help you can water the lawn, garden, wash your car with water from the lake, etc.
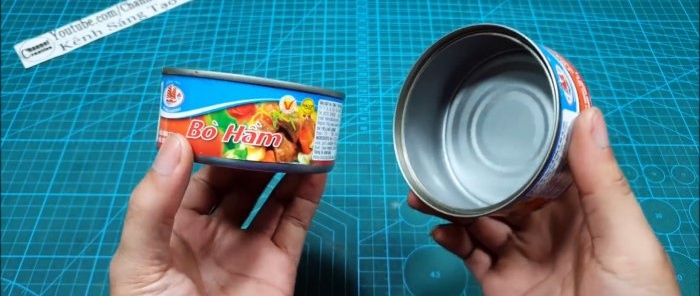
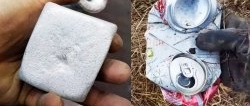
To assemble the pump snail, you need to select 2 tin cans with thick walls.
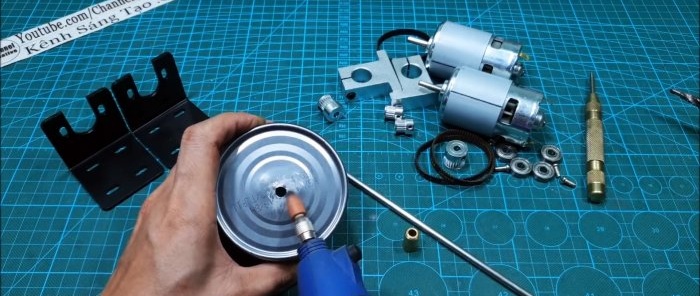
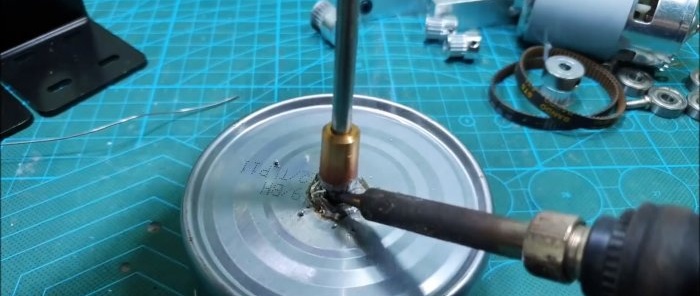
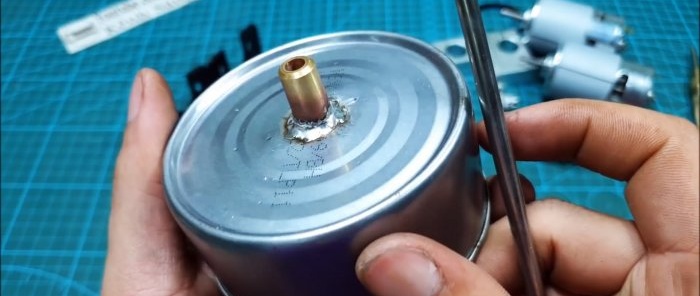
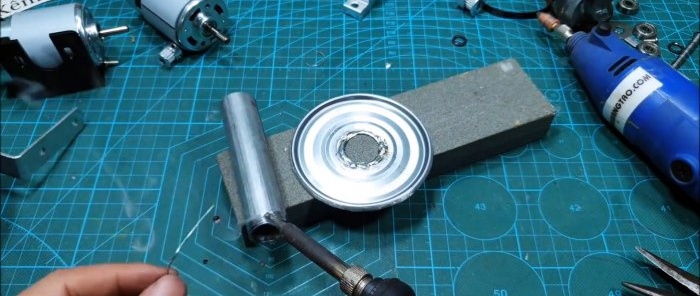
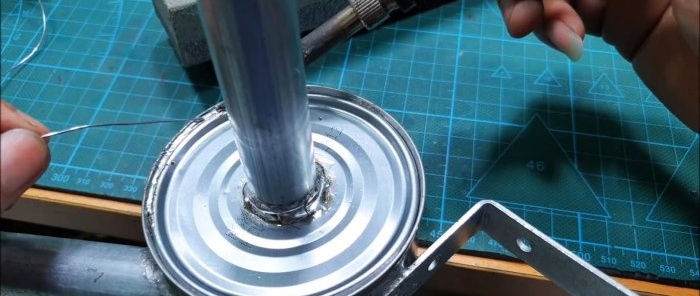
In one of them, the bottom is visible in the center, and a sleeve is soldered to the hole.
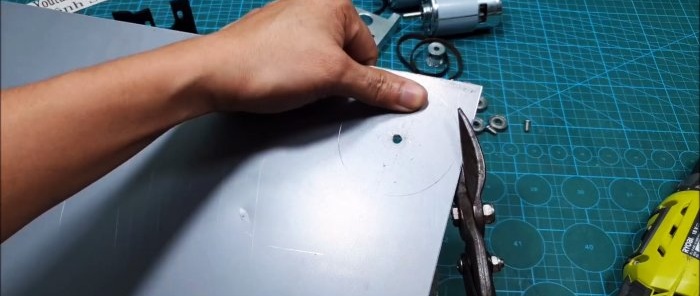
A circle with a slightly smaller diameter than the bottom of a tin can is cut out of sheet aluminum. A hole is drilled in it for the existing rod.
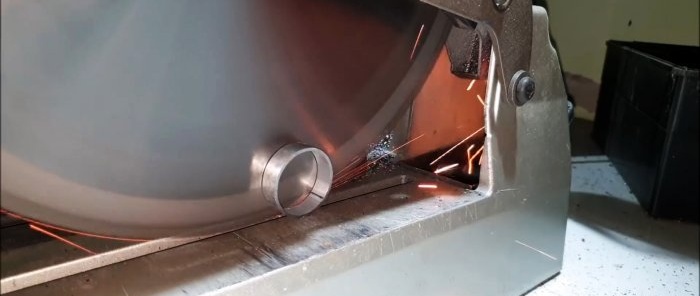
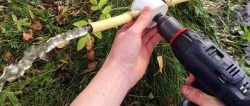
Next, you need to cut 3 rings 8–12 mm wide from the pipe. They are cut in half. It is important that all halves have the same weight.
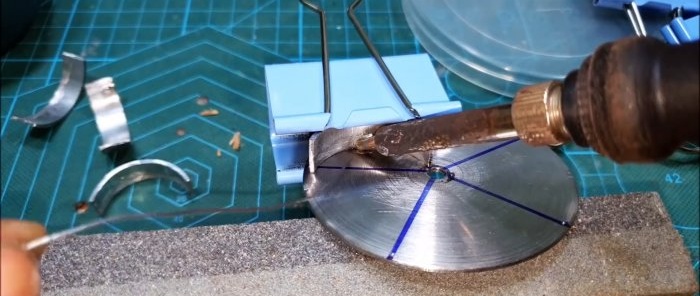
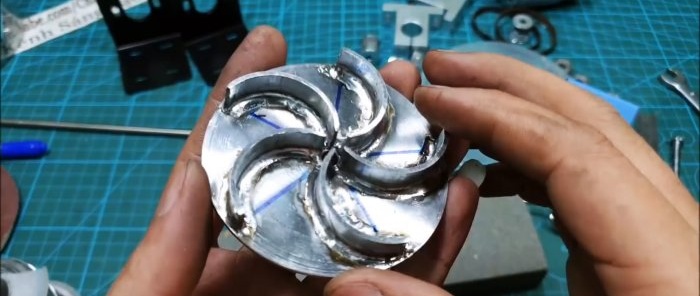
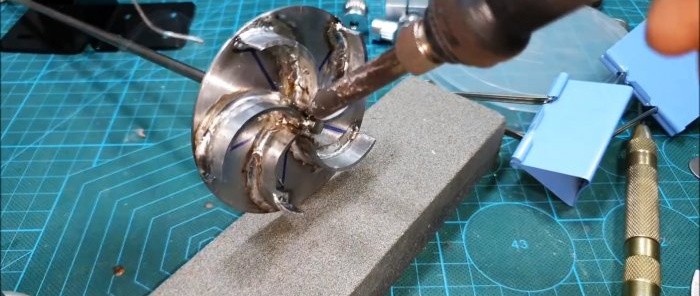
The previously cut disk is cleaned and divided into 5 sectors. According to the markings, half rings are soldered onto it. The result is an impeller. The edge of the rod is soldered into the center.
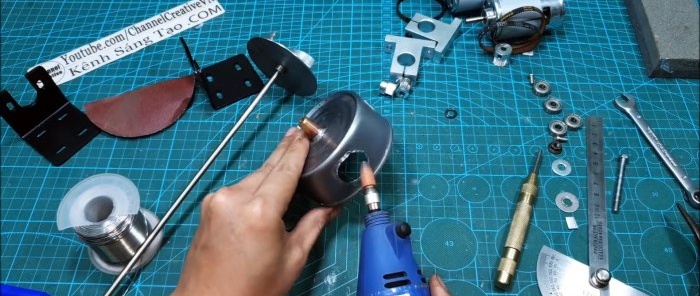
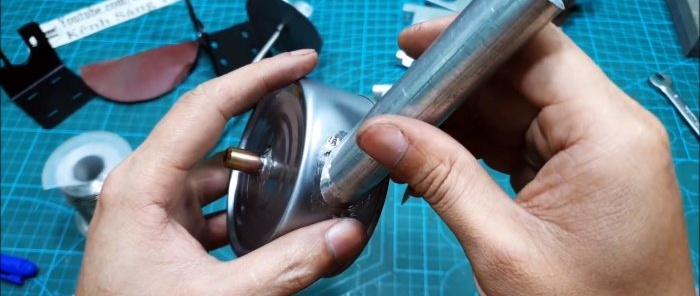
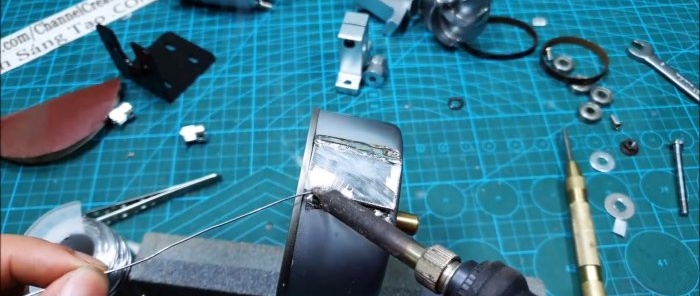
A bearing is put on the impeller axle, and it is inserted through the bushing into the can for fitting. Then you need to cut a window on the side of the case and solder a tube cut at an acute angle to it. This will be the connection pipe for the garden hose.
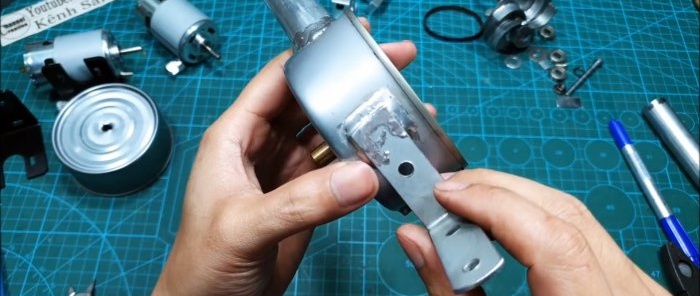
For stability, a plate is soldered opposite the pipe to the outer wall of the housing. There are 2 corners soldered on the sides.
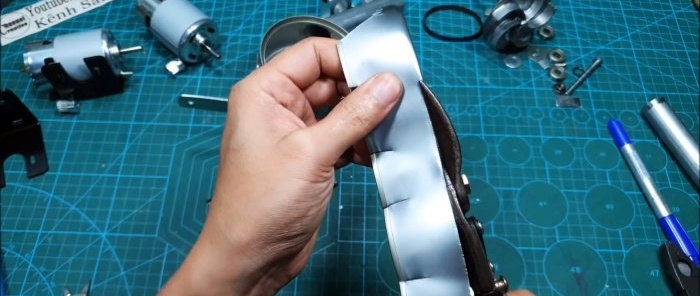
The bottom of the second tin can is cut off. A hole is cut in its center and a tube is soldered through which water will be sucked in. Next, you need to insert the impeller with the bearing into the housing, close it with the lid made and solder it.
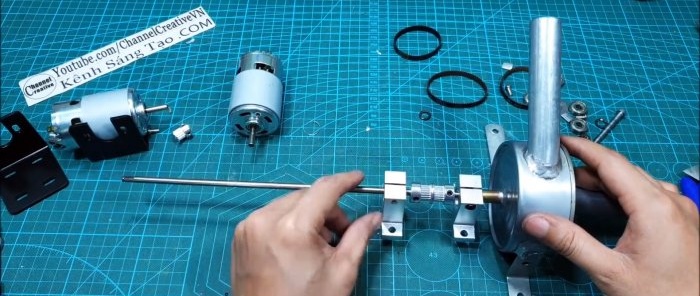
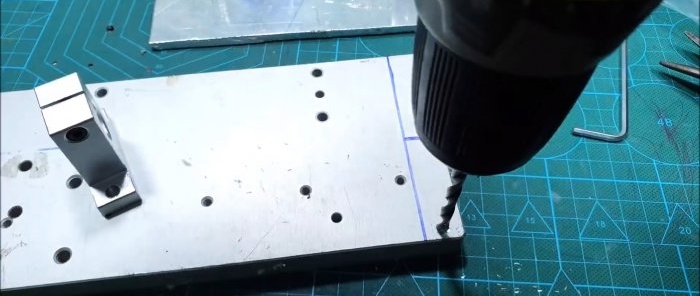
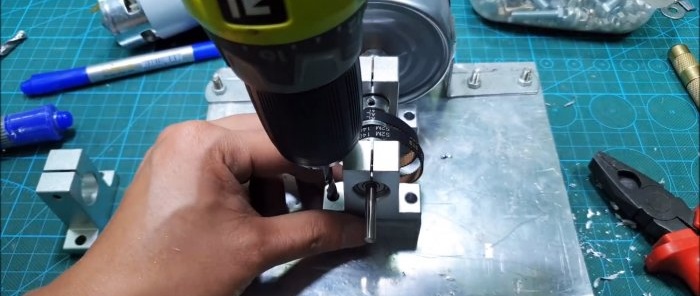
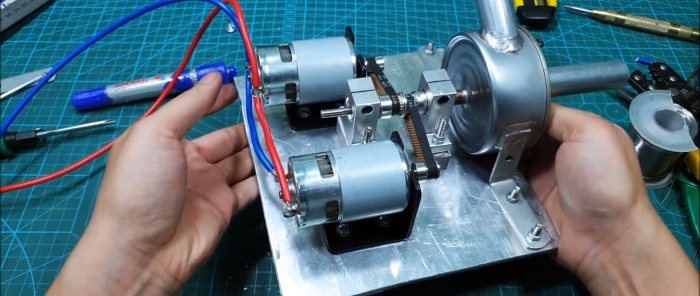
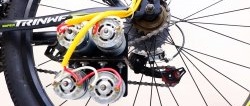
A base is cut out of sheet aluminum to mount the snail and motors. First, the pump is screwed to it from the edge by the corners. Next you need to put 2 bearings in housings on the axle. Between them there are 2 pulleys and 2 belts. The bearing housings are screwed to the sole through spacers. To securely tighten the pulleys, you will need to machine an axle under them to obtain a stop for the screws.
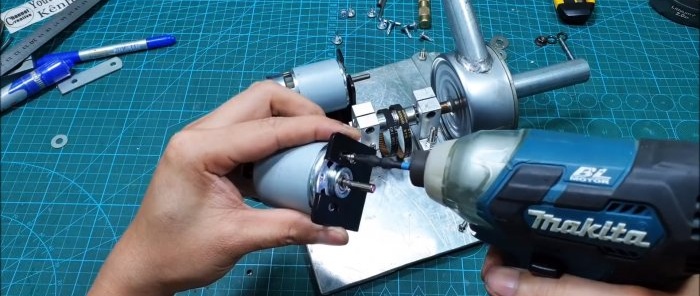
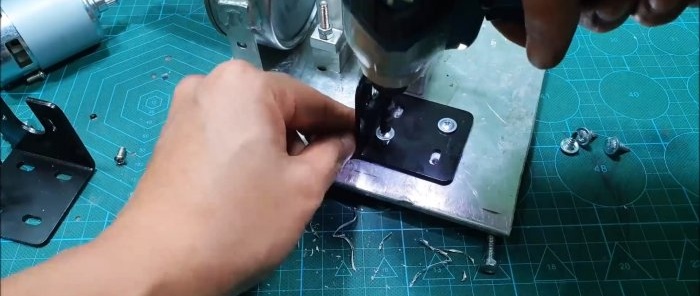
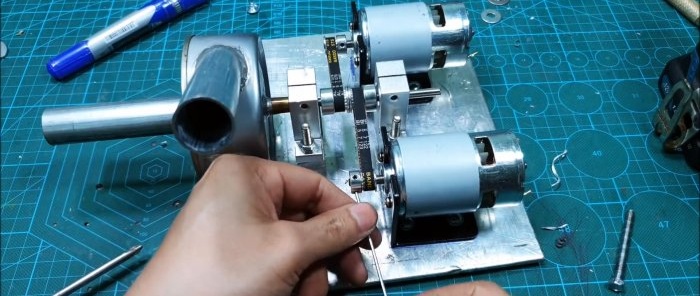
Brackets are screwed to the sides of the axle. Motors with pulleys are installed on them, and belts are tensioned. Rubber pads should be glued to the bottom of the sole to reduce vibration. Then wires are soldered to the motor contacts to supply power.
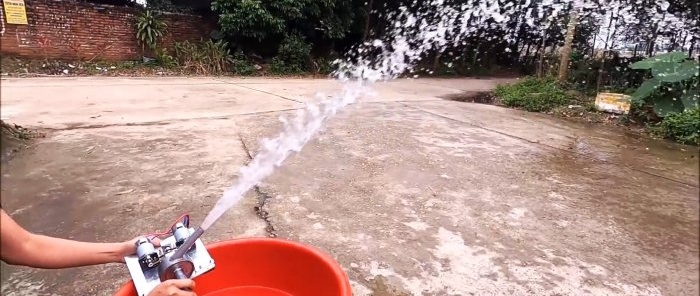
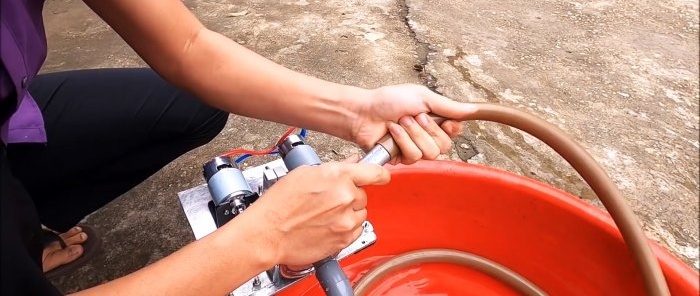
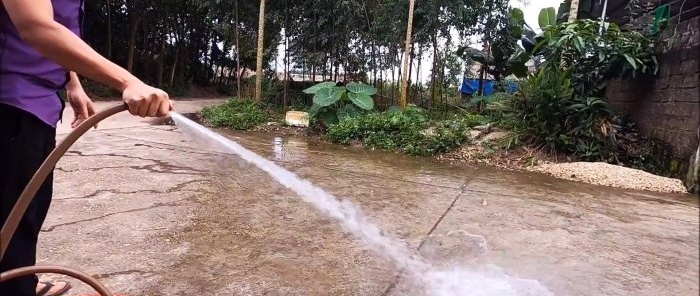
The finished pump draws in through a pipe in the plug, so you need to connect a short hose to it and lower it into the water. The volute may need to be filled before starting. To do this, water is poured through the outlet hose on the side pipe, and the motors are immediately started. If the distance from the intake tube is small, then it will drag on just like that.
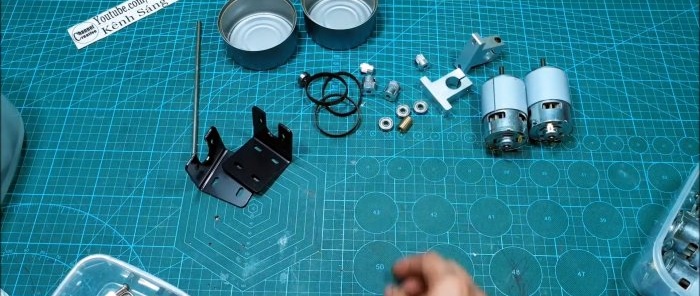
Basic materials:
- electric motors 775 – 2 pcs. -
- tin cans – 2 pcs.;
- brackets for motors – 2 pcs.;
- drive belts – 2 pcs.;
- toothed pulleys for the belt – 4 pcs.;
- mini bearings – 3 pcs.;
- housings for bearings – 2 pcs.;
- steel rod 8–10 mm;
- aluminum plates of different thicknesses;
- aluminum tubes 20-32 mm.
Pump manufacturing process
To assemble the pump snail, you need to select 2 tin cans with thick walls.
In one of them, the bottom is visible in the center, and a sleeve is soldered to the hole.
A circle with a slightly smaller diameter than the bottom of a tin can is cut out of sheet aluminum. A hole is drilled in it for the existing rod.
Next, you need to cut 3 rings 8–12 mm wide from the pipe. They are cut in half. It is important that all halves have the same weight.
The previously cut disk is cleaned and divided into 5 sectors. According to the markings, half rings are soldered onto it. The result is an impeller. The edge of the rod is soldered into the center.
A bearing is put on the impeller axle, and it is inserted through the bushing into the can for fitting. Then you need to cut a window on the side of the case and solder a tube cut at an acute angle to it. This will be the connection pipe for the garden hose.
For stability, a plate is soldered opposite the pipe to the outer wall of the housing. There are 2 corners soldered on the sides.
The bottom of the second tin can is cut off. A hole is cut in its center and a tube is soldered through which water will be sucked in. Next, you need to insert the impeller with the bearing into the housing, close it with the lid made and solder it.
A base is cut out of sheet aluminum to mount the snail and motors. First, the pump is screwed to it from the edge by the corners. Next you need to put 2 bearings in housings on the axle. Between them there are 2 pulleys and 2 belts. The bearing housings are screwed to the sole through spacers. To securely tighten the pulleys, you will need to machine an axle under them to obtain a stop for the screws.
Brackets are screwed to the sides of the axle. Motors with pulleys are installed on them, and belts are tensioned. Rubber pads should be glued to the bottom of the sole to reduce vibration. Then wires are soldered to the motor contacts to supply power.
The finished pump draws in through a pipe in the plug, so you need to connect a short hose to it and lower it into the water. The volute may need to be filled before starting. To do this, water is poured through the outlet hose on the side pipe, and the motors are immediately started. If the distance from the intake tube is small, then it will drag on just like that.
Watch the video
Similar master classes
Particularly interesting
Comments (1)

