How to make a USB adapter to safely charge your phone in public places
We all use USB charging ports in public places from time to time, for various reasons. On buses, bus stops, hotels, etc. Someone didn’t keep track of the charge level when leaving home, someone forgot an external charger, someone had a weak battery - it doesn’t matter. It is important not to forget about the safety and security of your personal data stored on your phone or its memory card. Of course, many will say that modern smartphones are well protected and require additional permission to connect to a computer. But for a knowledgeable hacker, these are seeds. Two minutes - and your data is on his flash drive. For example, in a hotel; after all, no one has ever wondered where the wires from the USB socket in your room lead. Maybe they are connected through a converter to a general power supply, or maybe to a computer with the appropriate program and a capacious hard drive...Most users do not store their particularly valuable files on their phone and, nevertheless, I, for example, would be unpleasant if a stranger was rummaging through my photos, documents, and other files.
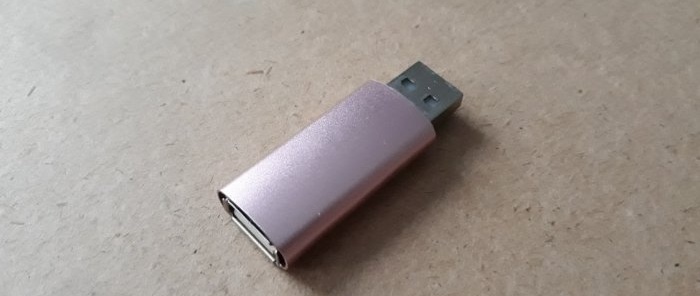
And among hundreds of guests, there will definitely be someone who has something that will interest scammers. In the end, they can simply rob your e-wallet! And to avoid such troubles, I propose to make a USB adapter that will not allow you to read and copy files from any chargeable devices.
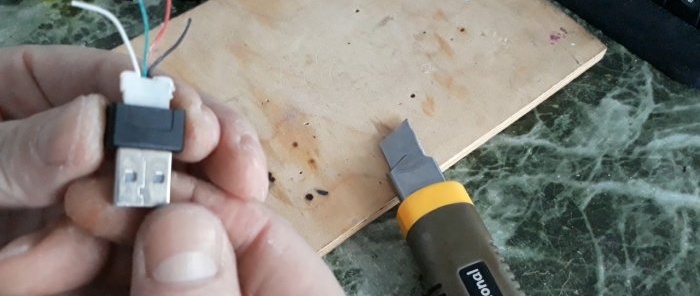
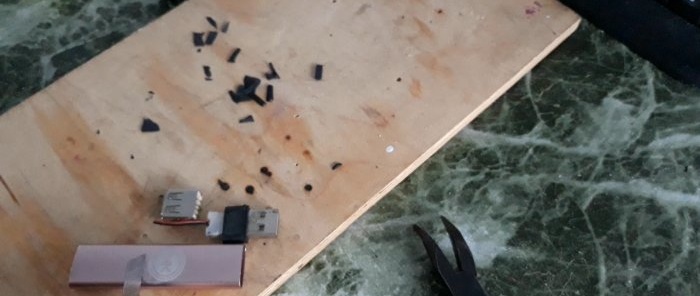
It takes 15-20 minutes! First, let's take a plug from an old or broken USB cable. Using a utility knife and pliers, remove the braid from it. But not completely, but let’s leave about ten millimeters in the middle. Like this:
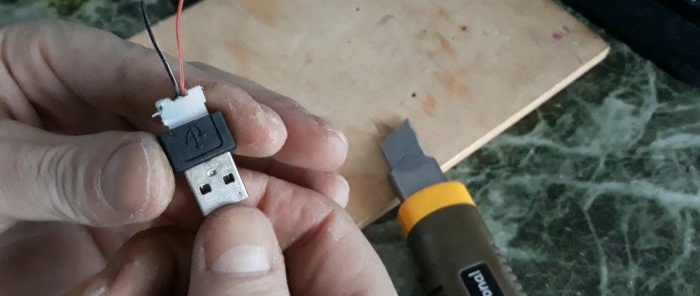
Next, you should bite off the white and green wires sticking out of the plug. These colors are responsible for data transmission. We do not touch the black and red wiring; they are responsible for supplying power.
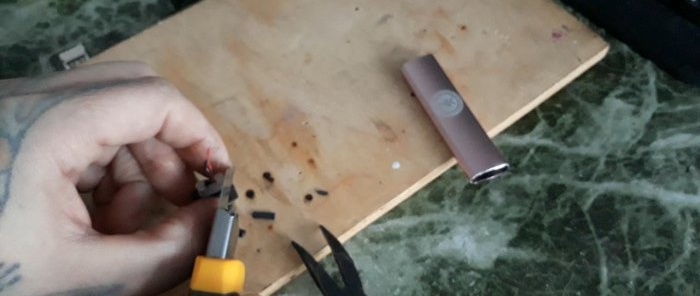
Now let's prepare the body. I took the aluminum case from a disposable electronic vaporizer - just the right size!
But if you don’t find one, you can take any round metal tube and flatten it into an oval with pliers so that the plug with the remains of the braid and the connector can fit inside. If the braiding of the plug does not allow the plug itself to be squeezed inside the tube, then we adjust the size, again, with a utility knife.
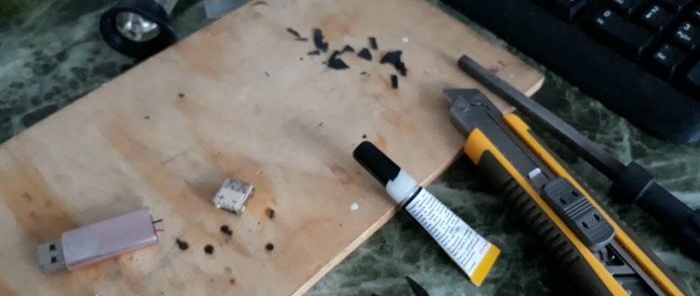
That's what it's designed for - so that the plug sits tightly in the tube.So, we insert the plug into the tube, with the wires inward, so that the braid is completely hidden inside the tube, and the wires stick out from the other end of the tube by 3-4 millimeters. We clean the ends of the wires.
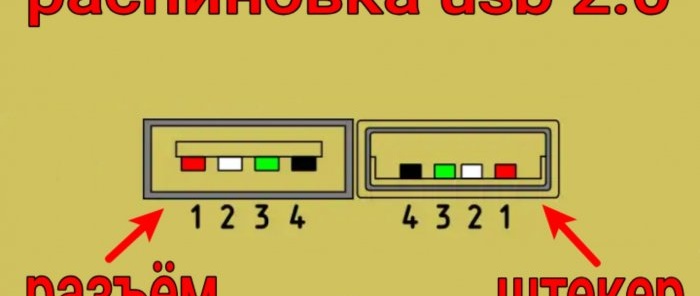
We fix the braid in the tube with second glue. Next, you should solder the plug wires to the connector. The main thing here is not to make a mistake with the polarity, otherwise the adapter simply will not work. You can check the polarity with a regular voltmeter, but for clarity, I’ll show you the diagram:
So, we have determined the polarity, now we coat the contacts with flux, tin them, and solder the corresponding wires to them.
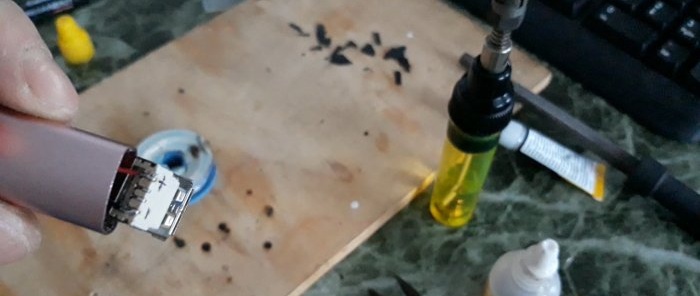
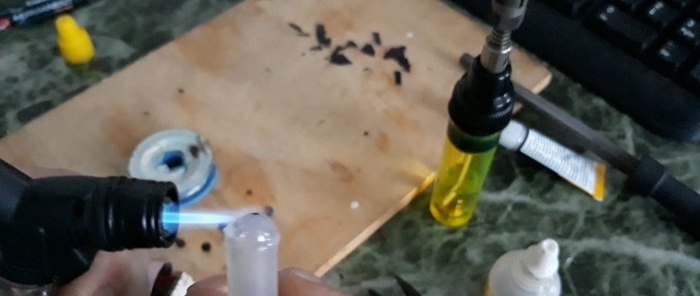
After this, you need to insulate the contacts. I took the time to heat up the glue gun for such a trifle, I just heated the glue with a lighter and smeared it on the contacts.
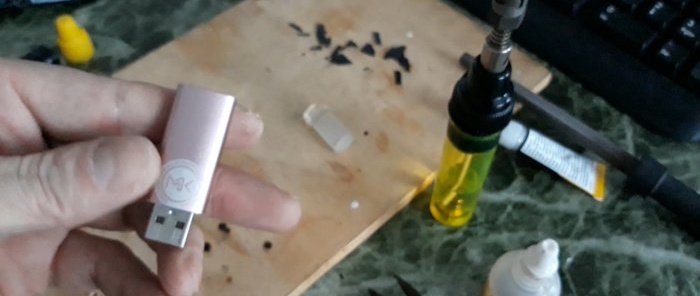
This will be quite enough. Now we push the connector inside the tube, flush with the edges of the tube, secure it with second glue, and check for suitability!
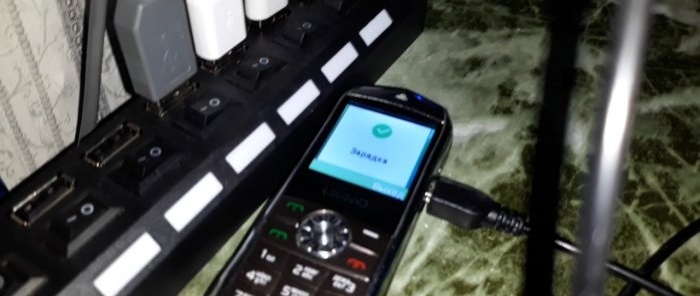
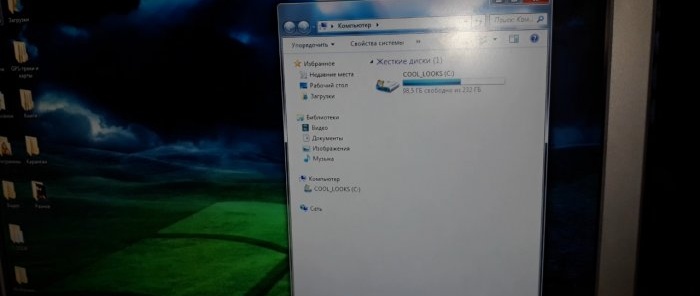
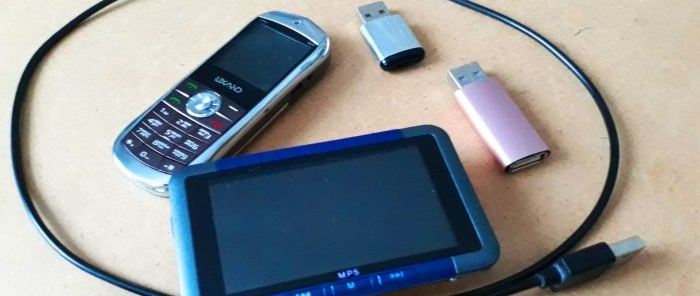
We just make sure that the glue does not get on the contacts of the connector and plug... As you can see in the video, charging is in progress, but there is no data transfer. This adapter will not physically allow you to connect to your device via USB. You can take it with you everywhere - it is small and compact, and will fit any USB cable. You can use it to charge not only phones, but also players, and connect power to hard drives, etc. In the same way, you can make other, similar adapters, with the plugs and connectors you need.
And among hundreds of guests, there will definitely be someone who has something that will interest scammers. In the end, they can simply rob your e-wallet! And to avoid such troubles, I propose to make a USB adapter that will not allow you to read and copy files from any chargeable devices.
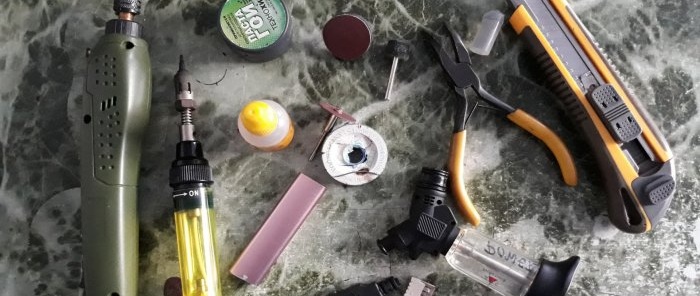
Will need
- USB 2.0 connector (female).
- USB 2.0 plug (male).
- A piece of tube, the total length of both USBs, plus a centimeter of reserve.
- Pliers.
- Stationery knife.
- Soldering iron, with tin and flux.
- Mini drill with cutting disc.
- A piece of hot glue.
- Lighter.
- File.
- Secondary glue.
Making a protective USB adapter
It takes 15-20 minutes! First, let's take a plug from an old or broken USB cable. Using a utility knife and pliers, remove the braid from it. But not completely, but let’s leave about ten millimeters in the middle. Like this:
Next, you should bite off the white and green wires sticking out of the plug. These colors are responsible for data transmission. We do not touch the black and red wiring; they are responsible for supplying power.
Now let's prepare the body. I took the aluminum case from a disposable electronic vaporizer - just the right size!
But if you don’t find one, you can take any round metal tube and flatten it into an oval with pliers so that the plug with the remains of the braid and the connector can fit inside. If the braiding of the plug does not allow the plug itself to be squeezed inside the tube, then we adjust the size, again, with a utility knife.
That's what it's designed for - so that the plug sits tightly in the tube.So, we insert the plug into the tube, with the wires inward, so that the braid is completely hidden inside the tube, and the wires stick out from the other end of the tube by 3-4 millimeters. We clean the ends of the wires.
We fix the braid in the tube with second glue. Next, you should solder the plug wires to the connector. The main thing here is not to make a mistake with the polarity, otherwise the adapter simply will not work. You can check the polarity with a regular voltmeter, but for clarity, I’ll show you the diagram:
So, we have determined the polarity, now we coat the contacts with flux, tin them, and solder the corresponding wires to them.
After this, you need to insulate the contacts. I took the time to heat up the glue gun for such a trifle, I just heated the glue with a lighter and smeared it on the contacts.
This will be quite enough. Now we push the connector inside the tube, flush with the edges of the tube, secure it with second glue, and check for suitability!
We just make sure that the glue does not get on the contacts of the connector and plug... As you can see in the video, charging is in progress, but there is no data transfer. This adapter will not physically allow you to connect to your device via USB. You can take it with you everywhere - it is small and compact, and will fit any USB cable. You can use it to charge not only phones, but also players, and connect power to hard drives, etc. In the same way, you can make other, similar adapters, with the plugs and connectors you need.
Watch the video
Similar master classes
Particularly interesting
Comments (4)

