How to make a night vision device from ready-made modules
You can assemble a very simple night vision device yourself without even knowing the basics of electronics. All modules are purchased, they can be purchased on AliExpress (links in the article) or another site. All that remains is to solder them together according to a simple block diagram and you will get a real night vision device that can be used, say, for hunting.
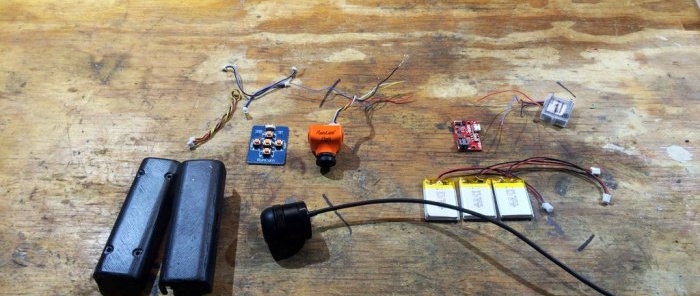
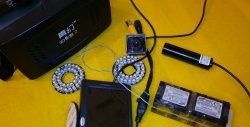
Will need
Device block diagram
The night vision device is powered by 3 parallel-connected 400 mA 3.7 V batteries. The current from the batteries is supplied to the converter module, which converts the voltage to 5 V (the main power supply of the circuit). This module is also a battery charging controller (you can charge batteries via micro USB).
5V power is supplied to the camera and video monocular. The camera outputs a video signal to the input of the eyepiece. A power switch is soldered to the module.
Making a night vision device with your own hands
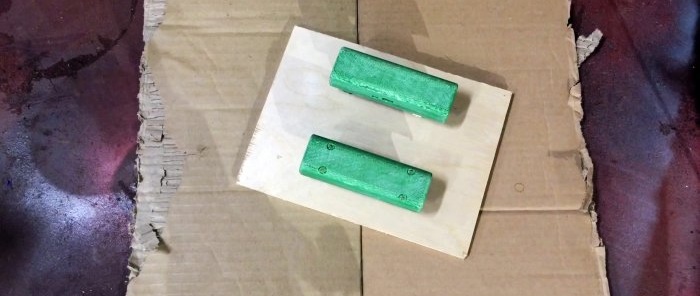
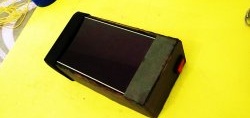
The case is printed on a 3D printer. Cleaned, primed and painted.
If you don’t have such a printer, you can do everything yourself and glue the plastic together yourself.
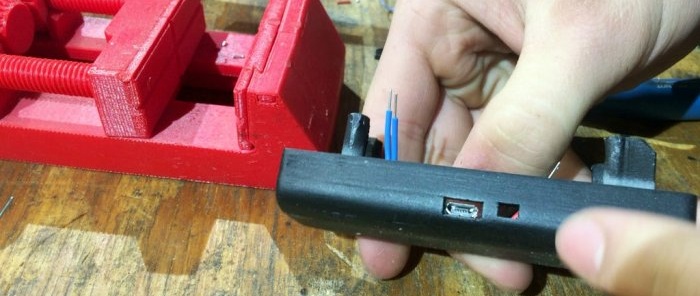
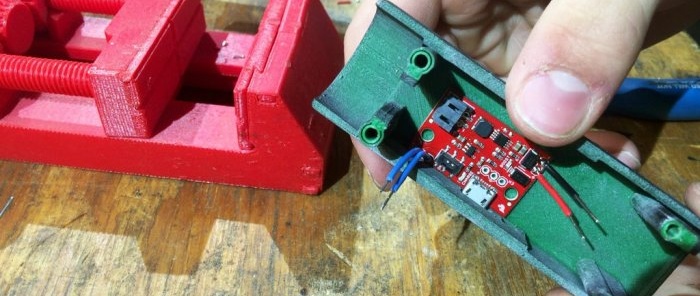
Slots are made in the case for the module charging socket and mini switch.
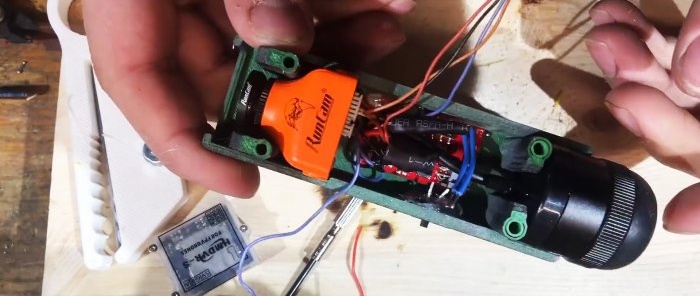
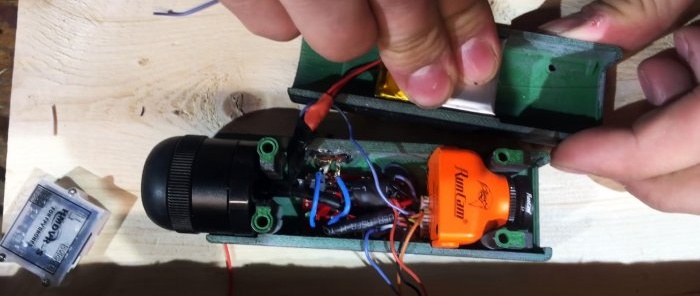
The converter board is glued with hot glue.
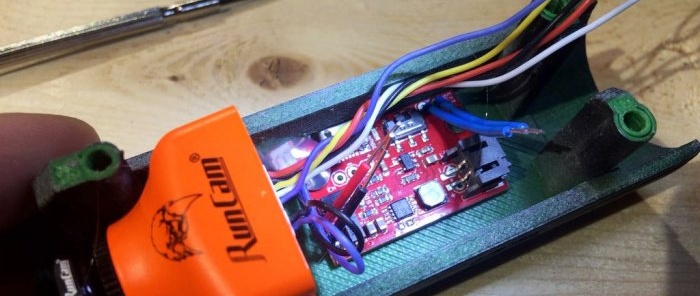
Next, the camera is glued.
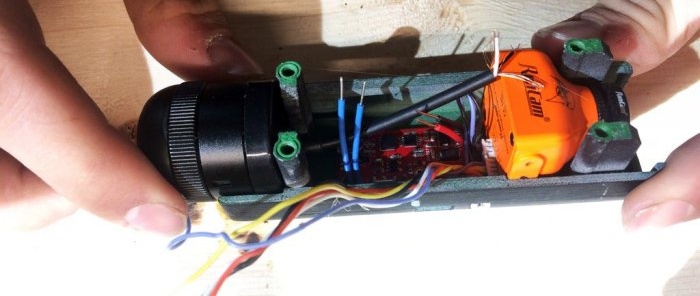
The monocular is installed.
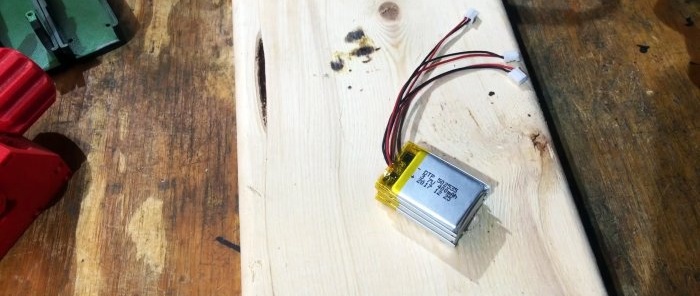
The batteries are soldered parallel to each other.
Glued with hot glue to the opposite side of the case.
We solder the output according to the diagram.
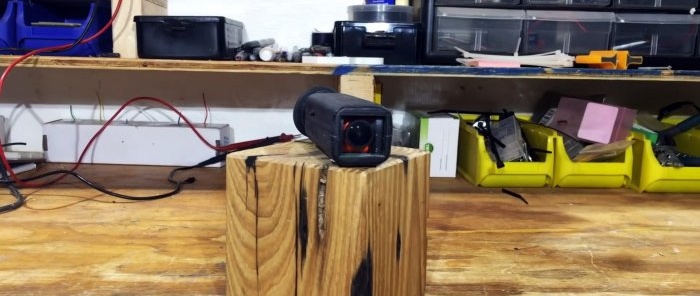
If necessary, you can output an audio-video signal.
Close the case and secure it with screws.
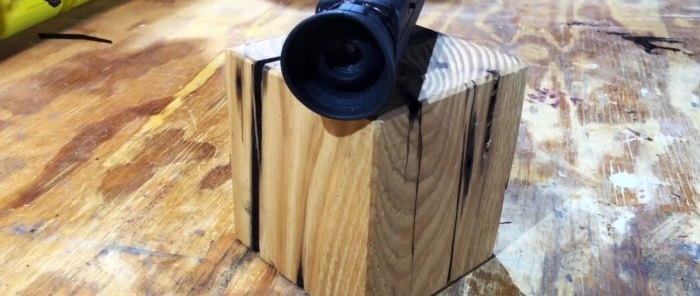
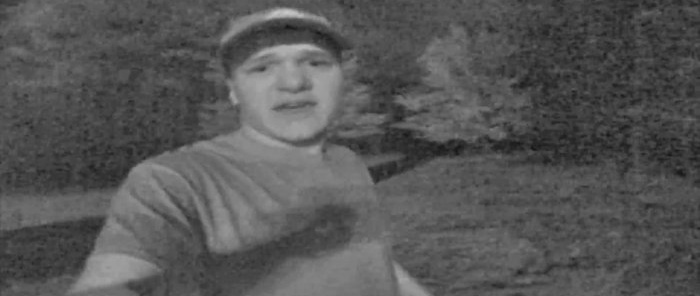
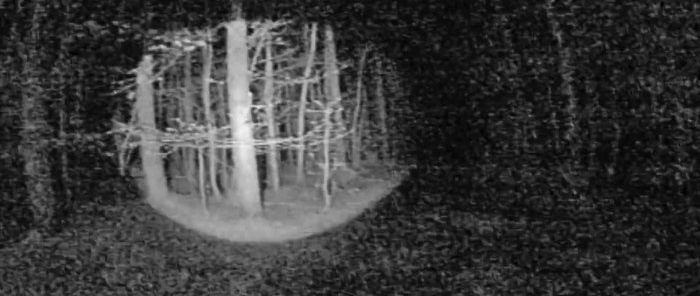
The sensitivity of the night vision device is quite sufficient for everything to be visible in the moonlight.
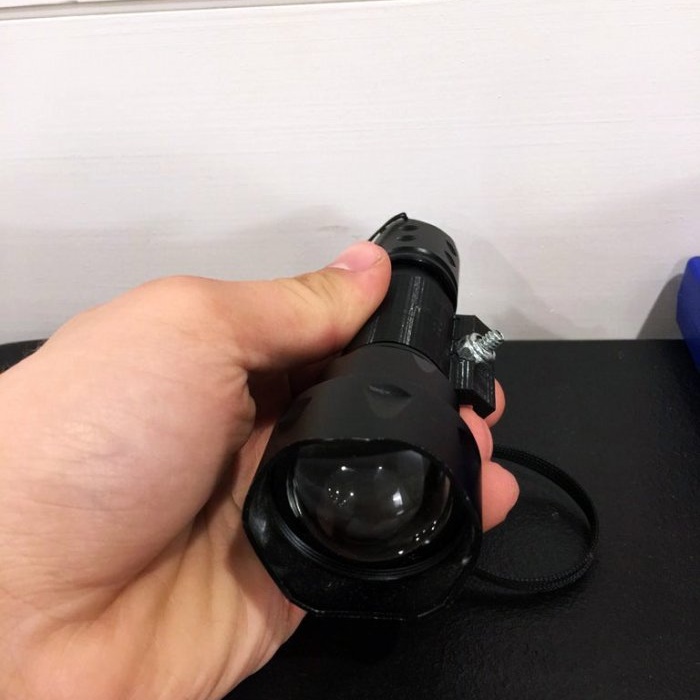
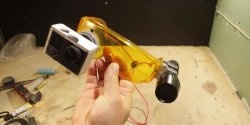
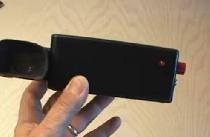
In complete darkness, you need to use an infrared flashlight -With it everything is clearly visible in 100% darkness.

