How to digitize photographic film using a homemade scanner and smartphone
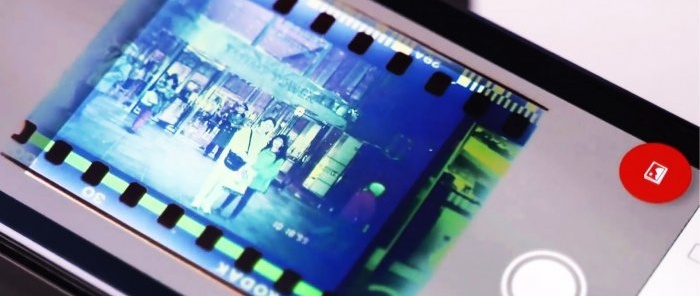
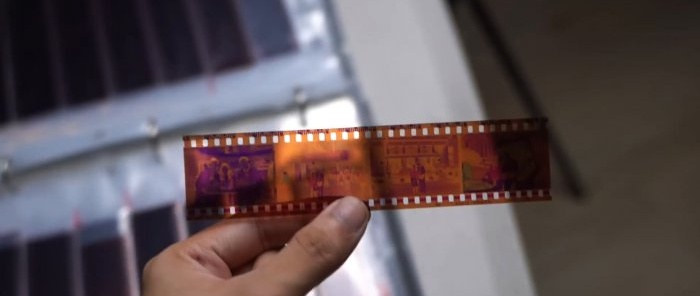
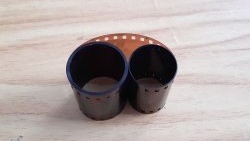
Many people have 35mm film negatives in their home that have never been printed. They can be converted into a digital photograph using a special homemade film scanner and a free app on your phone.
Materials:
- black sheet plastic;
- white cocktail straws;
- matte white plexiglass;
- toggle switch;
- crown battery;
- crown connector;
- LEDs - http://alii.pub/5lag4f
- 100 ohm resistor.
The process of making a scanner and digitizing photographic film
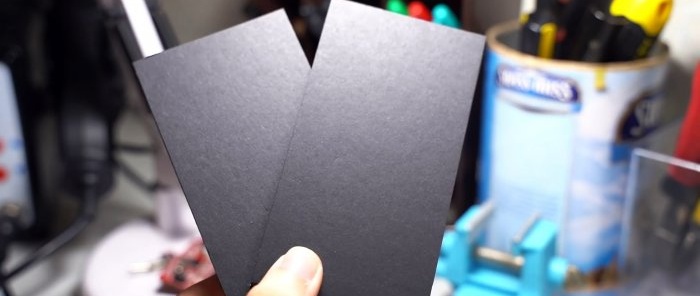
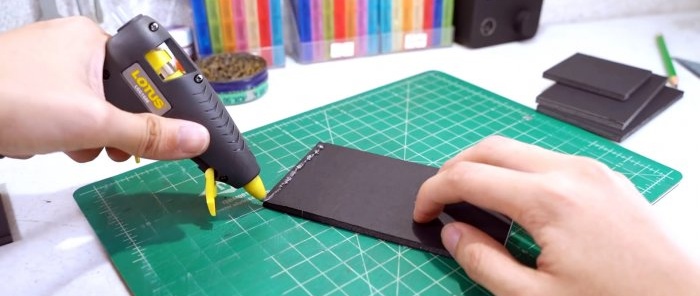
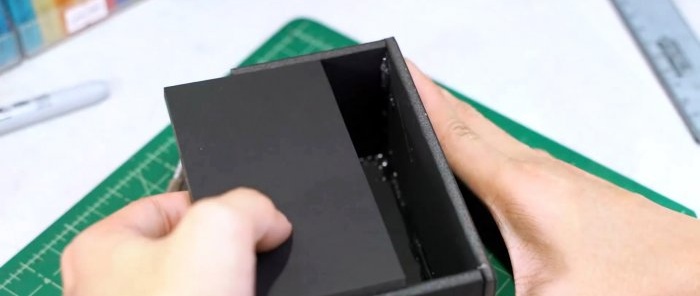
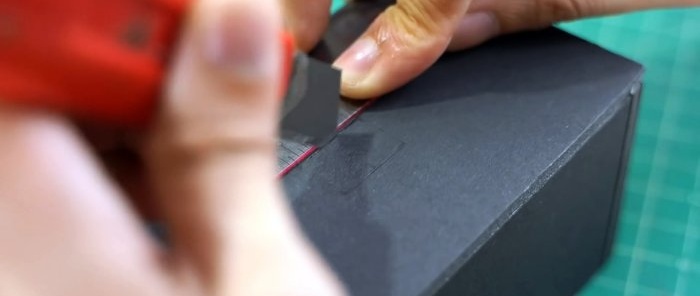
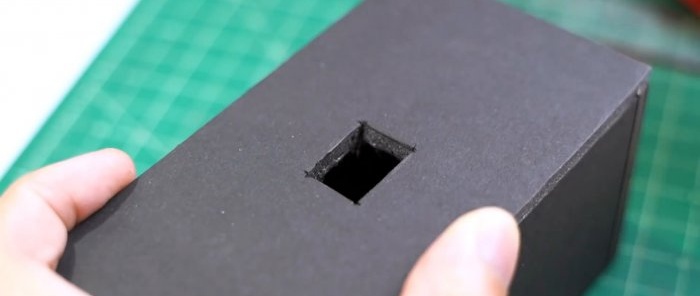
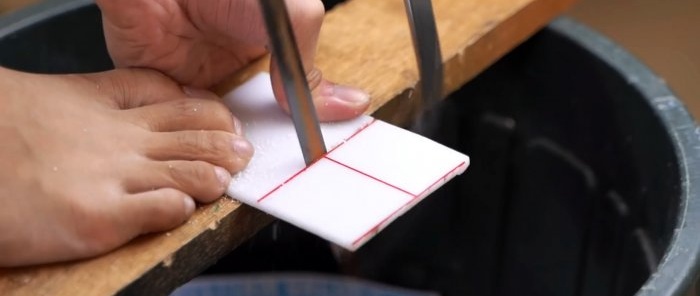
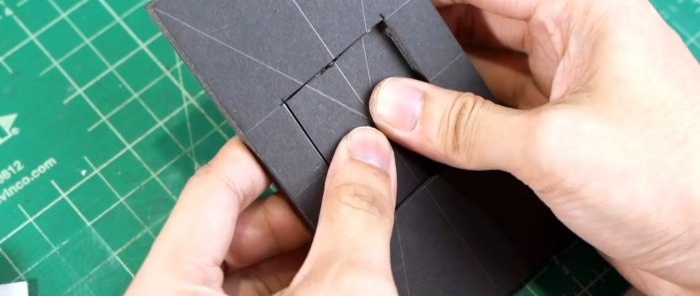
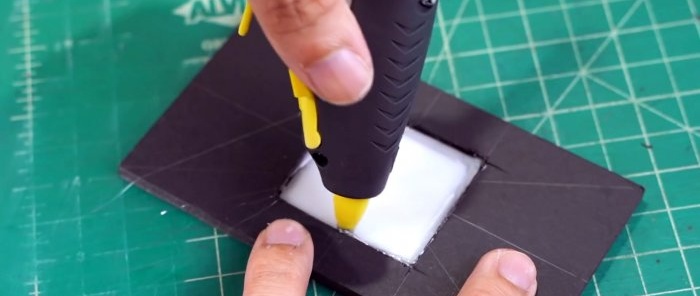
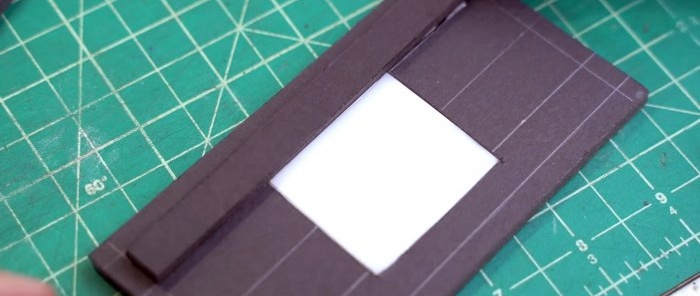
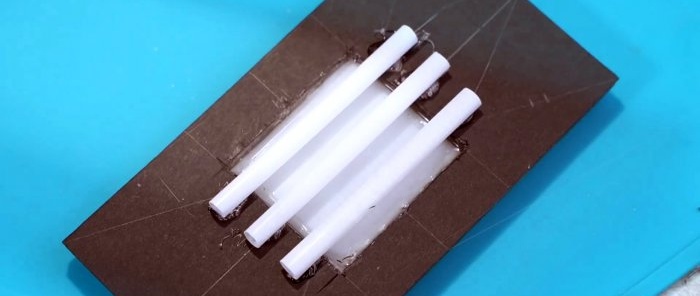
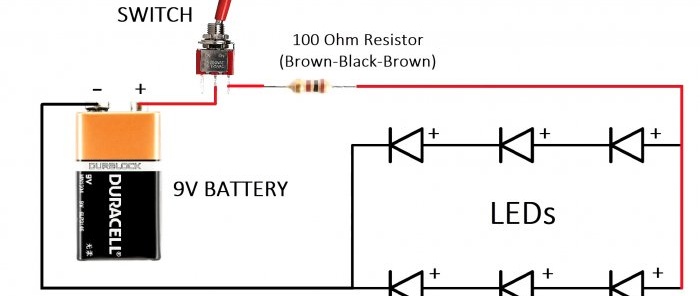
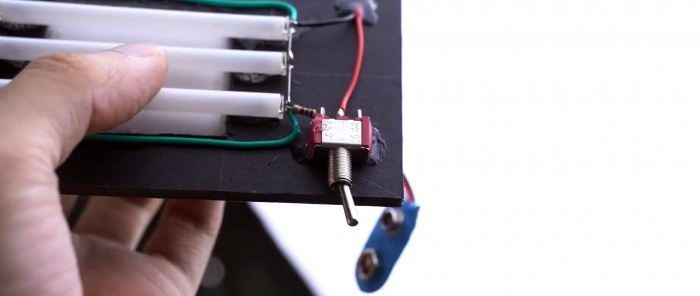
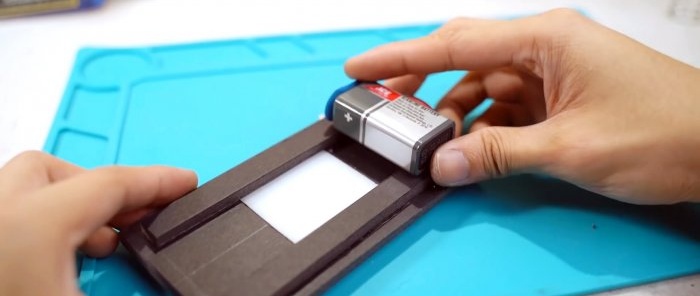
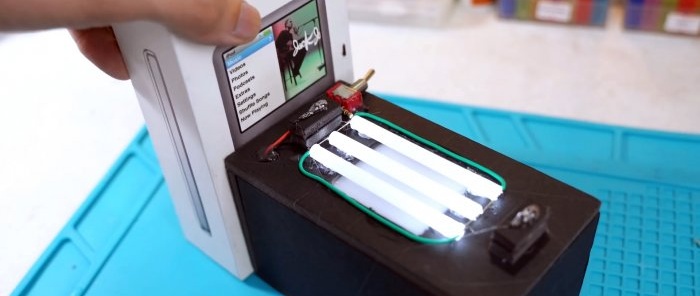
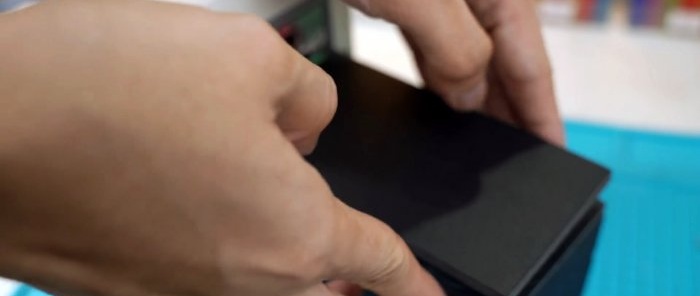
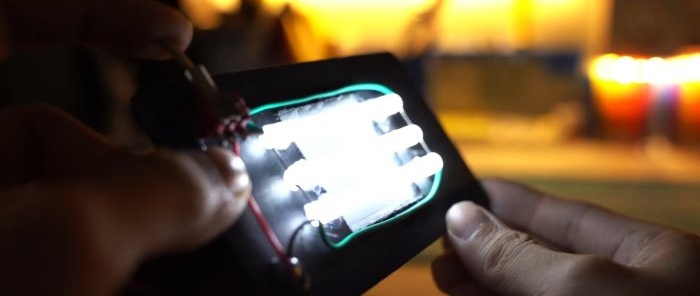
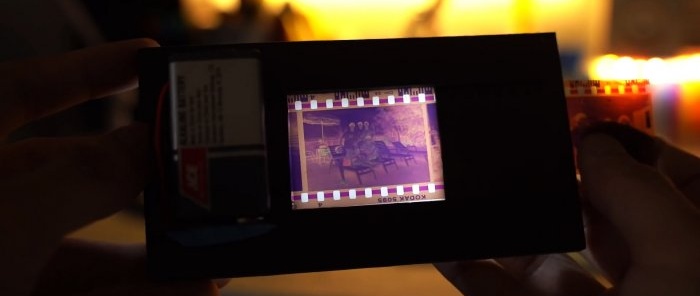
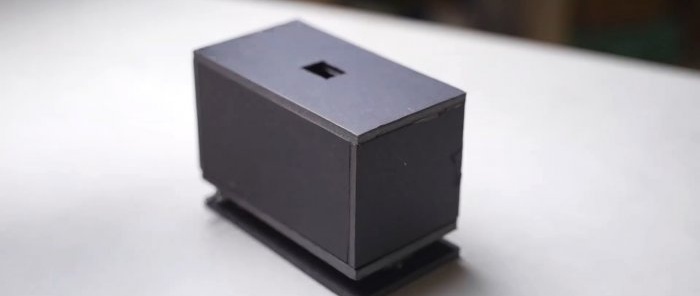
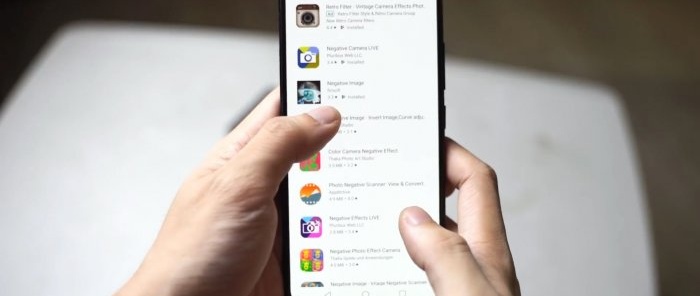
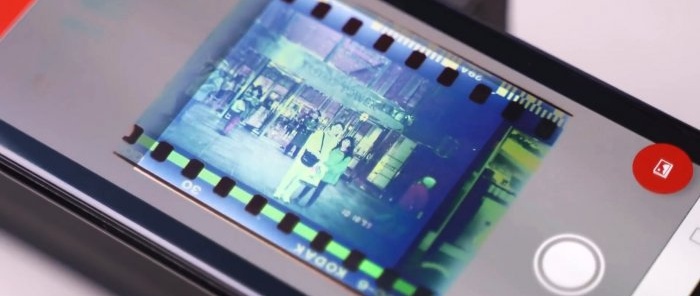
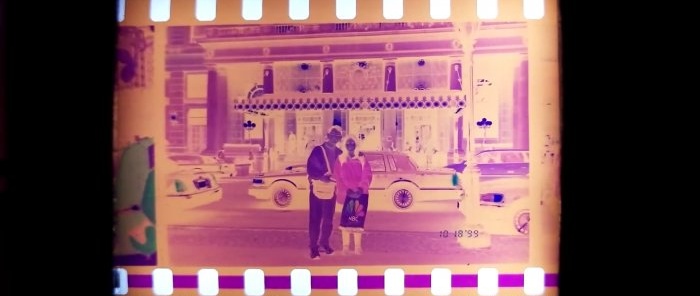
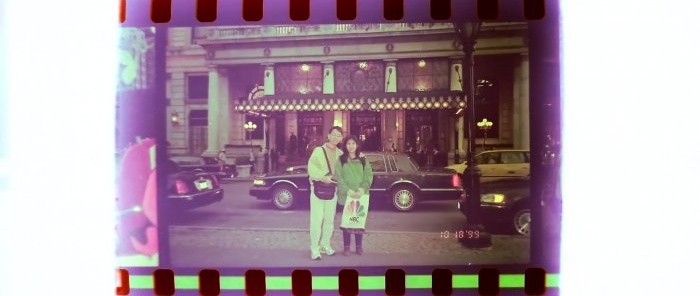
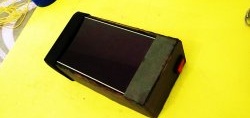
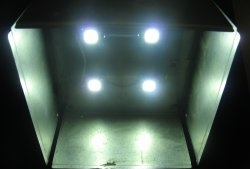
The essence of the digitization method is to photograph the film with your phone, and then convert it into color using one of the free mobile applications. To do this, you only need to make a special device that allows you to photograph negatives with high quality. To make it, you will need to measure with a ruler the distance from which your smartphone camera takes a clear photo. The scanner body is glued together from black opaque plastic or painted thick cardboard. To do this, you need to start from the minimum focal length of the camera. In this case it is 65 mm.Parts needed: 2 – 120x65 mm, 2 – 70x65 mm, and 3 – 130x70 mm. If your distance is different, then you should use it instead of 65. The box is glued to a lid 130x70 mm. You need to cut a window in it for the camera. Then a 40x45 mm plate is cut out of frosted plexiglass. It needs to be glued into one of the remaining pieces of black plastic 130x70, having previously cut a window of the required size in it. We get a light diffuser. To position the film on it, you need to glue strips to the sides, making an indent between them under it. They will also serve as guides for leveling the box on top of the resulting bottom. On the reverse side of the guides to the removable bottom of the box, 3 pieces of cocktail tubes are glued under the diffuser. They are inserted into them from the edges LEDs from a flashlight. Next, you need to solder the wires to the LEDs according to the proposed circuit using a toggle switch and a resistor. The battery is glued on the back side to the strips. Connection to it is made using a connector, which will allow you to change it in the future. Legs made of small plastic squares are glued to the illuminated bottom. Then the last previously cut piece of black plastic is glued onto them. Now you can put film on the bottom of the scanner, turn on the backlight and cover everything with the box. Then it is photographed with a smartphone placed on top through any application for digitizing negatives. It turns out very well.Watch the video
Another instruction for digitizing is here - https://home.washerhouse.com/en/5782-kak-prosto-ocifrovat-fotoplenku-v-domashnih-uslovijah.htmlSee how you can make a universal remote control from a smartphone - https://home.washerhouse.com/en/4029-universalnyy-ik-pult-iz-smartfona.html
Similar master classes
Particularly interesting
Comments (0)

