How to make a portable mini overpass for a car
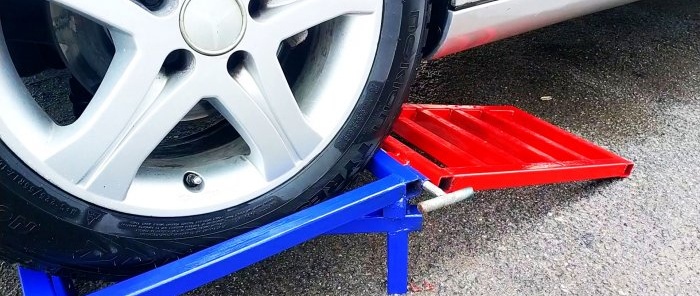
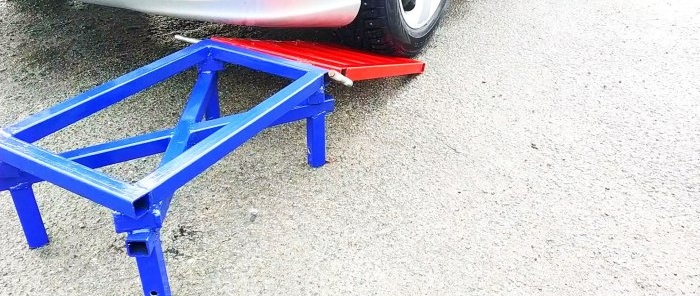
To service the vehicle's chassis, repair the underbody, exhaust and other systems, it is sometimes necessary to lift it. The simplest and most cost-effective device for this is a homemade mini overpass. It stores very compactly in the garage and, if necessary, can be installed in a matter of minutes.
Materials:
- profile pipes 30x30 mm, 20x40 mm;
- pipe 20 mm;
- M14 pin.
The process of making a mini overpass
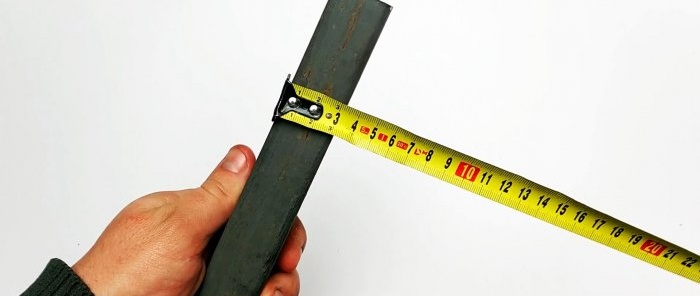
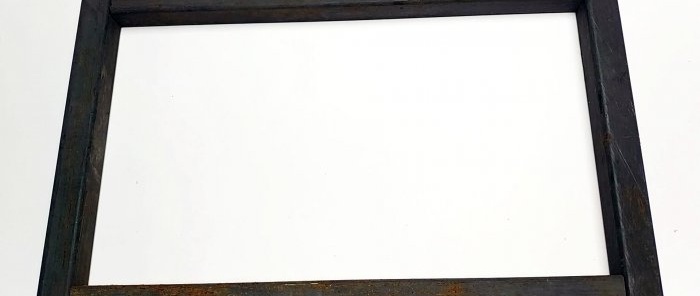
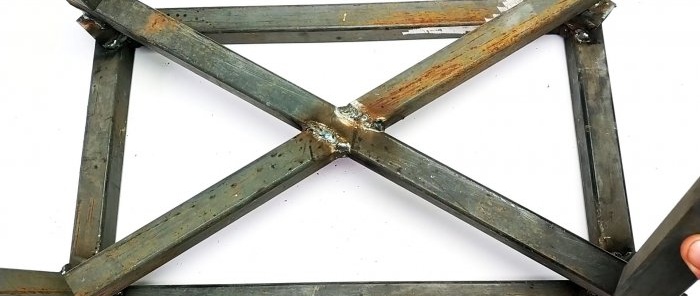
From a 30x30 mm profile pipe, 2 blanks of 45 cm and 2 of 31 cm are cut. A frame is made from them.
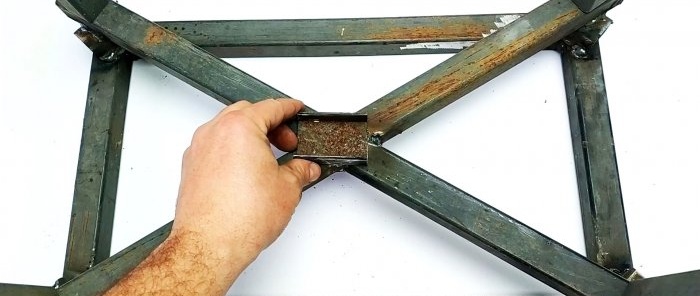
Pieces of pipe 5 cm long are laid diagonally in the corners from above.
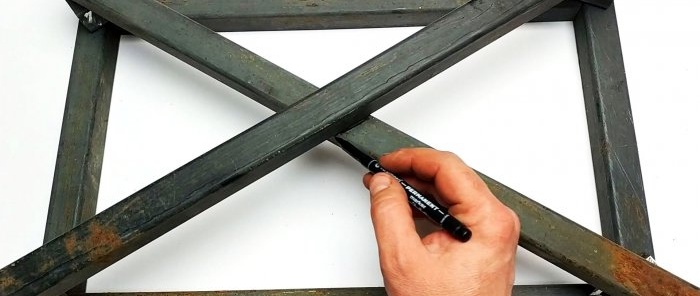
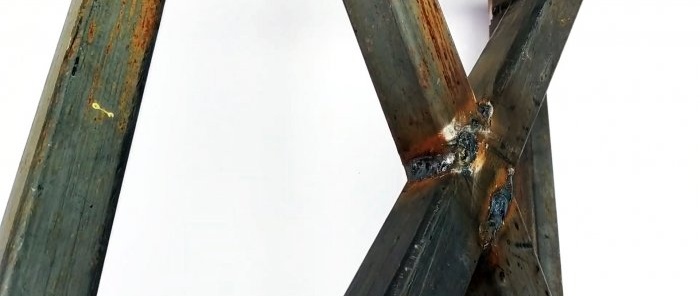
Then 2 tubes of 60 cm each are placed diagonally crosswise.
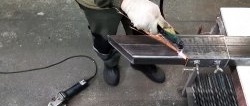
The parts are welded.
One of the upper diagonals will need to be trimmed at the intersection so that they are located in the same plane.
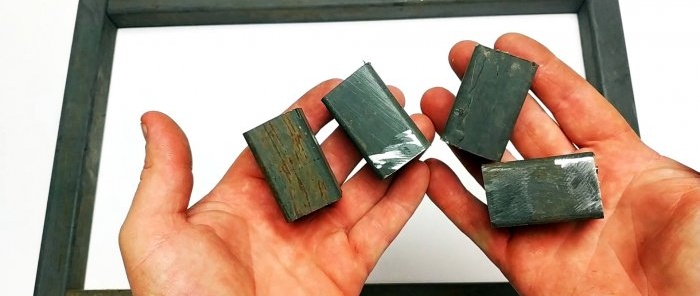
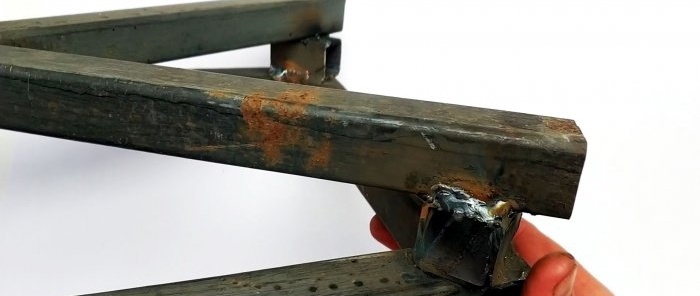
The unnecessary piece of pipe must be cut into strips and cut into 8 plugs. They are welded to the ends of short tubes. If you wish, you can mute everything else.
From a 30x30 mm pipe, 4 pieces of 15 cm each are cut to make the legs of the overpass. They will be welded at right angles to the intersecting diagonals. From a 20x40 mm pipe you need to cut a 6 cm piece and cut out one wide wall from it.
Then the U-shaped part is welded at the intersection of the diagonals.
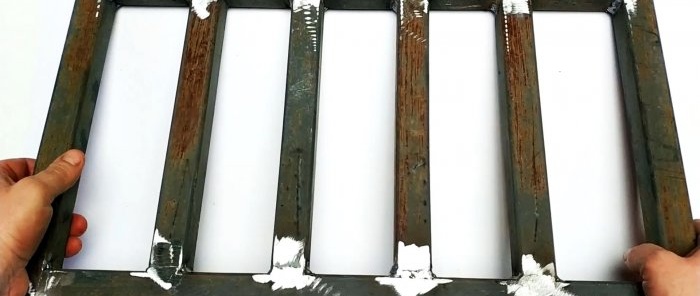
A frame for driving onto the overpass is welded from pipes 50 cm and 33 cm long. 4 jumpers are welded into it.
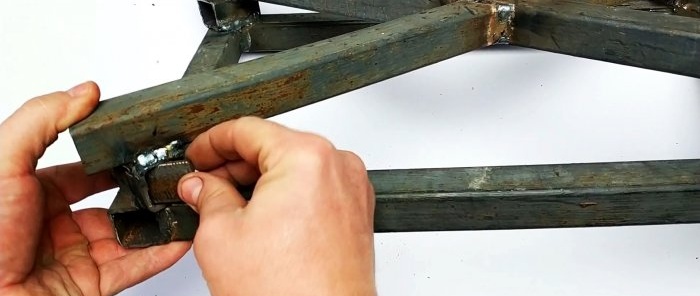
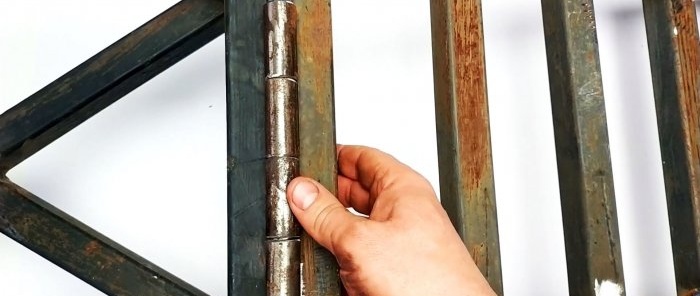
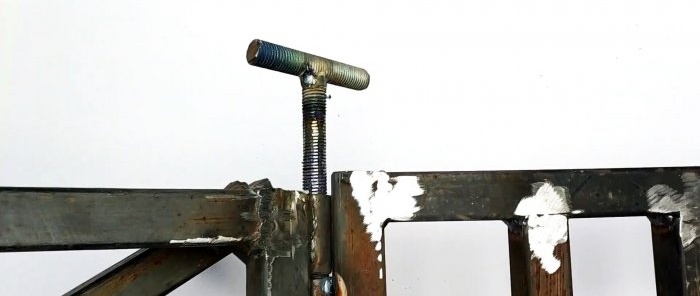
After this, you need to connect the overpass to the frame. To do this, cut 4 pieces of pipe, 5 cm each, to make loops. They are put on a threaded rod, then half of them are welded to the trestle, and the rest to the frame. You can make a handle on the edge of the pin to be able to remove it easily.
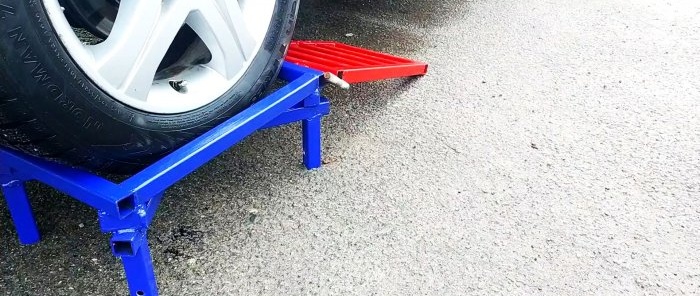
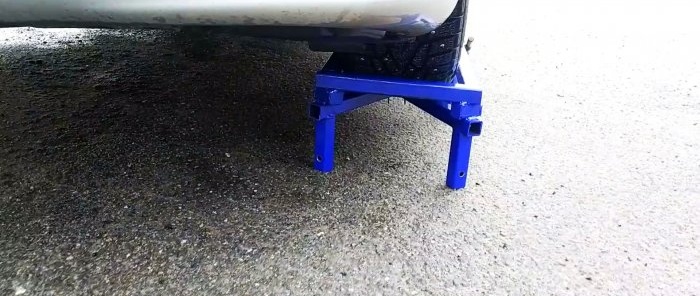
You need to make a couple, or better yet 4 overpasses. They are placed in front of the wheels, and the car drives up. Then you can remove the removable frames so that they do not interfere with your work, and put them back before leaving.
Watch the video
Similar master classes
