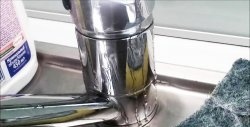
How to repair a faucet axle box without buying spare parts once and for all
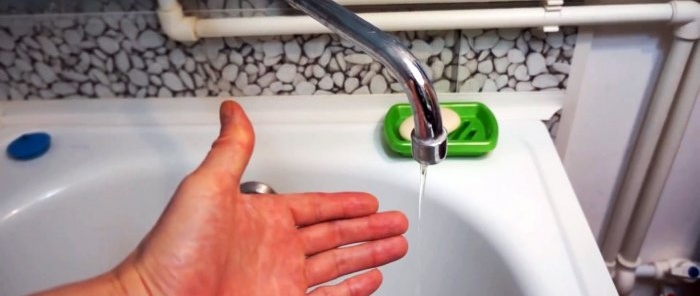
The cause of dripping from the mixer is wear of the faucet axle box. Many people simply change it, because they do not know that it can be easily repaired by replacing the fluoroplastic pressure washers with new copper ones. The proposed method allows you to repair the crane axle box even easier, without purchasing any parts at all.
What you will need:
- copper wire with a diameter of 1 mm;
- adjustable wrench;
- screwdriver;
- wire cutters
Crane axle repair process
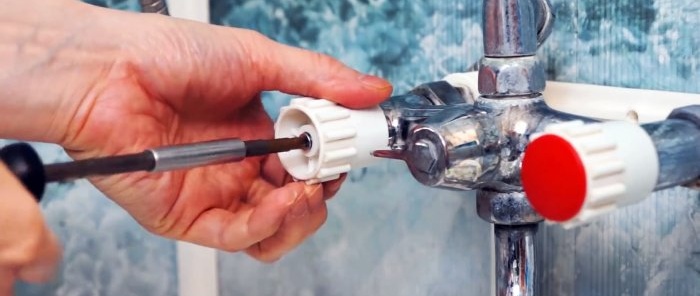
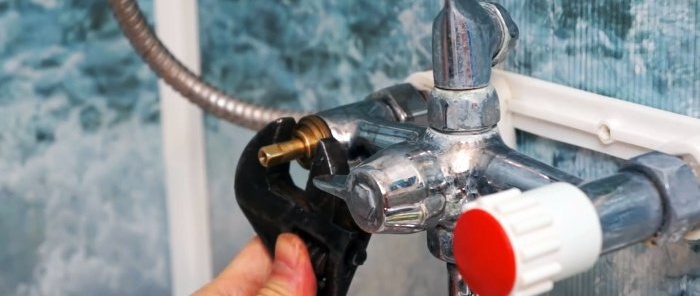
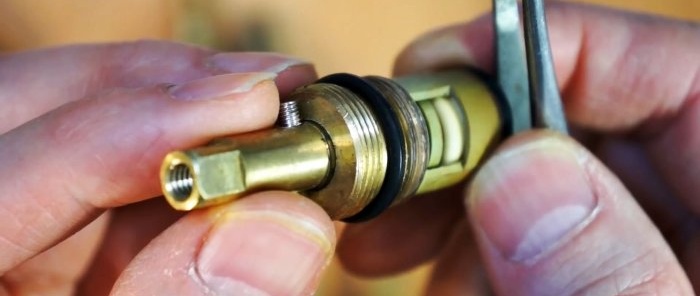
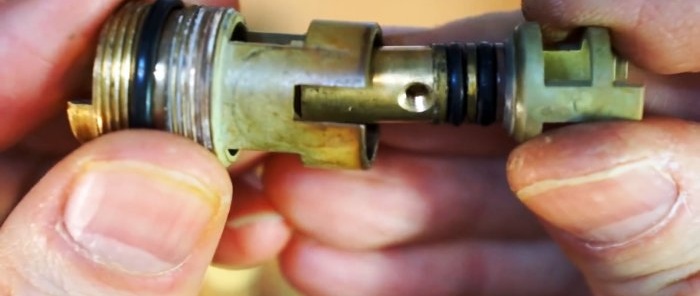
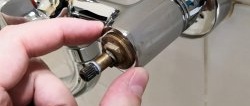
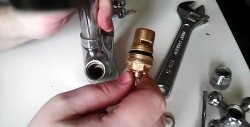
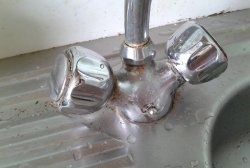
First of all, we determine which valve axlebox is leaking. Then we remove the lamb from it and unscrew it from the mixer with an adjustable wrench.
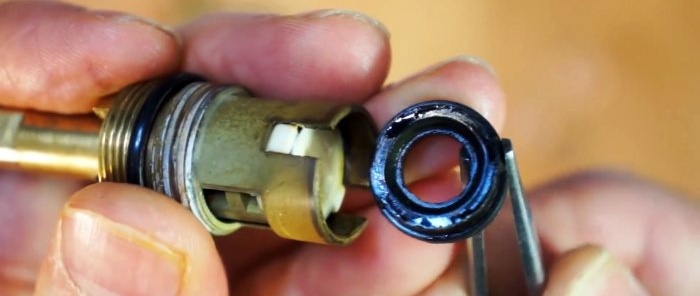
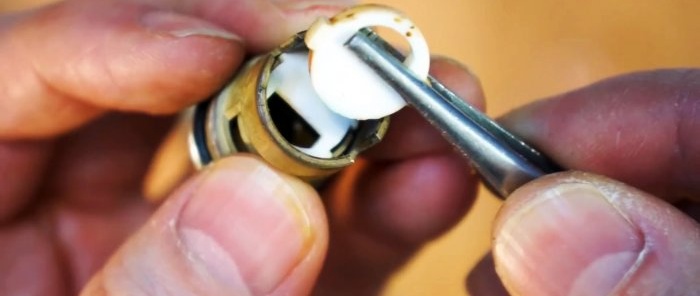
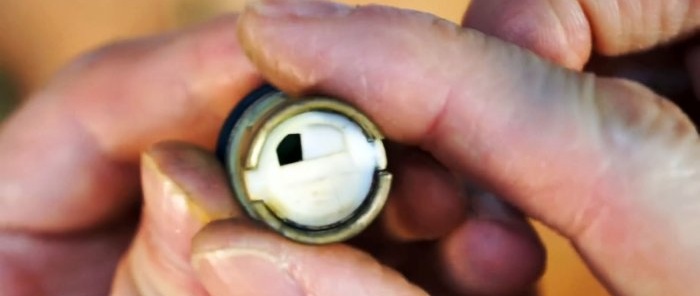
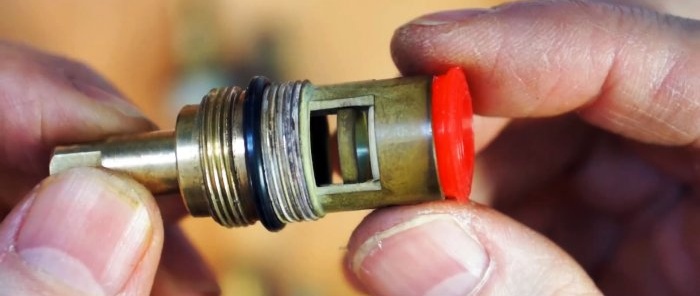
On the back of the faucet box there is a black rubber or colored silicone seal. You need to pull it out and remove 2 ceramic plates.
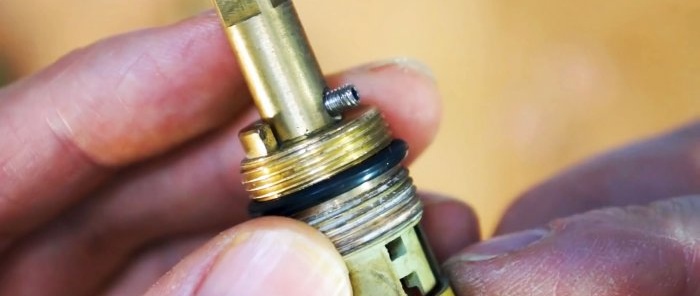
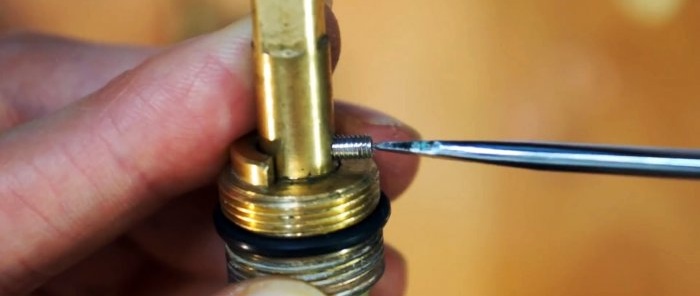
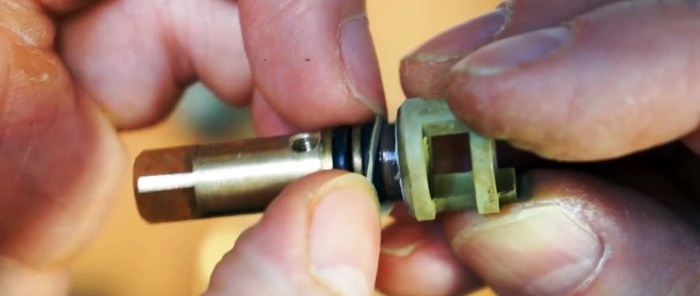
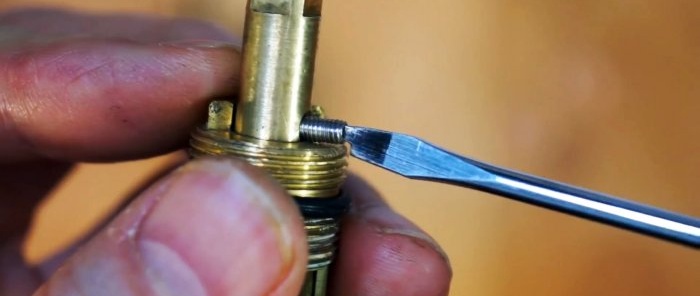
Next, you need to push out the rotary rod. It's stuck. To do this, you will need to unscrew the stopper on the side or remove the ring, depending on the configuration of the axle box valve. After this, the rod will come out of the body.
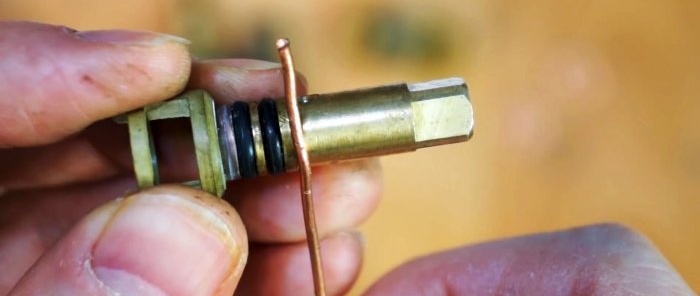
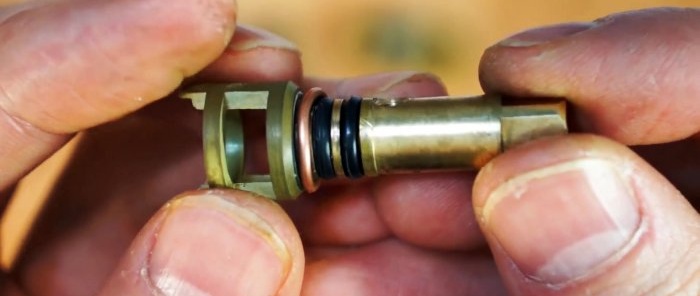
At the bottom of the rod there is a fluoroplastic ring, which is the cause of the drip. It wears off and the ceramic plates are not pressed. Typically repairs involve replacing it with a copper washer.When it is not at hand, you can use a homemade ring.
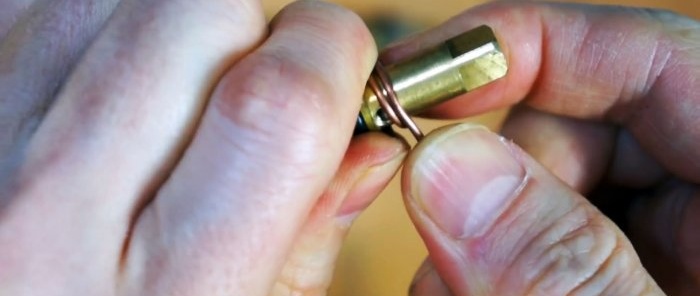
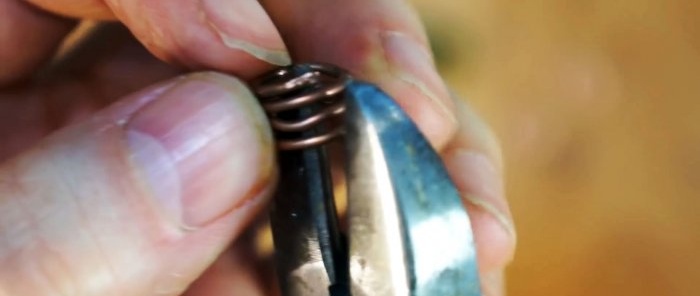
To make it, a pair of turns of copper wire from a wire with a core cross-section of 0.75 sq. mm is wound onto the rod. Then the coils are cut with wire cutters. The result is several repair rings.
A homemade ring is placed instead of a fluoroplastic washer. Then you need to clean the dirt from under the rubber seals on the rod. If they were brought up, then a little fum tape is wound on them.
Next, the rod is installed in place and locked. It is important that it does not dangle. If there is play, then a repair ring should be made from thicker wire. After this, the ceramic plates are returned. You need to check that when you turn the rod to the left, they open the flow.
If possible, it is worth replacing the black rubber seal with a silicone one from an old crane axle box, if you have one.
After this, the mixer is assembled and tested.
With the new ring there will be no more leaks.
Watch the video
Similar master classes
Particularly interesting

How to install a socket if there are short wires left

How to eliminate gaps between the chimney and slate

How to mix an ultra-reliable solution for the oven that does not give

There will be no more cracks: What to add to concrete to make it

Never buy ball valves without checking with me

New technology for floor insulation with penoplex
Comments (2)

