How to make a photodiode from a regular diode
In fact, the differences between a conventional diode, which is used to rectify voltage, and a photodiode, which records light radiation, are very small. They have approximately the same crystal, with the same operating principle. A photodiode is also capable of rectifying voltage, and a conventional diode is quite capable of recording light emissions, but for this it needs to be slightly modified.
You will need the following parts
- Transistors BC547 -
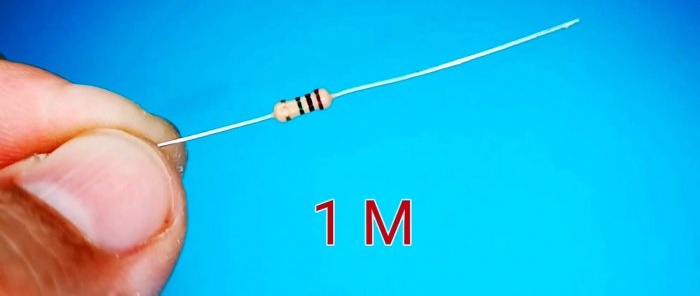
- Resistor 1 MOhm.
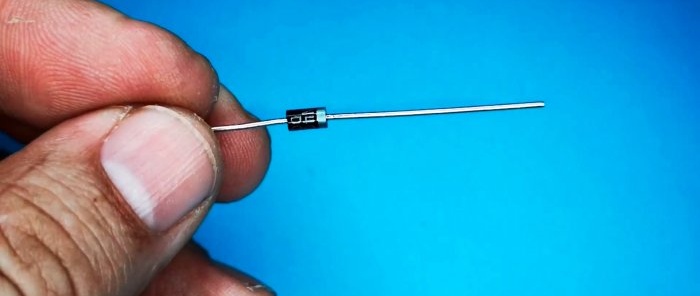
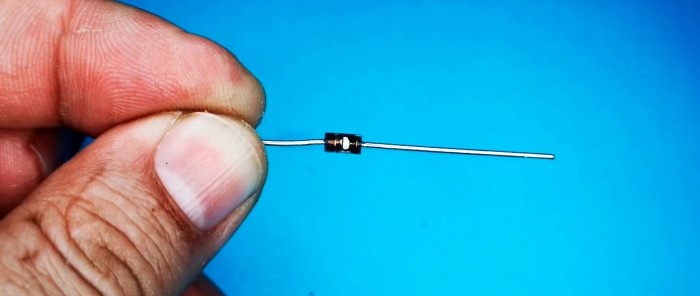
- Diode 1N4007 -
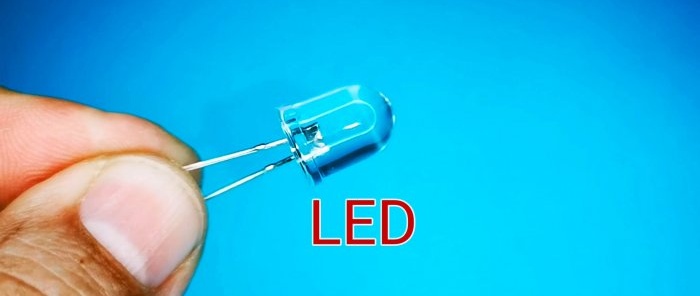
- Light-emitting diode.
- 9V battery.
How to convert a diode into a photodiode with your own hands
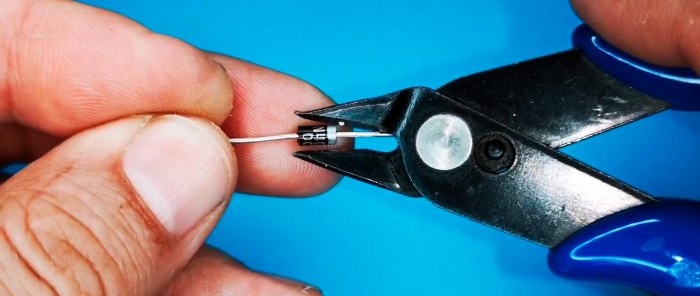
To convert a diode into a photodiode, it is necessary to remove the shell of the light-protective housing. To do this, take a pair of wire cutters and bite off part of the body of the diode.
That's all. Now the opaque shell does not block the light and it can easily reach the crystal of the device.
Checking a homemade photodiode with a simple circuit
To check the operation of the photodiode, let's assemble a simple circuit.
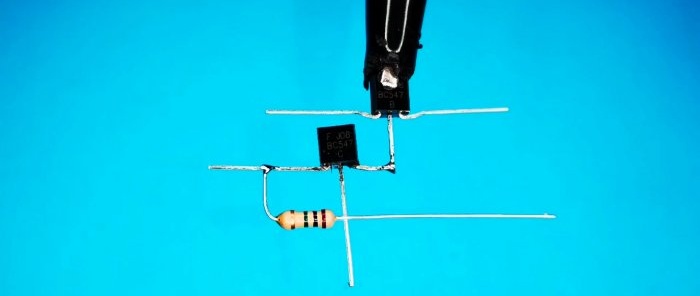
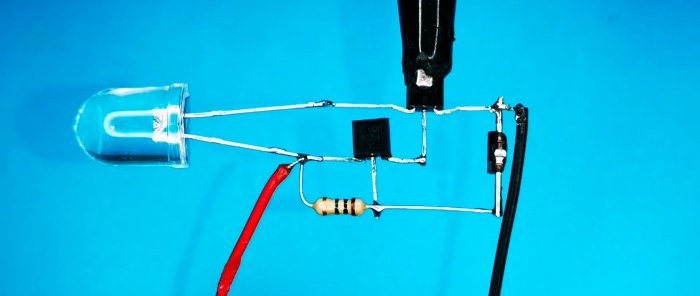
We solder the transistors into one component. We solder the emitter of one transistor to the base of the other.
Solder a resistor between the collector and the base of the transistor.
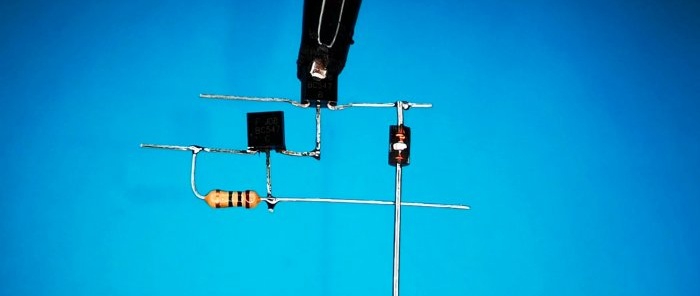
We solder the photodiode between the base and the collector of the transistors.
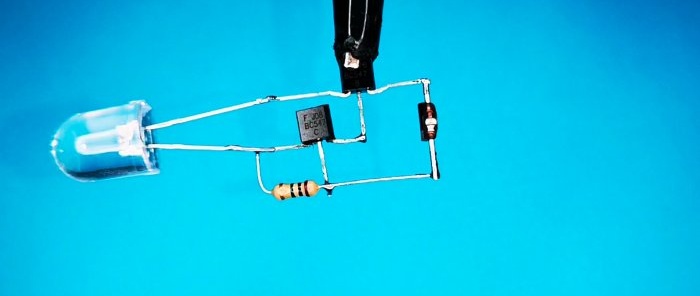
The work indicator will be Light-emitting diode. Solder it into the circuit.
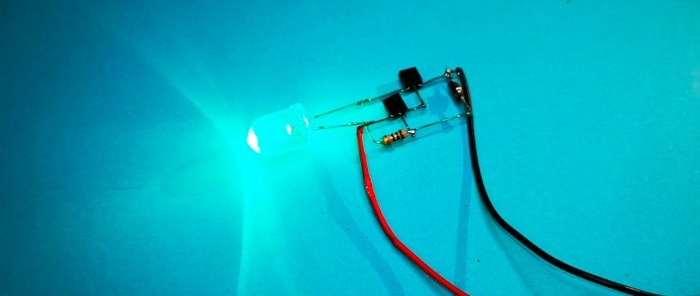
We supply 9 Volt power to the circuit.
As you can see, Light-emitting diode lights up because a voltage capable of opening both transistors is supplied through the resistor to the base of the transistor.
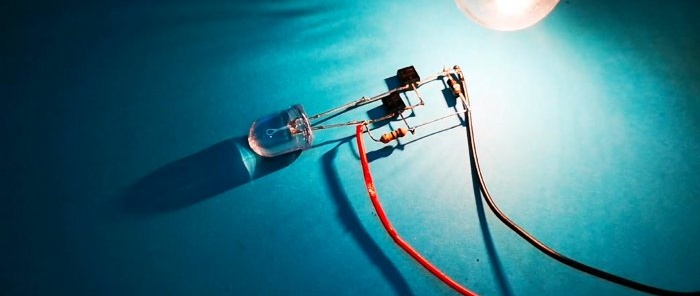
But once you illuminate the photodiode with light, Light-emitting diode goes out. Since the resistance of the photodiode decreases and the transistors turn off.
Of course, the sensitivity of a homemade photodiode is extremely low, but it is quite sufficient to make, say, a homemade optocoupler or use it for other purposes. By the way, its sensitivity in the infrared range is slightly better.
Watch the video
Similar master classes
