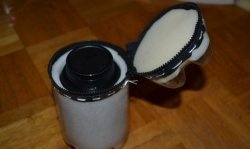
Case for designer
Probably every mother has a daily problem of where to store children's construction pencils. After all, packages of them get lost so often that you don’t have time to track them. I offer you one option - a handbag made from a plastic bottle. With the help of this simple crafts you will achieve three goals: the opportunity to captivate the child (after all, the craft is so easy that even a five-year-old child can take an active part in making it), secondly, this is the best present for a fashionista daughter, and an opportunity to occupy her free time.
To make a handbag, you need to prepare the following materials:
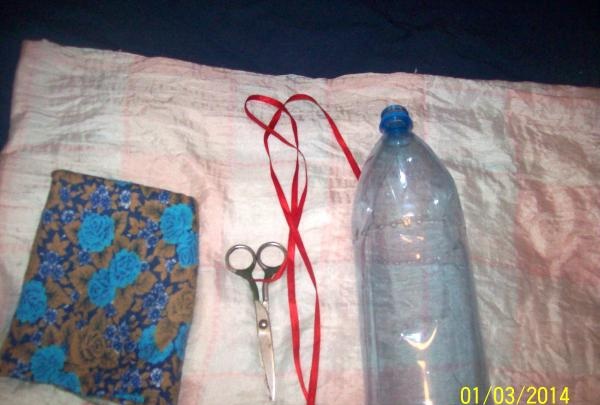
Let's start making a handbag from a plastic bottle.
We take a plastic bottle, cut off the top, and then put an elastic band on it. We light a candle on which we heat the needle. Using a heated needle, we make holes at the level of the elastic band (the distance between them is 2 - 4 mm).
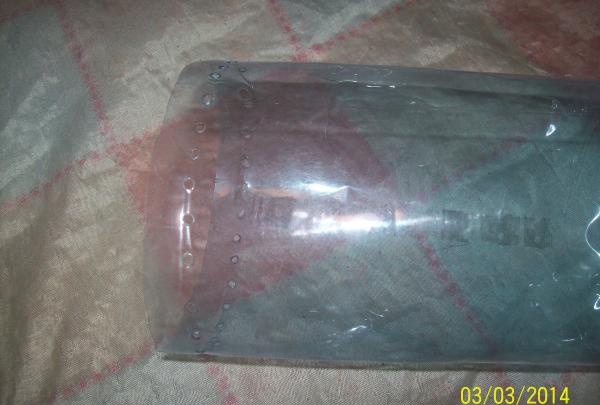
An elastic band is used to ensure an even seam. Determine the length of the fabric.
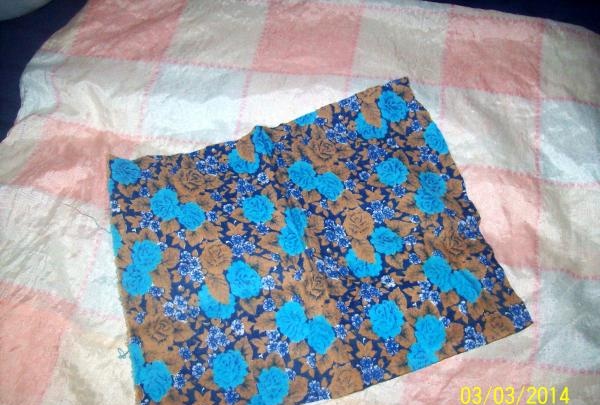
By the way, you can take one piece of fabric and make only the fabric up in the handbag, but if you take two pieces of fabric and hide the bottom of the bottle, the handbag will look better. To cut the required length of fabric, you can take a centimeter and measure the bottle, or you can simply measure it with fabric and cut off the required amount.
Immediately prepare the bottom. To do this, sew the fabric, leaving only the top unsewn. Turn it inside out and put it on the bottle.
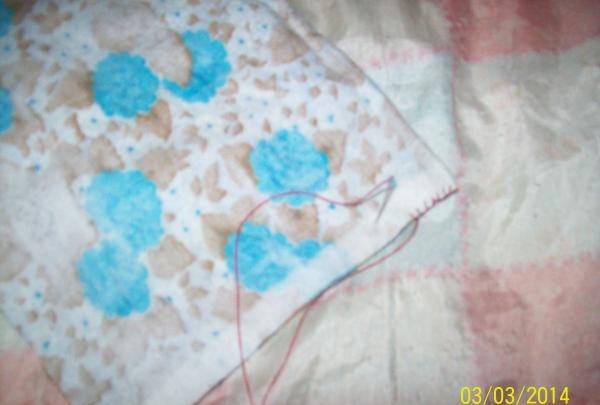
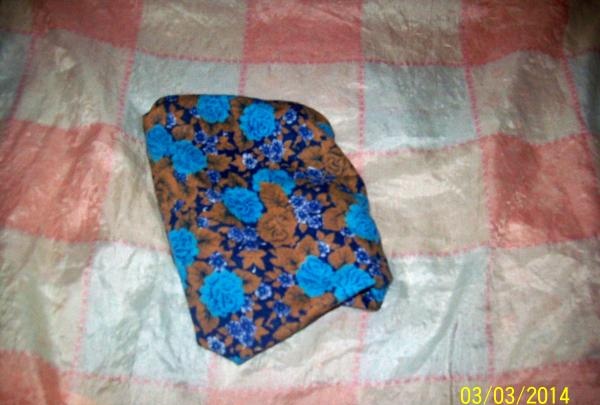
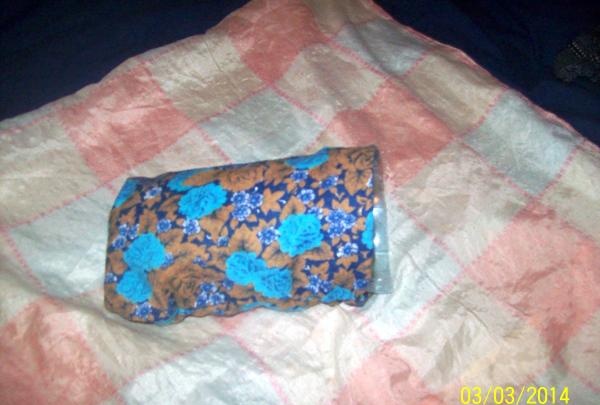
Now let's move on to the top of the bag. We bend the fabric (on one side by 1 cm, and on the other side, first by 0.5 cm, and then by three).
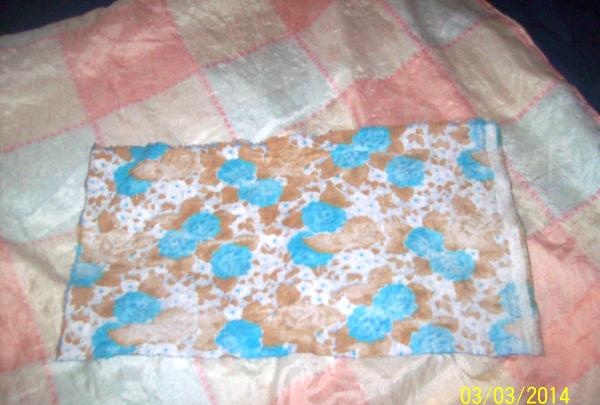
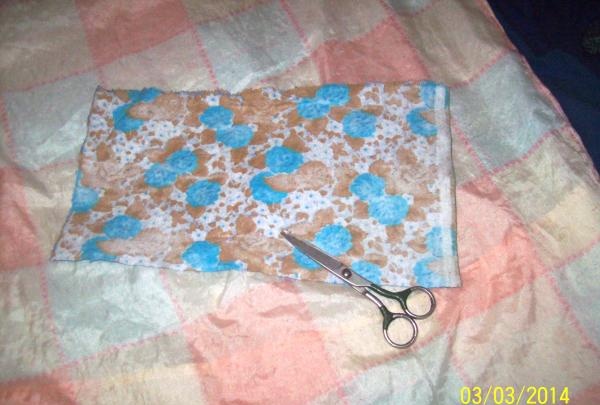
Next we need to make holes for the tape. For this you need eyelets, but if you don’t have them, just sew them with suitable threads, then you won’t need eyelets. In general, it will be no less beautiful without them.
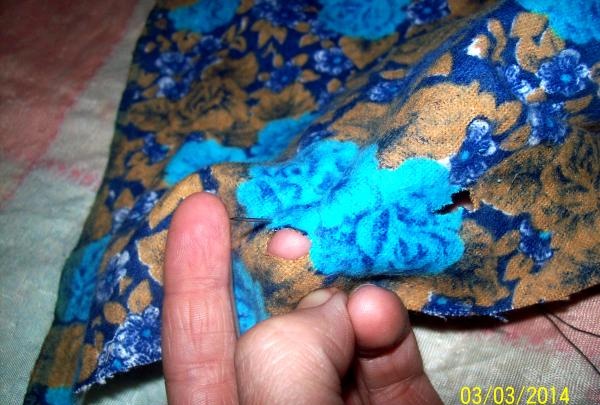

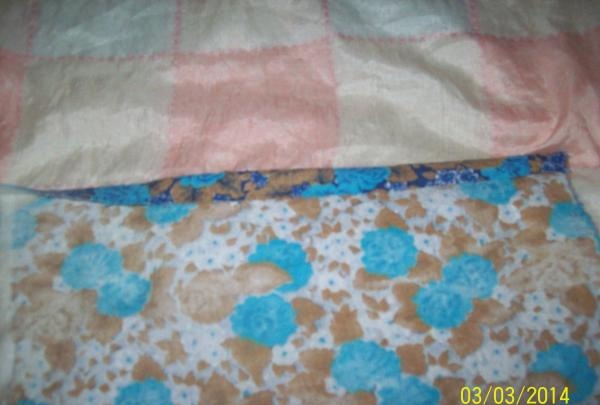
If you have a sewing machine at home, then creating a handbag will take you no more than an hour, but if you sew by hand, it will take a little more time. Sew the fabric from the wrong side and turn it inside out.
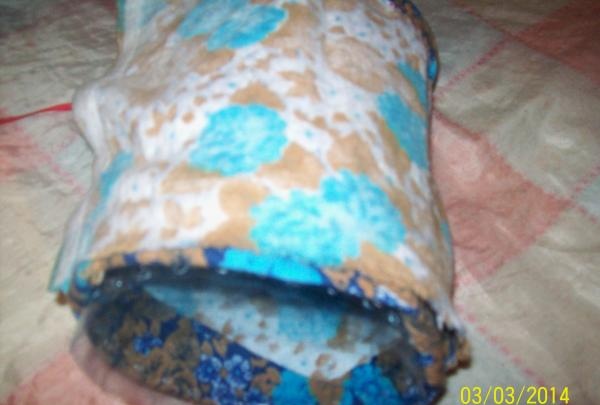
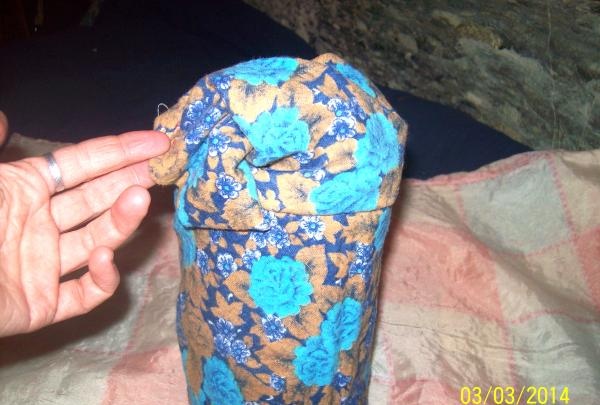
Now it's time to sew the fabric onto the bottle, and that's why we used a needle to make holes on the bottle.

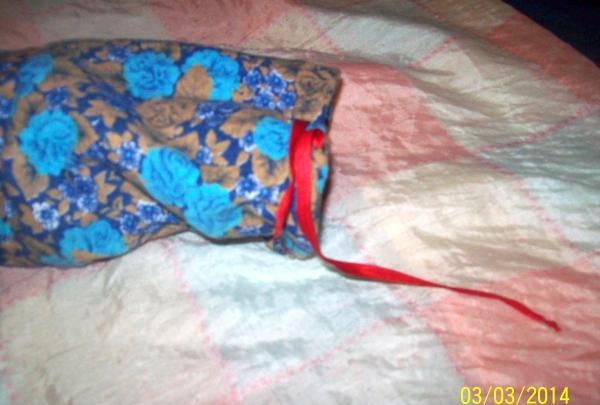
The bottle is needed for rigidity and to protect the bag from sharp objects that may be stored in it. Both pieces of fabric should be sewn to the bottle at once, this will be more convenient and faster. At the same time, watch carefully so that in the end you can turn out the top part.
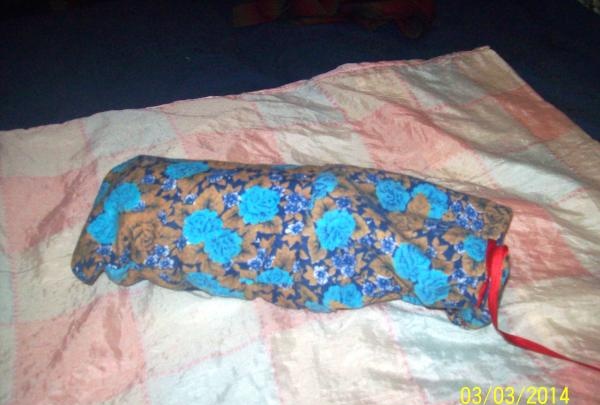
After this, thread the ribbon or lace into the prepared thin hole.
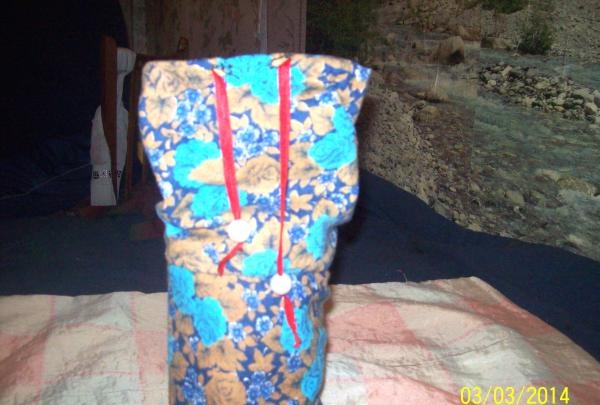
To make it quick and convenient, take a pin.
After that, take the stoppers and attach them to both ends of the tape. Two large beads can be used as limiters. Secure the beads so that they do not slip off the ribbon; one option is to use knots.
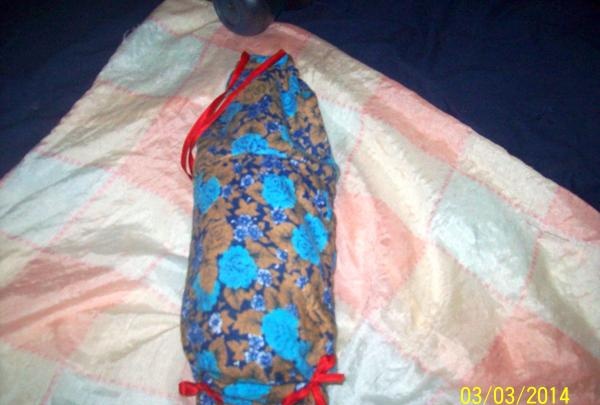
When finished, inspect your creation from all sides to make sure there are no defects. If there are any shortcomings, they must be corrected, and only after that such a precious gift should be given to the child.
Whatever craft you do with your child, try to have your child take part in this craft. After all, nothing unites mother and child better than a common fun activity.

To make a handbag, you need to prepare the following materials:
- Plastic bottle;
- a piece of unnecessary fabric;
- ribbon or lace;
- eyelets (you can do without them);
- candle;
- needle;
- thin small elastic band.

Let's start making a handbag from a plastic bottle.
We take a plastic bottle, cut off the top, and then put an elastic band on it. We light a candle on which we heat the needle. Using a heated needle, we make holes at the level of the elastic band (the distance between them is 2 - 4 mm).

An elastic band is used to ensure an even seam. Determine the length of the fabric.

By the way, you can take one piece of fabric and make only the fabric up in the handbag, but if you take two pieces of fabric and hide the bottom of the bottle, the handbag will look better. To cut the required length of fabric, you can take a centimeter and measure the bottle, or you can simply measure it with fabric and cut off the required amount.
Immediately prepare the bottom. To do this, sew the fabric, leaving only the top unsewn. Turn it inside out and put it on the bottle.


Now let's move on to the top of the bag. We bend the fabric (on one side by 1 cm, and on the other side, first by 0.5 cm, and then by three).


Next we need to make holes for the tape. For this you need eyelets, but if you don’t have them, just sew them with suitable threads, then you won’t need eyelets. In general, it will be no less beautiful without them.


If you have a sewing machine at home, then creating a handbag will take you no more than an hour, but if you sew by hand, it will take a little more time. Sew the fabric from the wrong side and turn it inside out.


Now it's time to sew the fabric onto the bottle, and that's why we used a needle to make holes on the bottle.


The bottle is needed for rigidity and to protect the bag from sharp objects that may be stored in it. Both pieces of fabric should be sewn to the bottle at once, this will be more convenient and faster. At the same time, watch carefully so that in the end you can turn out the top part.

After this, thread the ribbon or lace into the prepared thin hole.

To make it quick and convenient, take a pin.
After that, take the stoppers and attach them to both ends of the tape. Two large beads can be used as limiters. Secure the beads so that they do not slip off the ribbon; one option is to use knots.

When finished, inspect your creation from all sides to make sure there are no defects. If there are any shortcomings, they must be corrected, and only after that such a precious gift should be given to the child.
Whatever craft you do with your child, try to have your child take part in this craft. After all, nothing unites mother and child better than a common fun activity.


Similar master classes
Particularly interesting
Comments (0)

