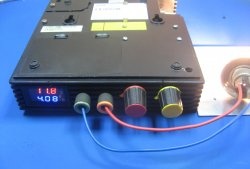
Simple 3 voltage power supply
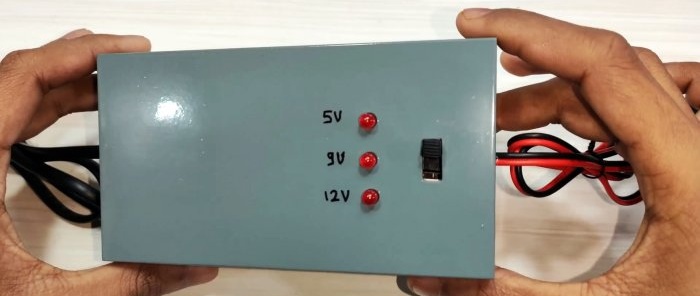
Somehow I needed a block with a fixed voltage for various devices. It’s difficult to do this with smooth adjustment, and it’s also not very convenient to set the desired voltage by rotating the potentiometer knob each time. Then I decided to make a simple source with three output voltages 5V, 9V, and 12V using common stabilizer chips.
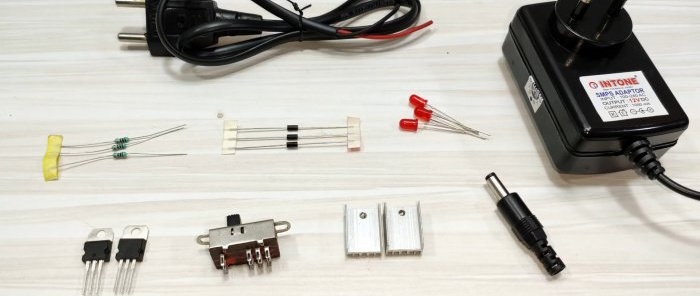
Will need
- 12V constant voltage source -
- Stabilizer chip L7805CV -
- Stabilizer chip L7809CV -
- Three position switch -
- LEDs 3 pieces -
- Resistors 1 kOhm -
- Diodes 1N4007 -
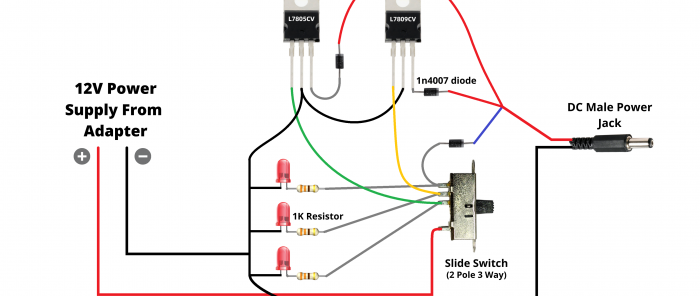
Power supply circuit for 3 voltages
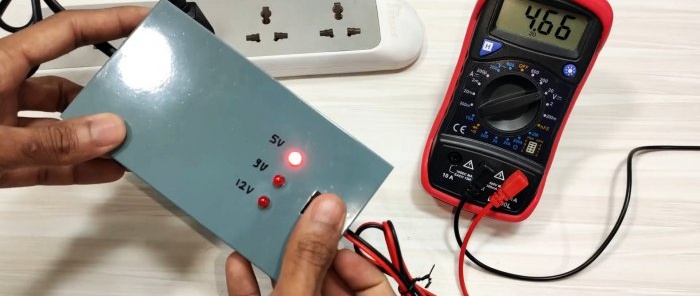
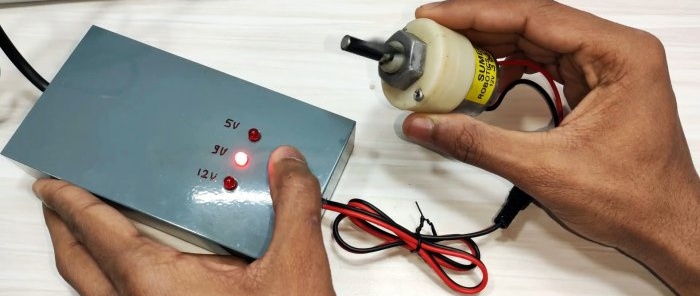
The ready source produces 12 V. If you need to get 5 or 9, then the switch passes the output through the corresponding microcircuits. LEDs indicates the selected voltage.
Making a housing for the block
The block body is made of sewer pipes. How to do this is described in detail here - https://home.washerhouse.com/en/6717-kak-iz-pvh-truby-sdelat-korpus-dlja-jelektroniki.html
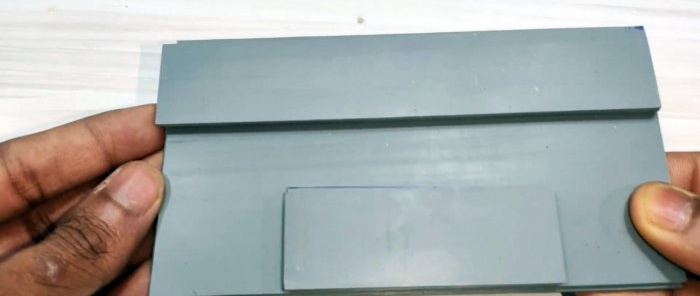
PVC plastic is cut into body blanks:
Then, using superglue, the sides are glued to each other.
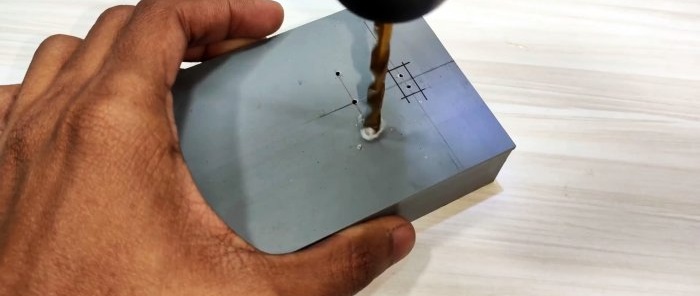
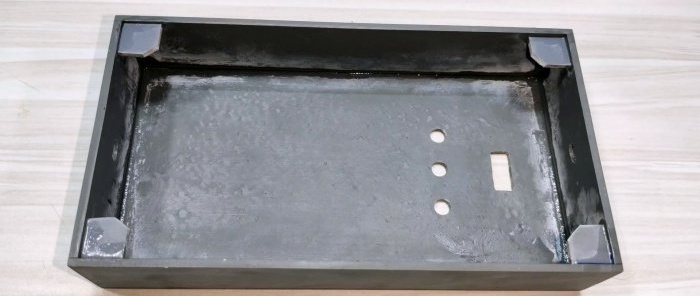
Holes are drilled in the housing for incoming and outgoing wires, LEDs, switch.
Ears are glued to the corners so that there is something to attach the lid to.
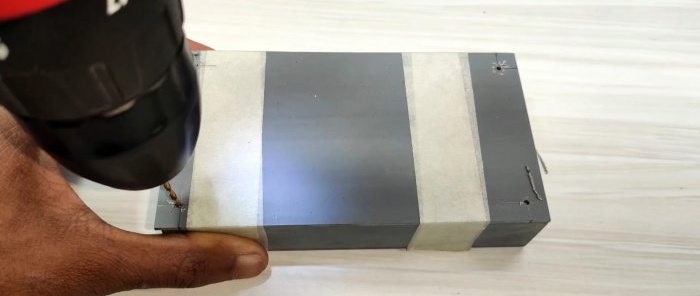
We wrap the lid with masking tape and drill holes in the corners, piercing the lid itself and the ears.
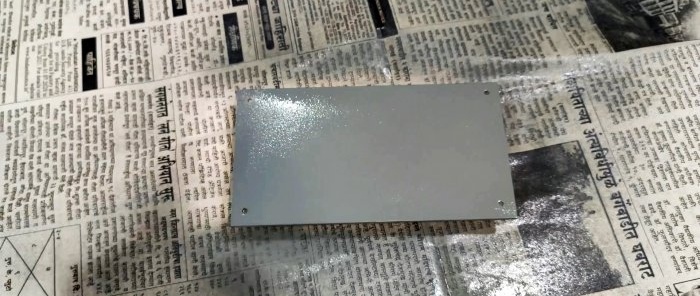
We paint the resulting product on one side.
Assembling a simple 3 voltage power supply
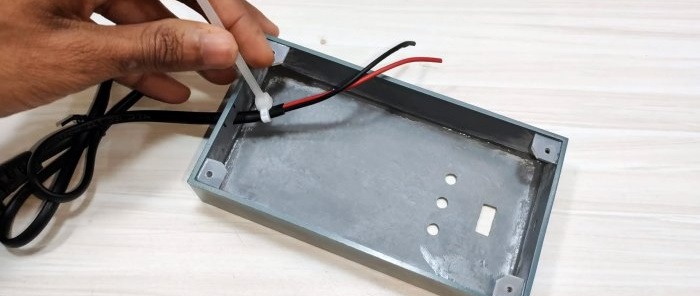
Let's move on to assembling the block. We pass the network wires through and secure them with a nylon tie.
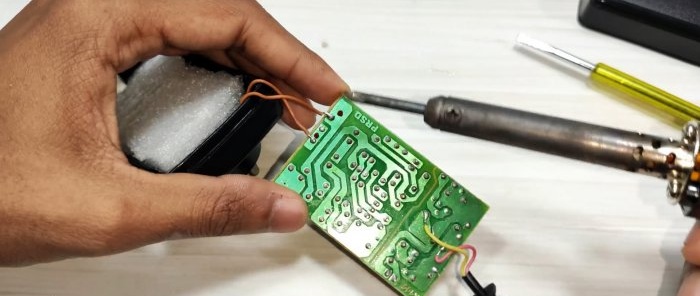
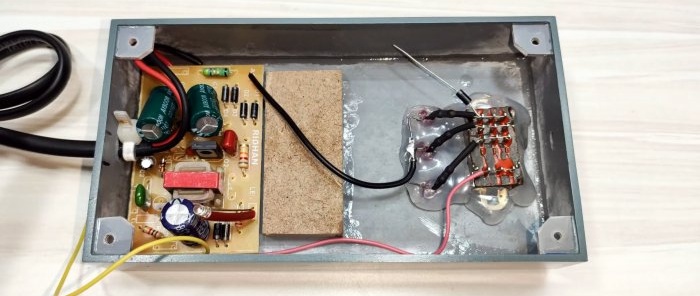
We disassemble the block with a fixed voltage and take the board.
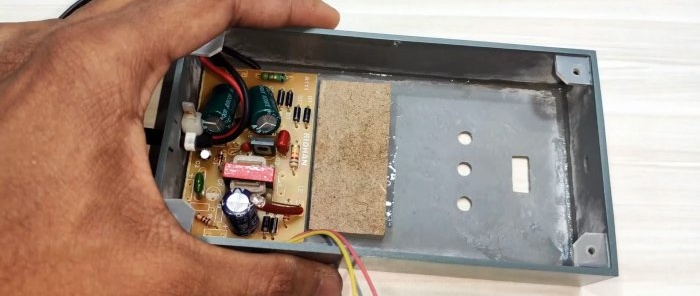
We glue the board into the new case using double-sided tape. We also glue the pad for the microcircuits.
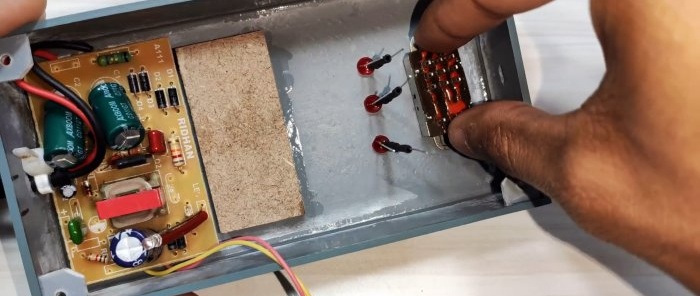
We solder resistors to three LEDs and insulate them with heat shrink.
Glue it in LEDs into the housing and switch.
For reliability, everything can be filled with hot glue. Solder the contacts from LEDs according to the diagram.
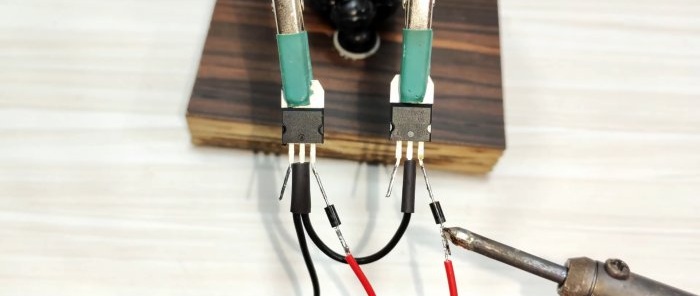
We solder the wires and diodes to the microcircuits.
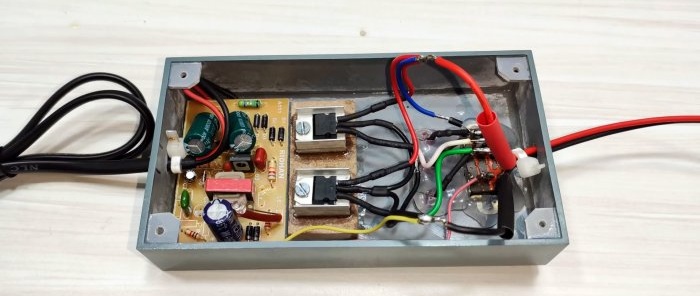
We install the microcircuits on the radiators and screw them to the platform. We solder the output as in the diagram.
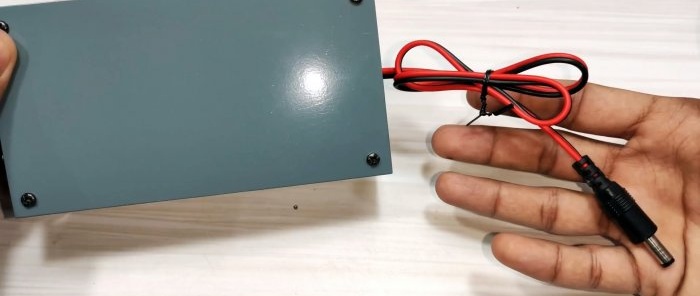
Close the back cover and secure it with self-tapping screws.
The source is ready to use.
There is no need to worry about the fact that the microcircuits are hidden inside. Each such microcircuit has current and temperature protection. If it exceeds 70 degrees Celsius, it will simply turn off until it cools down.
Watch the video
Similar master classes
Particularly interesting
Comments (1)

