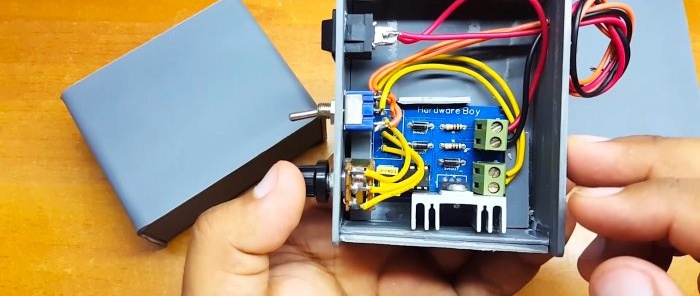
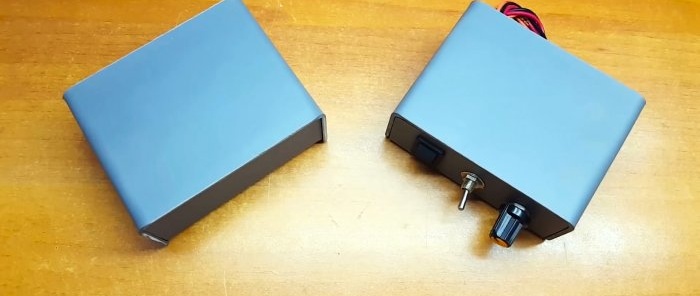
How to make an electronics case from PVC pipe
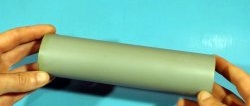
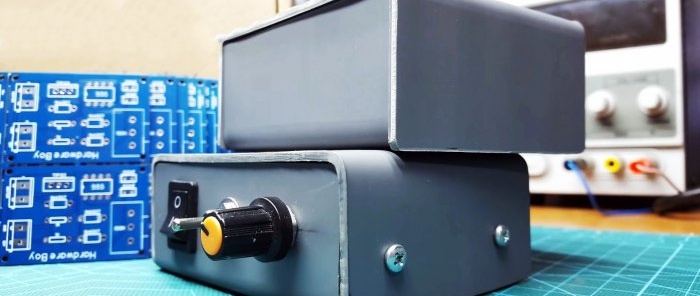
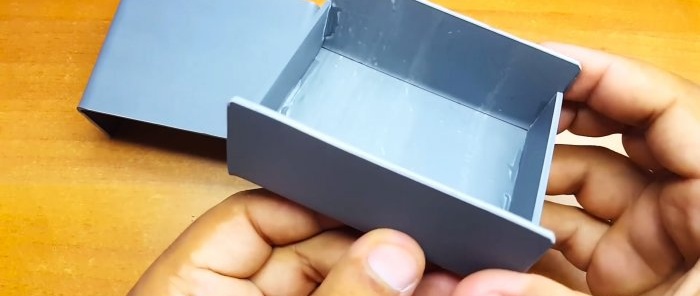
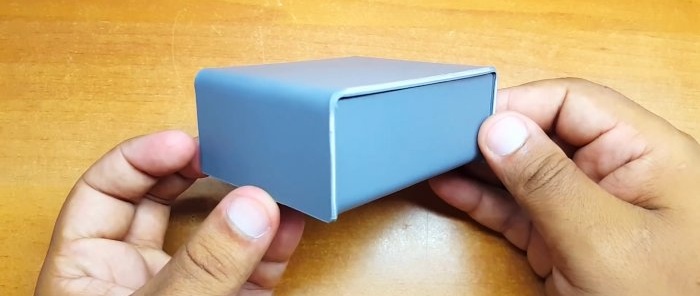
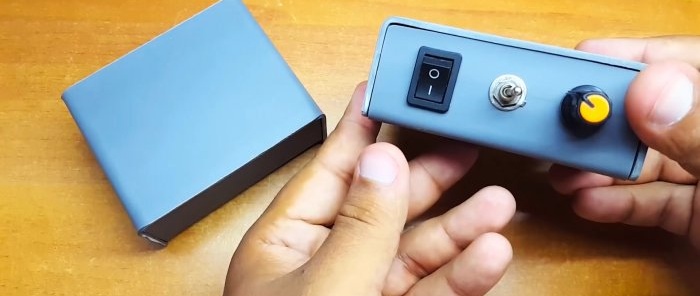
To place a power supply, switch, speed controller or other electrical equipment, a box made of dielectric material is required. It can be made from an ordinary PVC sewer pipe, and it will look almost like a store-bought one.
What you will need:
- PVC sewer pipe;
- Super glue;
- plywood or laminate scraps;
- mounting knife;
- ruler;
- square;
- nichrome thread;
- a pair of screws;
- extension spring;
- mounting hair dryer;
- 12V power supply.
The process of making a plastic box
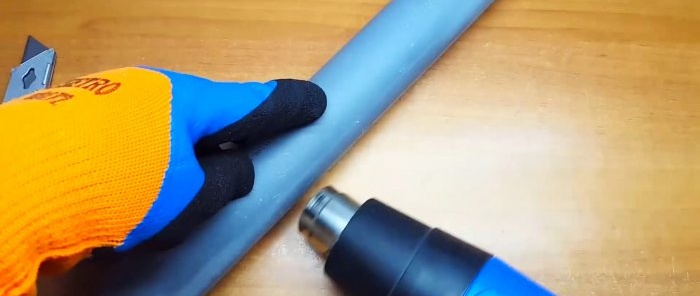
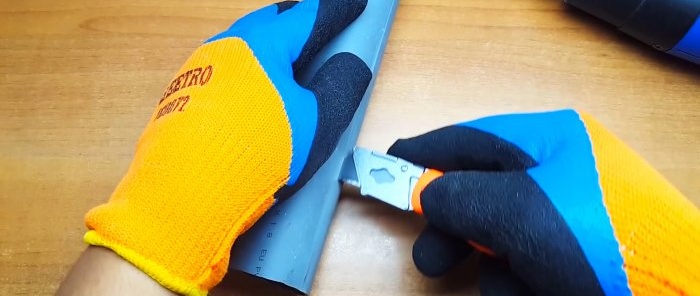
The sewer pipe needs to be heated with a hairdryer, and while it is soft, cut lengthwise with a mounting knife.
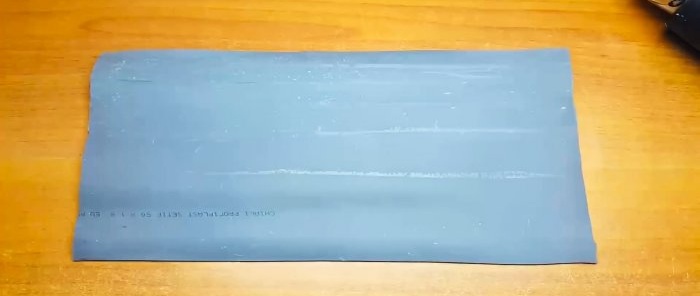
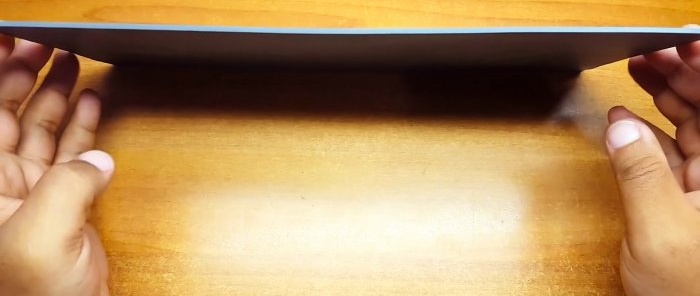
Then it is heated again along the entire perimeter, straightened and pressed against the tabletop with a piece of plywood with an installed load. After a minute, the PVC will harden and you will get a plate.
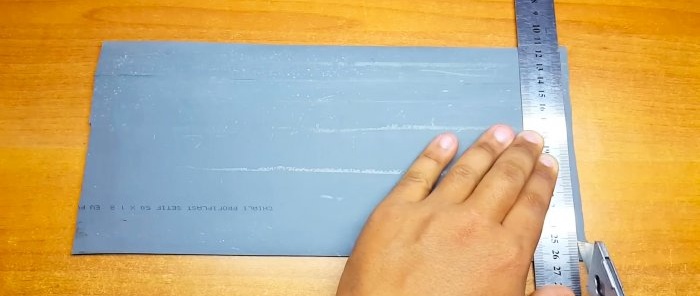
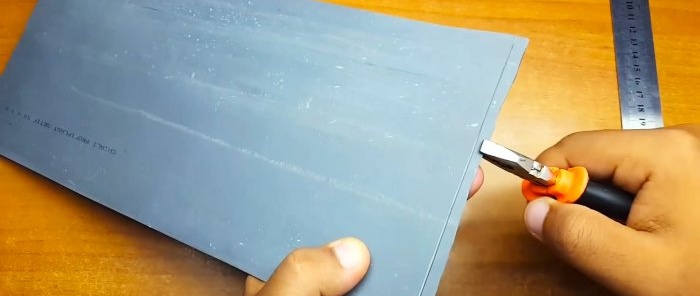
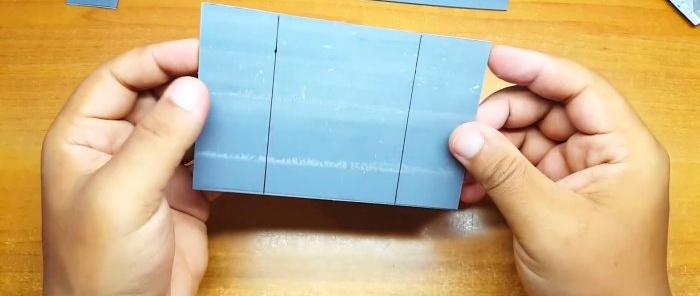
From it you need to cut a blank for the bottom of the box. The cut is made with a mounting knife under a ruler. You need to make a notch and break the plastic. Next, the workpiece is trimmed to fit the square.
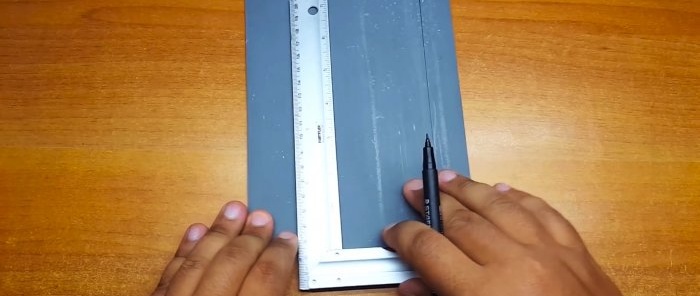
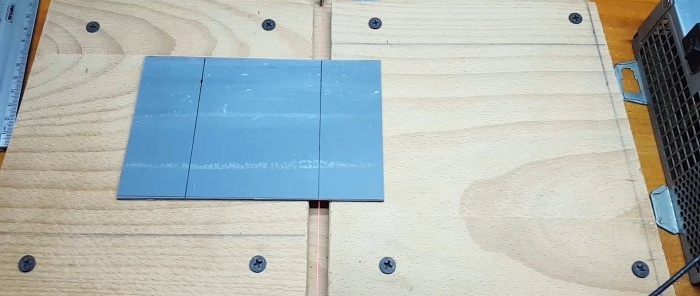
The cut plate is marked. It will need to be bent so as to obtain a bottom and long side walls.
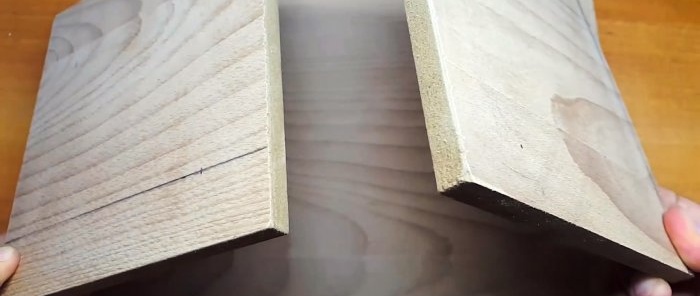
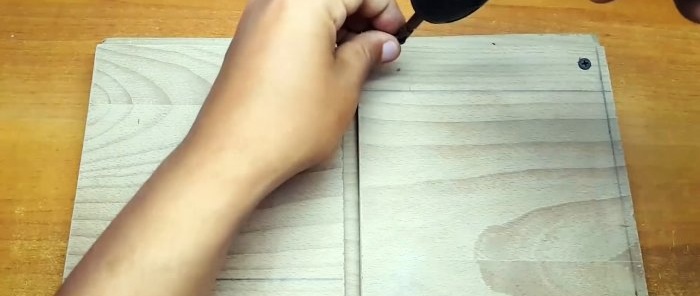
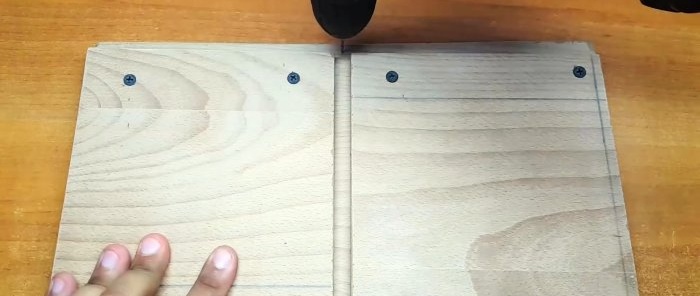
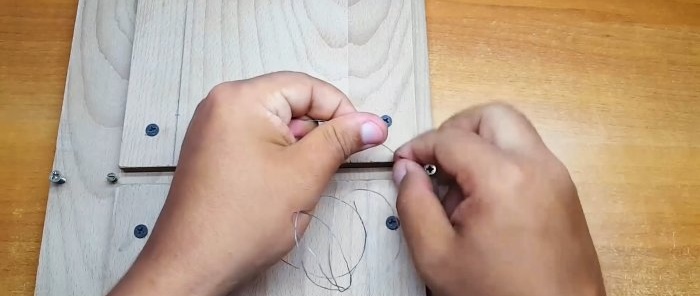
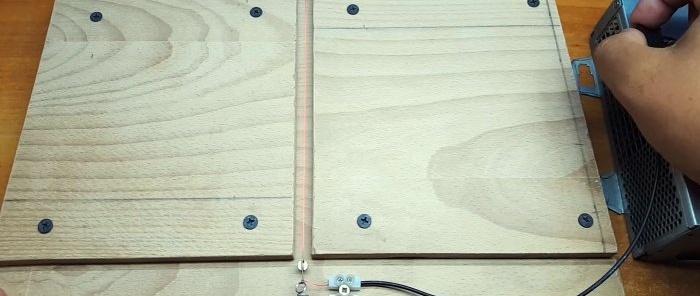
For further work you will need to assemble a special device. It consists of a large piece of plywood with two smaller pieces screwed on top. A gap of 5-10 mm is left between them.
Self-tapping screws are screwed along the edges of the gap.
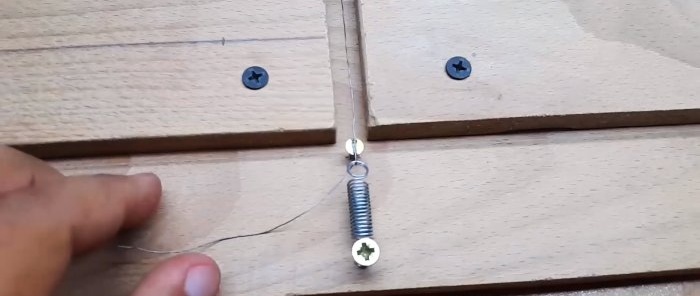
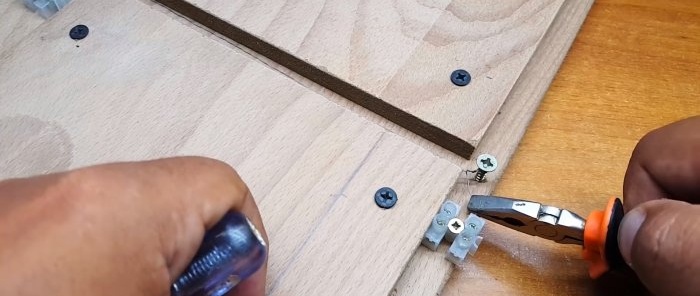
A nichrome thread is stretched between them. Moreover, on one side it is connected to a self-tapping screw through an extended spring. The thread should be almost flush with the top plywood. To prevent it from being pulled down, you can tighten additional screws to rest it in their caps.
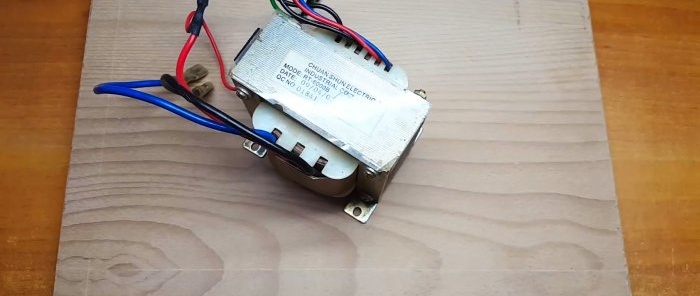
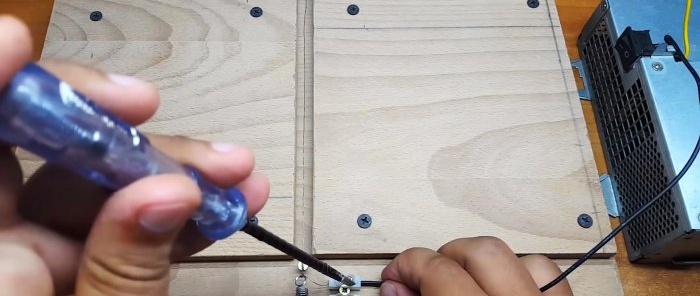
Wires from a 12V power supply are connected to the edges of the thread. It is advisable to equip it with a switch.
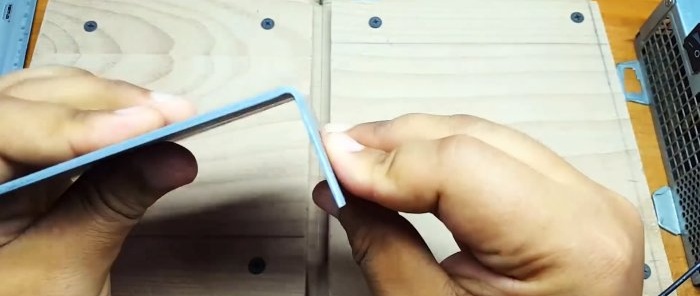
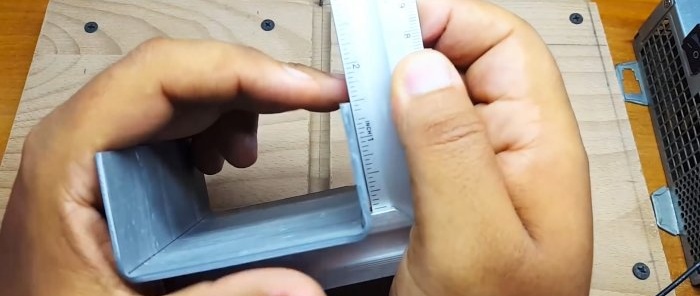
The plate is placed on the device and aligned with a line exactly along the thread. Then the power is turned on for 10 seconds. The plate will heat up from the thread, so it will easily bend strictly along the line. While it cools, you need to hold it with a square to get a right angle. The second side is also folded.
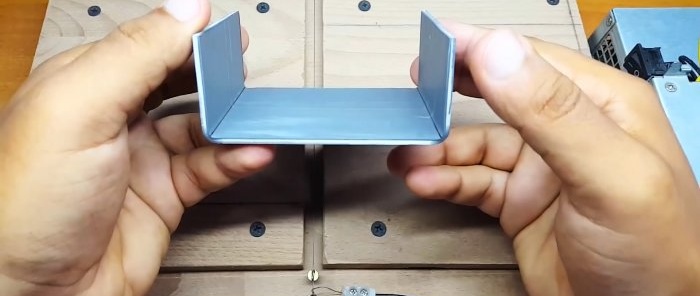
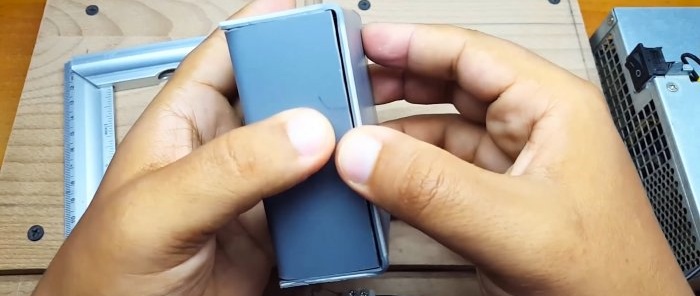
Then the plate for the lid is cut out. Marks are placed on it for bending the short sides of the box, and everything is bent in the same way. The result is a top and a bottom, which, when joined, will form a box.
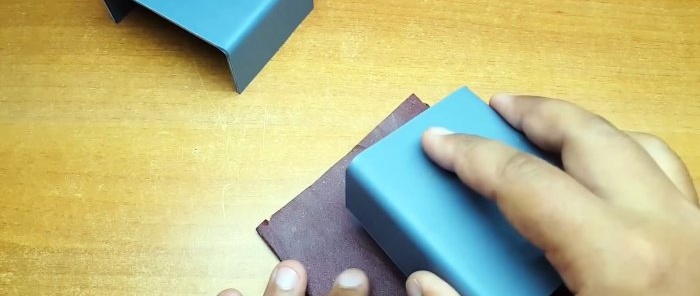
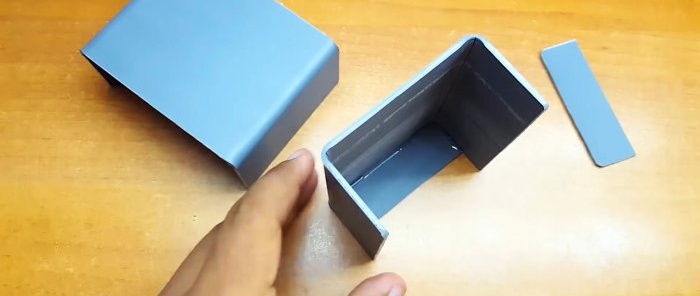
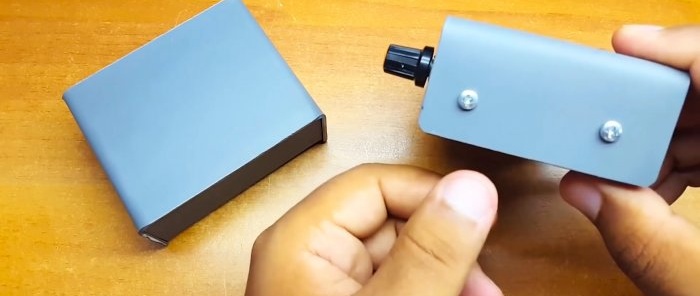
Since the bends turned out to be slightly rounded, it is necessary to sand the corners to remove gaps when joining the parts. Then the sides are glued to the bottom. In this form, the box is ready for use. After installing the electronics into it, the cover is screwed to the glued inserts with self-tapping screws.
Watch the video
Similar master classes
