How to ideally hang wallpaper behind a radiator by adjusting the pattern
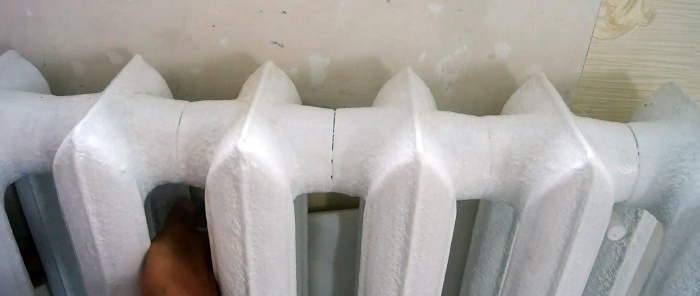
When wallpapering, the most difficult areas are behind the radiator. Not only is it narrow, but the brackets on which the battery hangs are also in the way. For this reason, many simply do not put wallpaper there, or do it as it happens. There is a little trick to make everything perfect.
Tools:
- Assembly knife;
- ruler or square;
- roller;
- curved brush;
- wide spatula.
The process of wallpapering behind a radiator
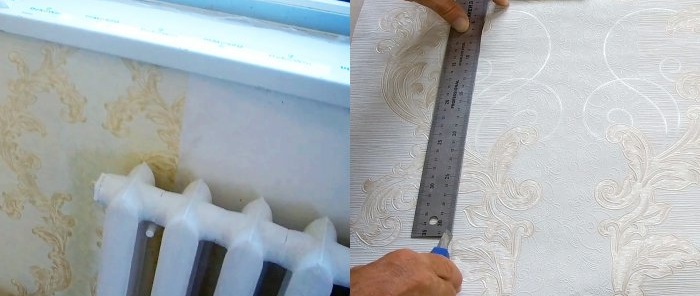
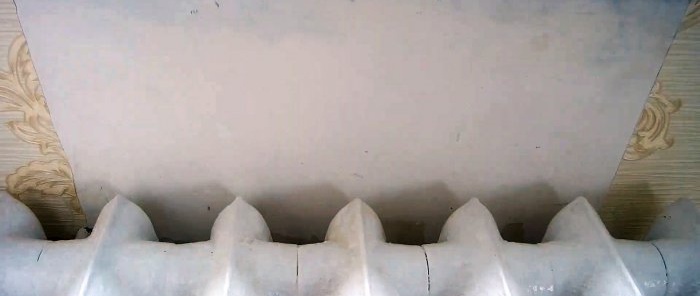
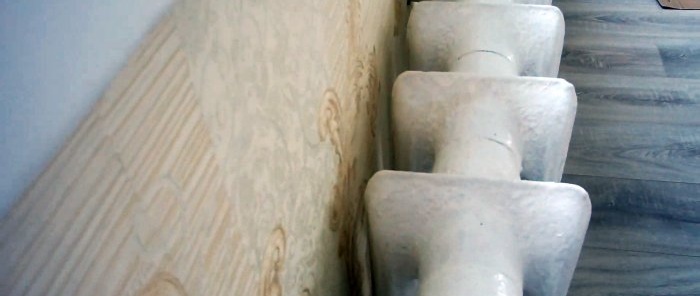
In order for the wallpaper pattern to fit perfectly and match throughout the entire room, you must first take care of the open part of the wall above the window. A strip of wallpaper from the ceiling to the floor is glued and then cut along the opening. At the bottom it needs to be narrowed along the line of the radiator mounting bracket. The same is done on the other side of the opening. There will be an open wall under the window sill between the brackets.
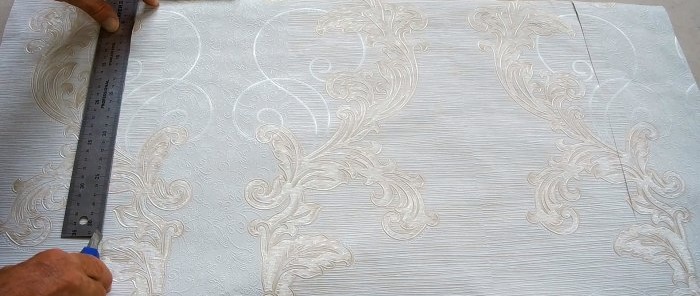
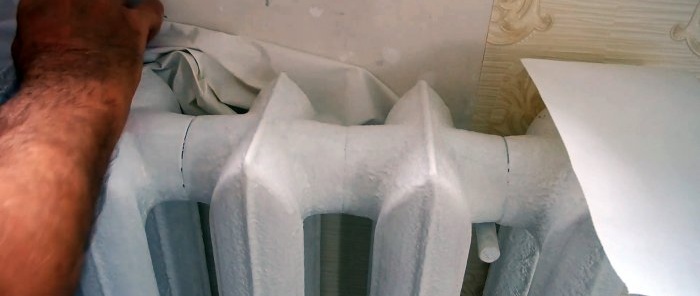
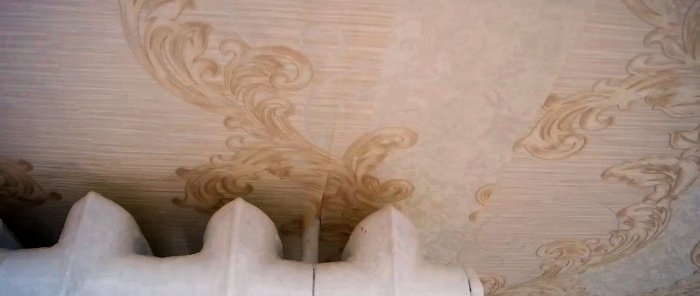
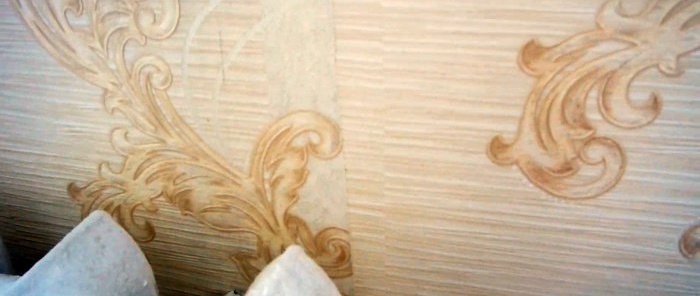
Next, a piece of wallpaper is cut out with a height margin for gluing into the remaining gap. It needs to be applied on top, overlapping the wallpaper already glued on the sides below in order to match the pattern. Then notches are left on it opposite the brackets.
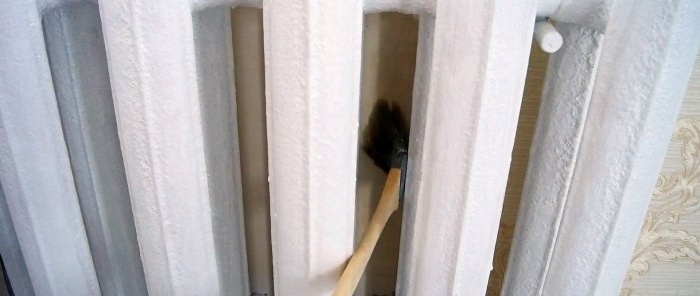
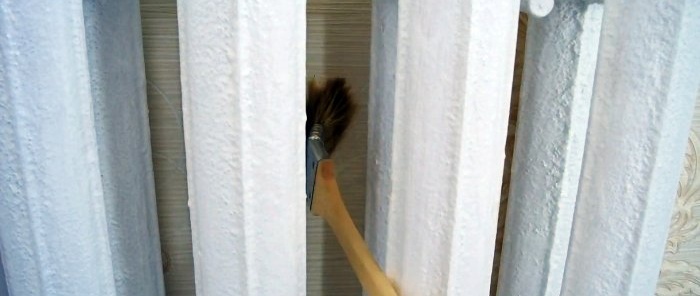
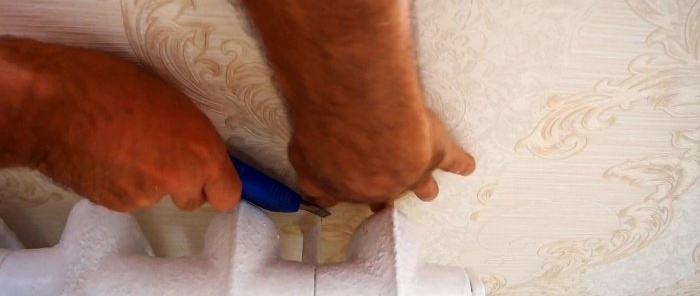
Along the notches, even cuts are made with a mounting knife under a ruler to the beginning of the brackets. After this, the gluing area is coated with wallpaper glue; this can only be done behind the battery with a curved brush.
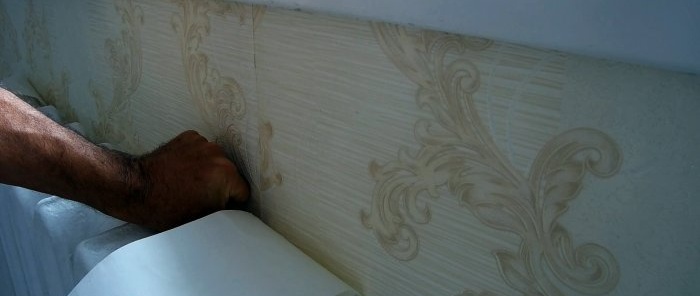
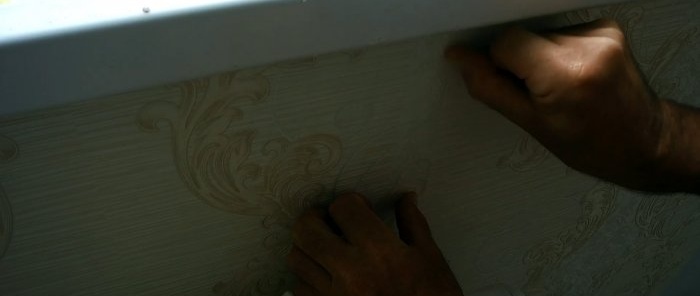
The wallpaper is inserted behind the battery on the side under the fasteners, then straightened out and brought up. After resting on the brackets, you need to unfold the flaps and smooth them over the radiator to the window sill. The entire plane of the wallpaper is pressed. This is done between the radiator fins with a brush.
The excess height of the strip is cut off with a knife. Next you need to lubricate the wallpaper where it overlaps and smooth the second layer on top. After this, trimming is done on the brackets.
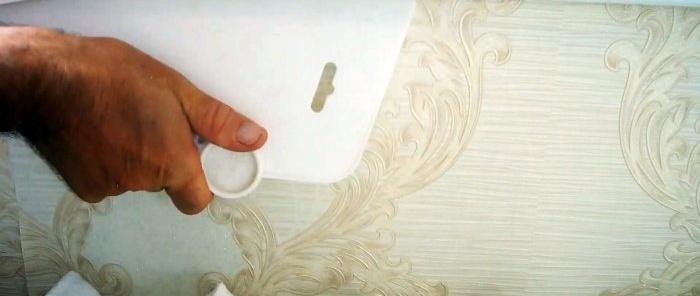
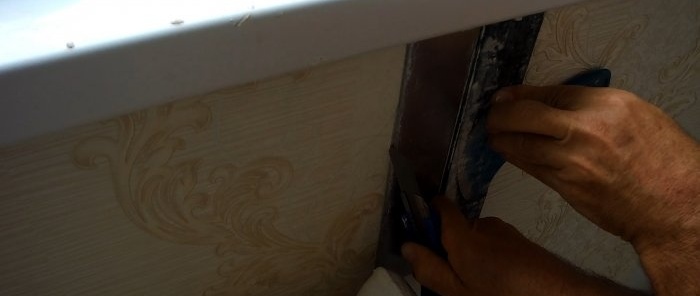
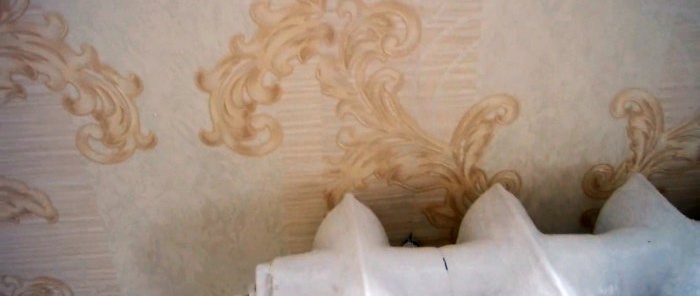
The last step is to trim the overlaps vertically. This is done along the edge of the spatula blade. The cut is made opposite the edges of the outer sections of the battery. This will allow you to visually hide a glitch in the wallpaper design, if any. Then the cut strips are torn off, glue is applied to the wall again, and the edges are smoothed.
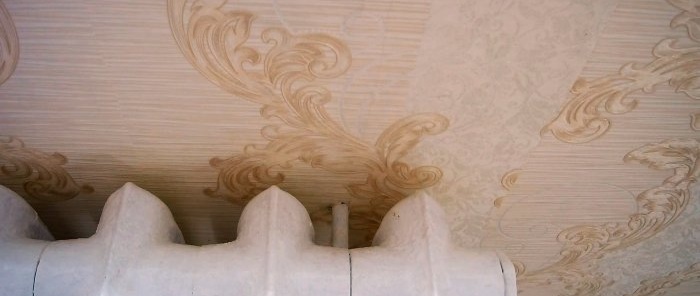
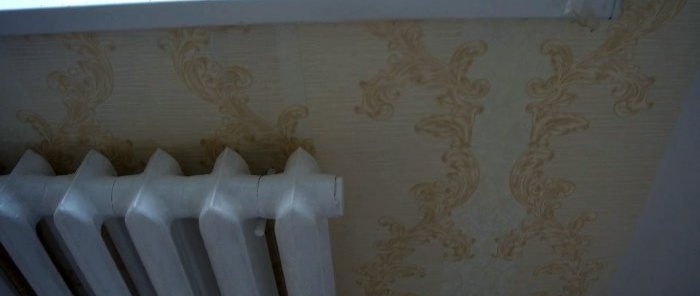
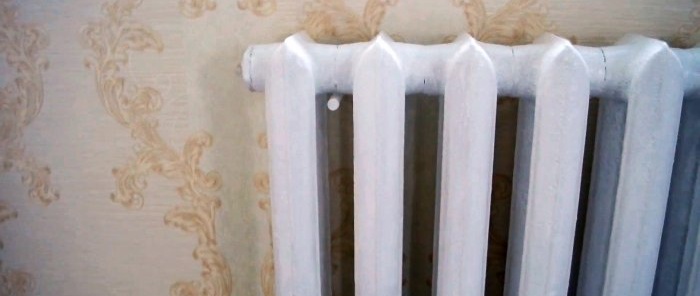
The result is a very high quality fit. It will seem that the batteries were simply removed for wallpapering.
Watch the video
Similar master classes
Particularly interesting

How to install a socket if there are short wires left

How to eliminate gaps between the chimney and slate

How to mix an ultra-reliable solution for the oven that does not give

There will be no more cracks: What to add to concrete to make it

Never buy ball valves without checking with me

New technology for floor insulation with penoplex
Comments (0)

