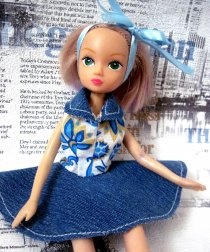
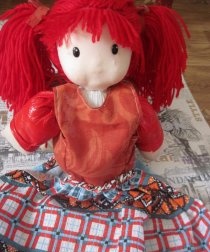
Rag doll Snow Maiden
Before the New Year, the counters of shops selling Christmas tree decorations, Christmas souvenirs and tinsel are decorated with soulless beauties Snow Maidens in identical brocade dresses and cheerful Chinese-made Santa Clauses that look like Santa Claus. Maybe it's time to remember the skill of our grandmothers, who created dolls with their own hands? For example, using the technology for making a rag doll, we suggest making the Snow Maiden.
What you will need:
- padding polyester;
- blue-blue fabric;
- beads;
- threads.
Manufacturing:
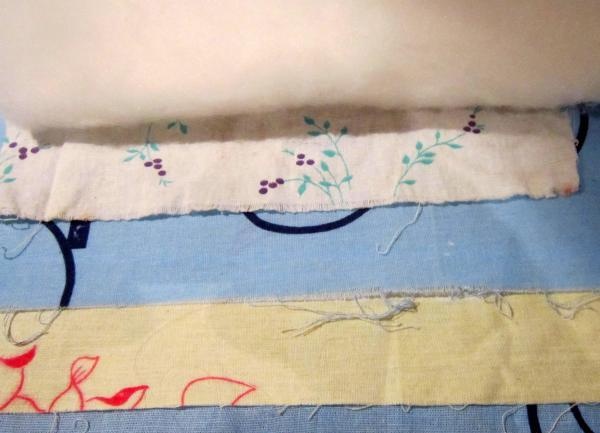
1 Take a padding polyester and cut out a circle with a diameter of 25 cm (the size can be changed depending on the desired size of the finished doll).
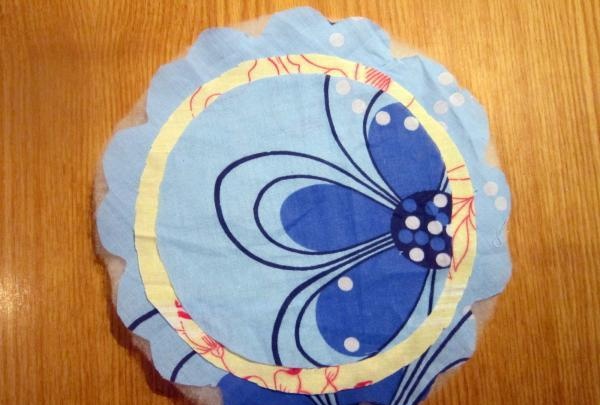
2 We lay out fabric of two or three colors that match each other on the table. For the Snow Maiden, it is better, of course, to choose a blue color scheme. We cut out circles from the fabric, and the diameter of each subsequent circle will be approximately 3 cm smaller than the previous one. The blanks for the multi-layer dress are ready.
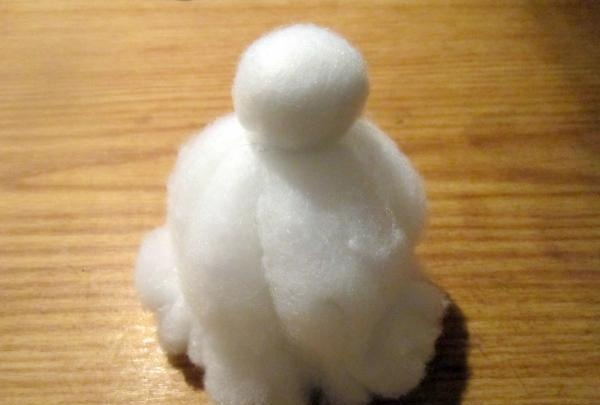
3 We roll a ball out of padding polyester, place it in the center of a circle of padding polyester and wrap it around it on all sides so that we end up with the head of the future doll, tied under the ball with a rope.
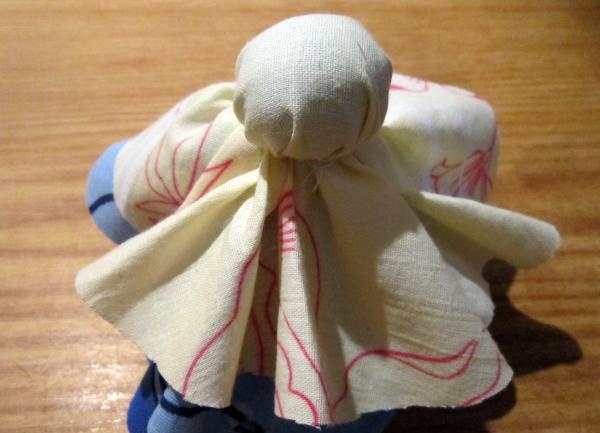
4 On top of the synthetic padding layer, we place layers of colored fabric one by one, starting with a circle of larger diameter. We also fasten each layer with thread in the area of the Snow Maiden’s “neck”. The last one should be a rectangle of white fabric - it will become the doll’s face, and we will form the sleeves from it.
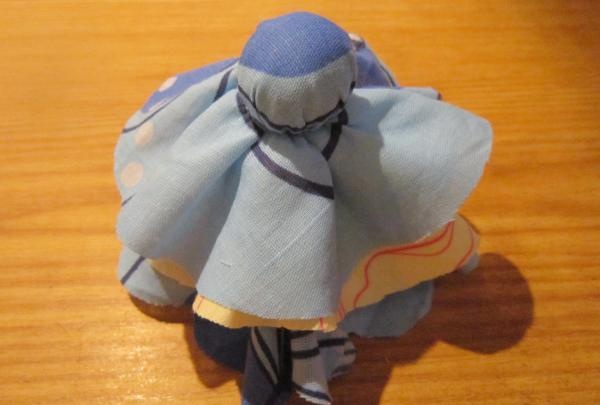
5 We tie a warrior made of ribbon or sewing on our head.
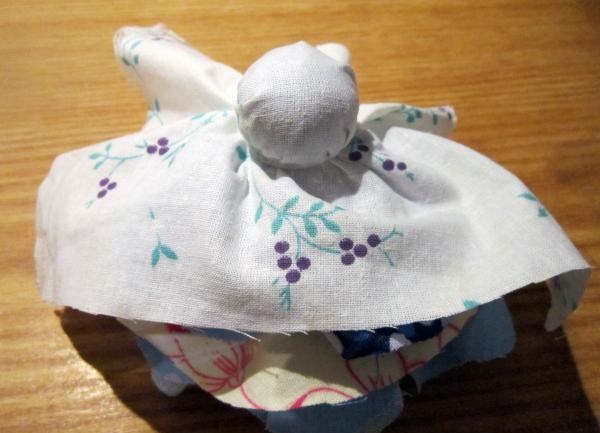
6 Sew beads on the eyes and mouth. We embroider eyebrows and eyelashes.
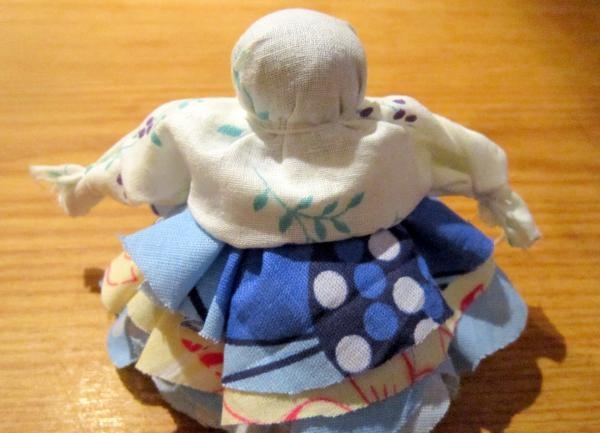
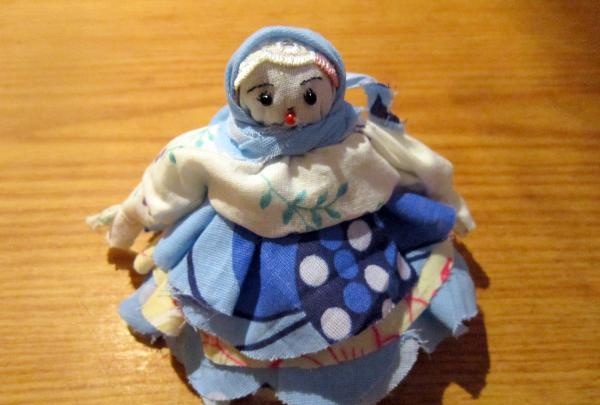
7 We tie a scarf made of a triangle of fabric on our head.
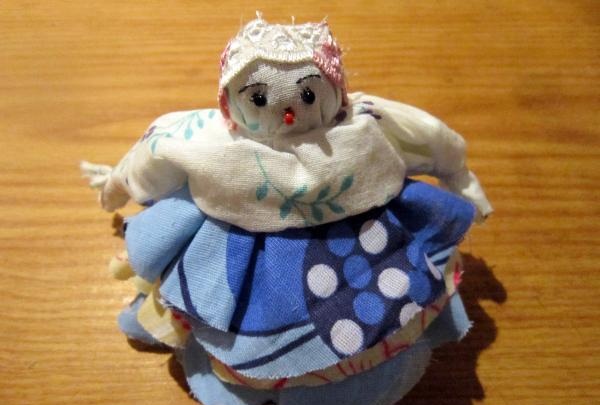
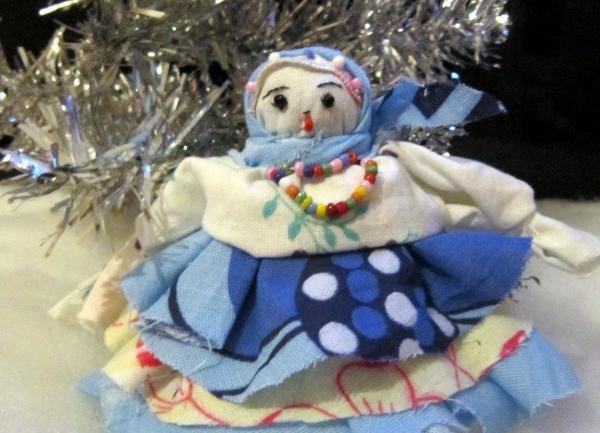
The Snow Maiden rag doll is ready! With a little patience, you can weave braids from wool threads onto your head and decorate them with a kokoshnik.
What you will need:
- padding polyester;
- blue-blue fabric;
- beads;
- threads.
Manufacturing:

1 Take a padding polyester and cut out a circle with a diameter of 25 cm (the size can be changed depending on the desired size of the finished doll).

2 We lay out fabric of two or three colors that match each other on the table. For the Snow Maiden, it is better, of course, to choose a blue color scheme. We cut out circles from the fabric, and the diameter of each subsequent circle will be approximately 3 cm smaller than the previous one. The blanks for the multi-layer dress are ready.

3 We roll a ball out of padding polyester, place it in the center of a circle of padding polyester and wrap it around it on all sides so that we end up with the head of the future doll, tied under the ball with a rope.

4 On top of the synthetic padding layer, we place layers of colored fabric one by one, starting with a circle of larger diameter. We also fasten each layer with thread in the area of the Snow Maiden’s “neck”. The last one should be a rectangle of white fabric - it will become the doll’s face, and we will form the sleeves from it.

5 We tie a warrior made of ribbon or sewing on our head.

6 Sew beads on the eyes and mouth. We embroider eyebrows and eyelashes.

7 We tie a scarf made of a triangle of fabric on our head.

The Snow Maiden rag doll is ready! With a little patience, you can weave braids from wool threads onto your head and decorate them with a kokoshnik.


Similar master classes
Particularly interesting
Comments (0)

