Rag doll Motanka
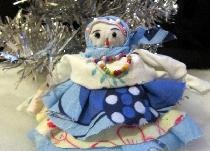
The motanka, made by loving motherly hands, will certainly please your daughter. Making a rag doll is so simple that even a four to five year old child can do it.
What you will need:
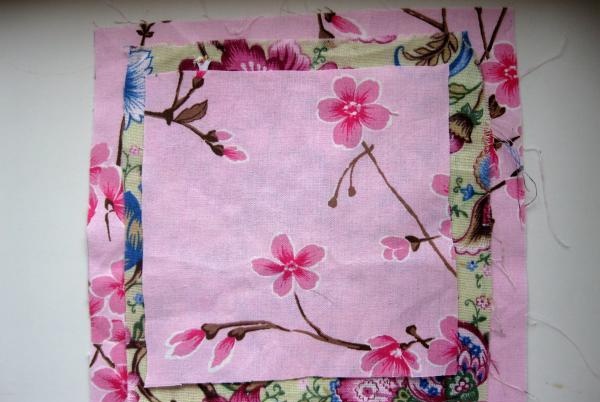
- fabric circles. Each circle should differ from the previous one with a slightly smaller diameter. To make a dress, it is enough to take 3-5 circles from materials that match in color;
- a rectangle of white fabric for Motanka’s head and arms;
- triangular scarf (half of a 15x15 square, folded diagonally);
- a warrior made of braid or just strips of fabric;
- filler for the doll’s head, for example, padding polyester or cotton wool;
- fabric for twisting.
1. We begin making a doll with twisting - a strip of fabric twisted into a roll. You don’t have to do it, but twisting gives the doll additional stability.
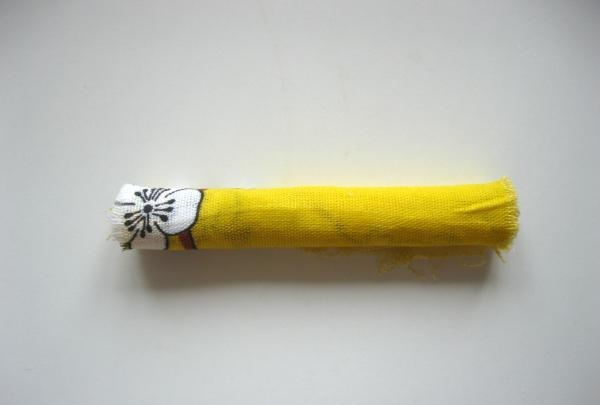
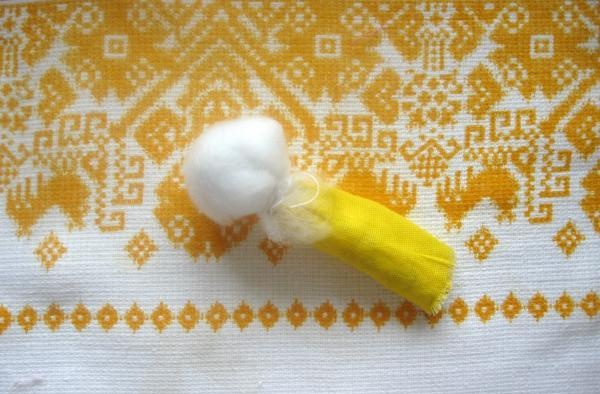
2. Roll up a ball, place the end of the twist inside it and wrap it around the top with a cloth with the largest diameter of the circle. Secure at the bottom with thread or an elastic band for banknotes. We got the doll's head and her underdress.
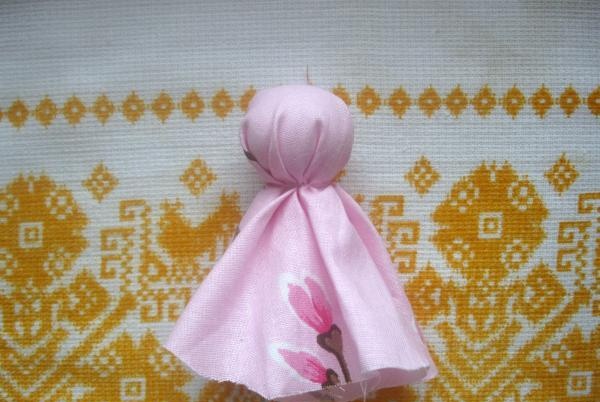
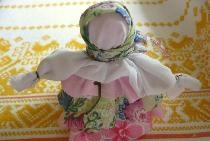
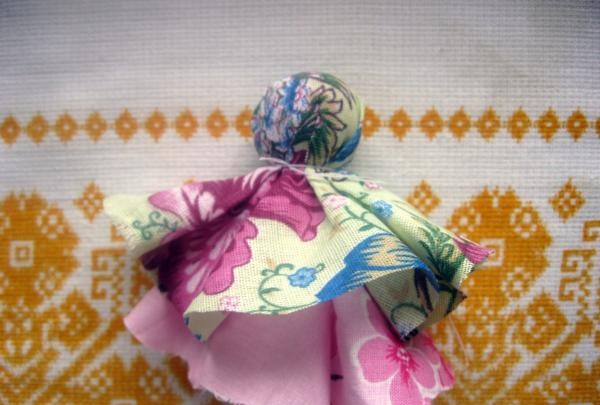
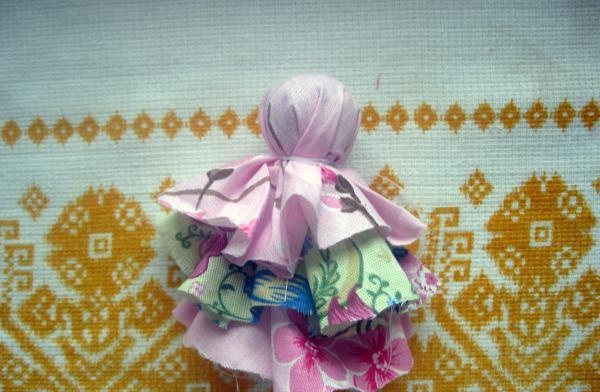
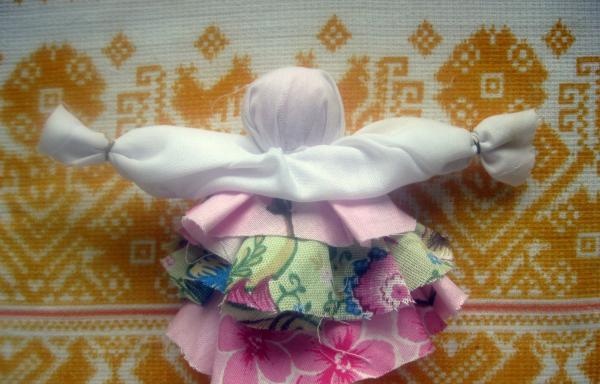
3. Take the largest of the remaining circles of fabric, wrap it around the doll’s head in the middle and secure it with an elastic band. We repeat as many times as we have blank circles. The topmost circle will have the smallest diameter. The result is a multi-layered full skirt.
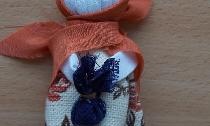
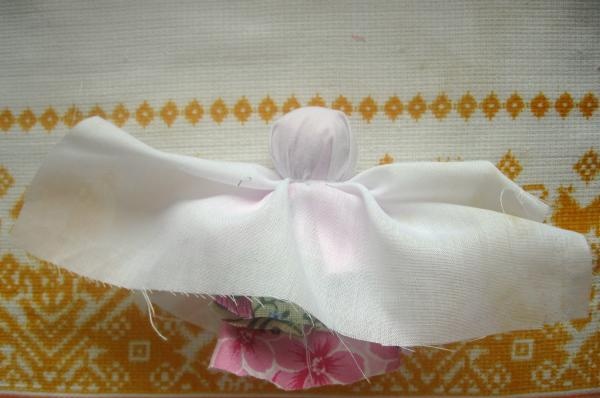
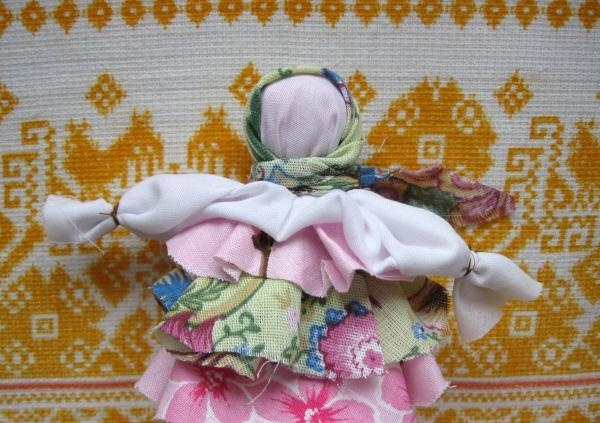
4. Take a white rectangle and fix it under the head. From the free side parts of the rectangle we form arms or sleeves, tying the edges with an elastic band or thread.
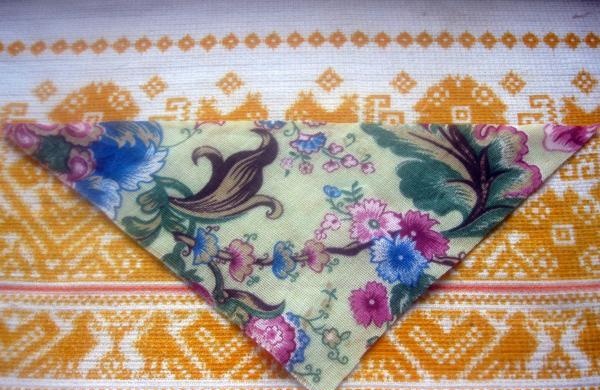
5. We decorate Motanka’s head with a warrior and tie a bright scarf.
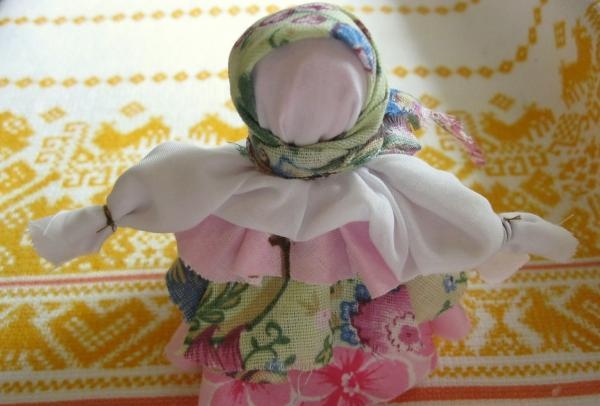
It’s fun to play with such a doll, and it’s nice to sleep with Motanka under your cheek!
What you will need:
- fabric circles. Each circle should differ from the previous one with a slightly smaller diameter. To make a dress, it is enough to take 3-5 circles from materials that match in color;
- a rectangle of white fabric for Motanka’s head and arms;
- triangular scarf (half of a 15x15 square, folded diagonally);
- a warrior made of braid or just strips of fabric;
- filler for the doll’s head, for example, padding polyester or cotton wool;
- fabric for twisting.
1. We begin making a doll with twisting - a strip of fabric twisted into a roll. You don’t have to do it, but twisting gives the doll additional stability.


2. Roll up a ball, place the end of the twist inside it and wrap it around the top with a cloth with the largest diameter of the circle. Secure at the bottom with thread or an elastic band for banknotes. We got the doll's head and her underdress.


3. Take the largest of the remaining circles of fabric, wrap it around the doll’s head in the middle and secure it with an elastic band. We repeat as many times as we have blank circles. The topmost circle will have the smallest diameter. The result is a multi-layered full skirt.


4. Take a white rectangle and fix it under the head. From the free side parts of the rectangle we form arms or sleeves, tying the edges with an elastic band or thread.


5. We decorate Motanka’s head with a warrior and tie a bright scarf.


It’s fun to play with such a doll, and it’s nice to sleep with Motanka under your cheek!
Similar master classes
Particularly interesting
Comments (4)

