How to make a mini soldering iron from a resistor
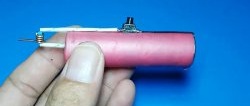
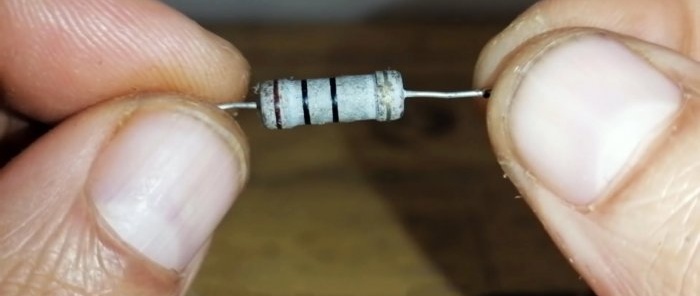
To solder various small items, you need a soldering iron of the appropriate tip size, which will also not overheat circuits and miniature electronic components. You can make it yourself from a 10 Ohm resistor. The peculiarity of this soldering iron is that it only heats up when the button is pressed.
Materials:
- 10 ohm resistor;
- single-wire copper wire 1.5-2.5 mm2;
- rail;
- push button;
- Super glue;
- power supply 12V;
- connector for connecting the power supply.
Soldering iron manufacturing process
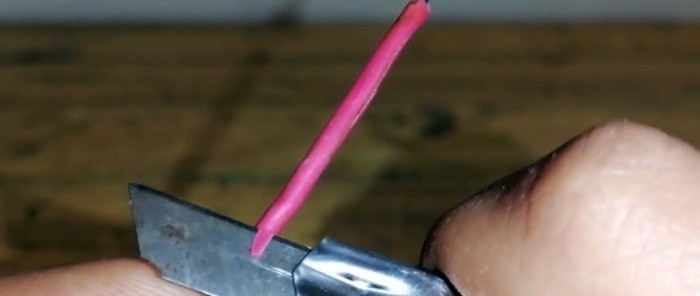
It is necessary to strip the insulation from the single-wire core of the wire.
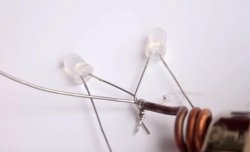
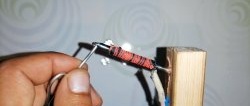
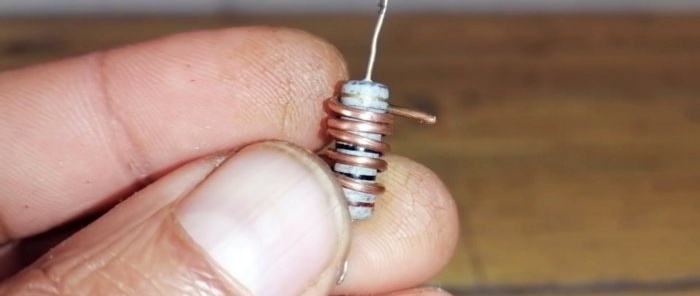
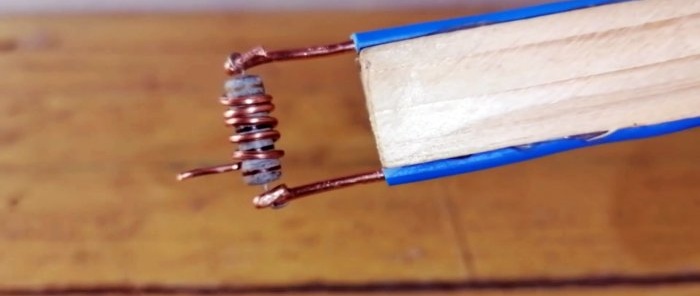
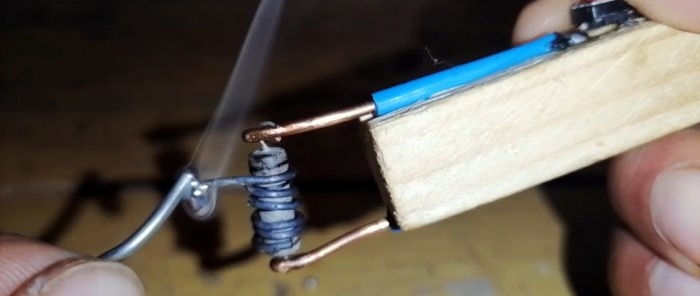
Then you need to take a resistor and wind this wire around it. At least 5 turns are required. One edge of the winding is bitten off, and the second should be left. This will be the soldering iron tip.
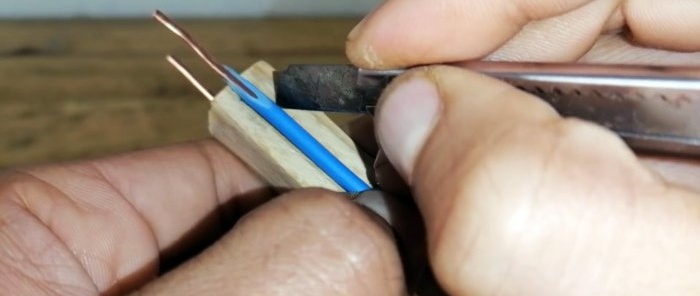
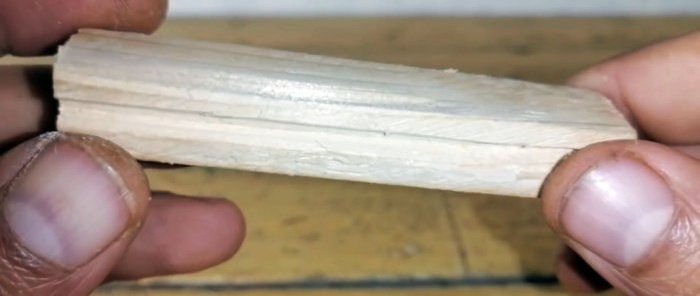
A soldering iron handle is cut out of the strip.
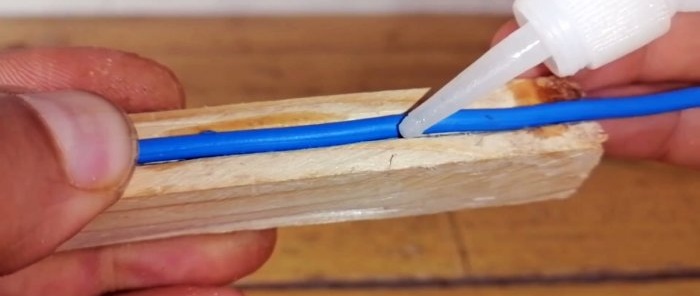
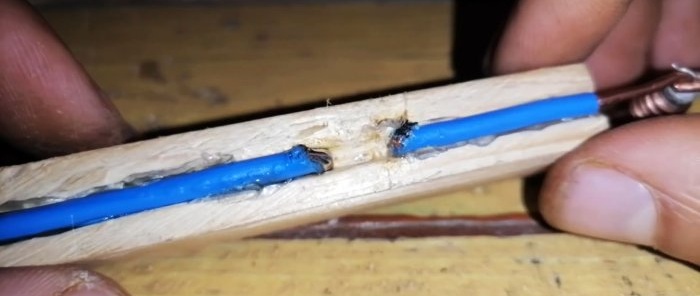
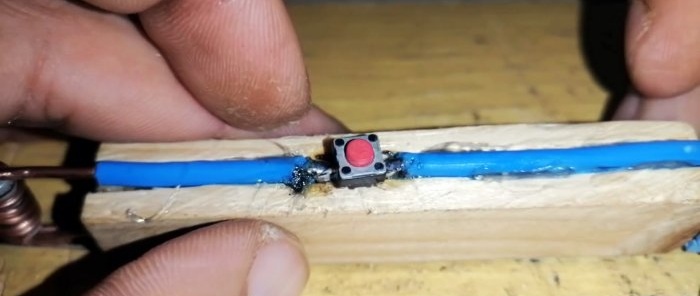
A groove is made on both sides into which wires are glued with the edges stripped of insulation.
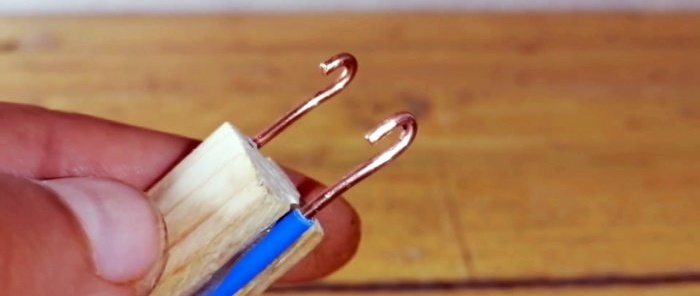
The bare ends need to be bent and the resistor contacts pressed between them.
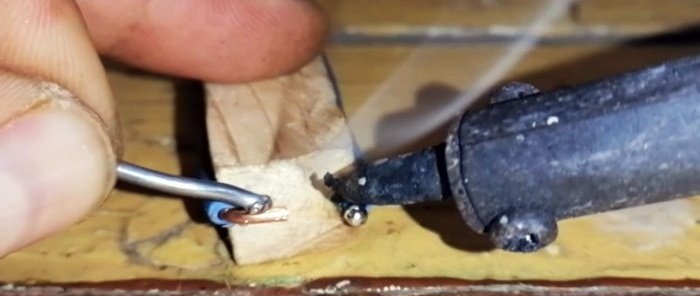
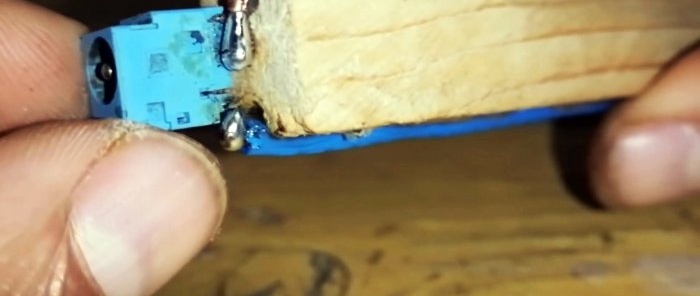
On the back of the handle, to the edges of the wires, you need to solder a connector for connecting the power supply.
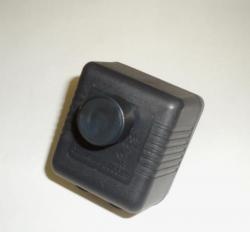
A pressure button should be soldered into one of the side wires to break and close the circuit.
Thus, after connecting the power supply, you need to press the button, and the resistor will heat the tip to operating temperature. As soon as you let it go, the soldering iron will immediately begin to cool down. This makes it very convenient for soldering SMD components.
Watch the video
Similar master classes
