DIY chain bearing puller
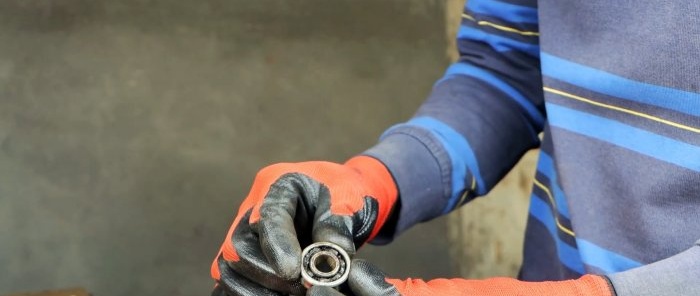
If you don’t have a puller for bearings, then dismantling them usually turns into long tricks trying to make do with improvised means. Take 1 hour and make a roller chain puller. With it you can remove bearings in 10 seconds.
Materials:
- Long bolt M12;
- nuts M12 – 2 pcs.;
- 1/2 inch pipe;
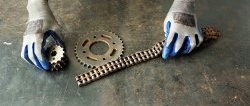
- roller chain;
- corner 15x15 mm.
Puller manufacturing process
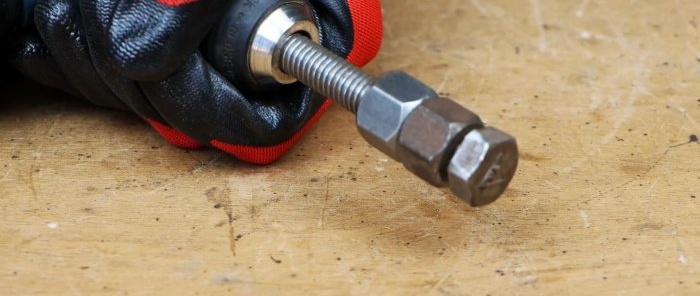
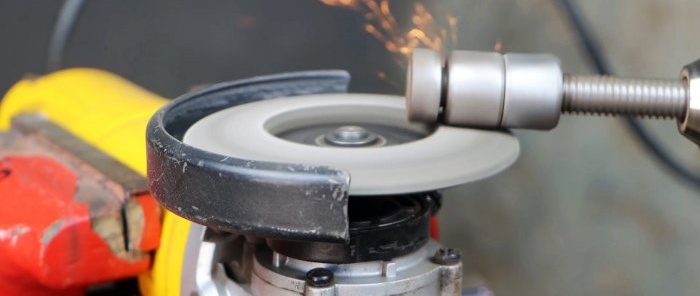
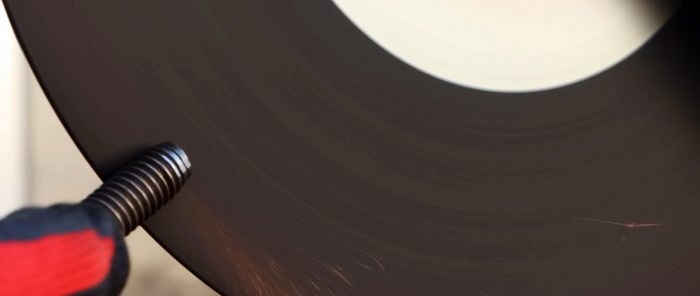
Screw 2 nuts onto the bolt all the way to the head. Then we clamp it in the drill chuck and grind its edges. You need to sharpen until they can fit into a 1/2 inch tube.
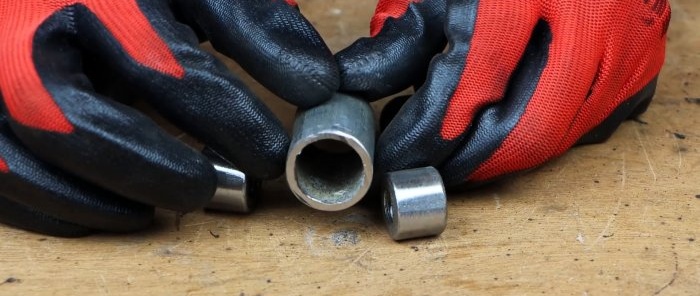
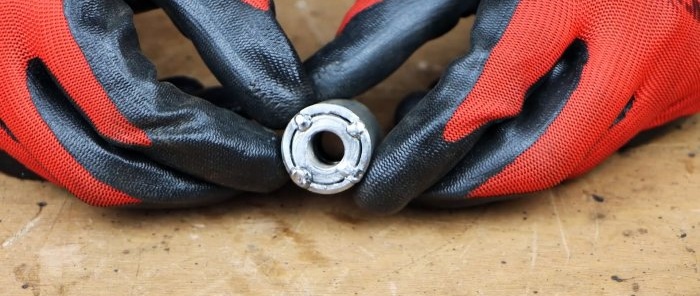
We cut a piece of 1/2-inch tube 50 mm long, insert turned nuts into it and weld them along the edges. You need to cook with the bolt screwed in, so everything will be smooth and the thread pitch between them will coincide.
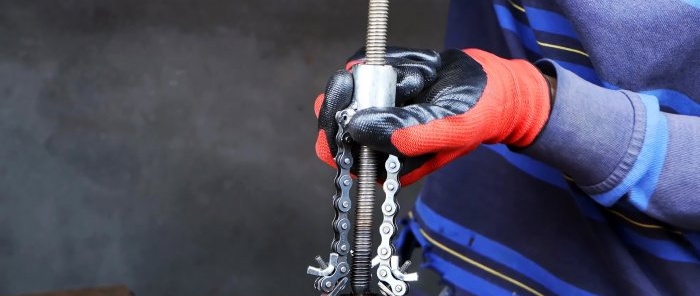
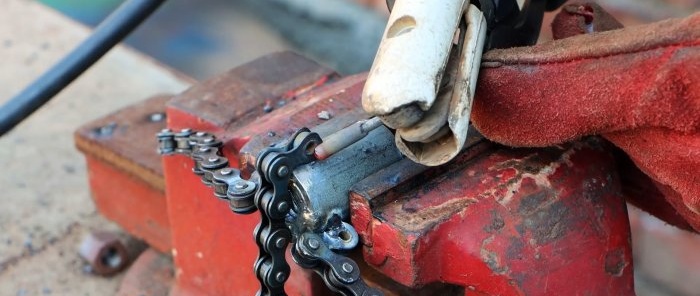
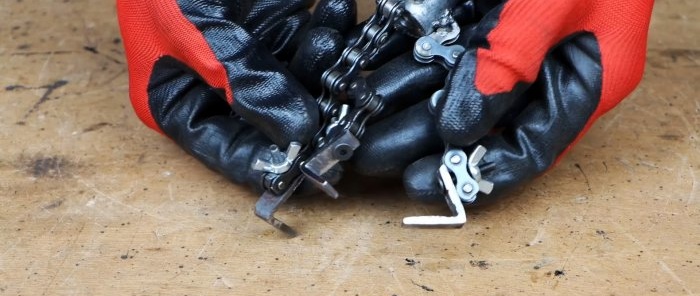
We weld 3 pieces of roller chain 10 cm long to the tube.
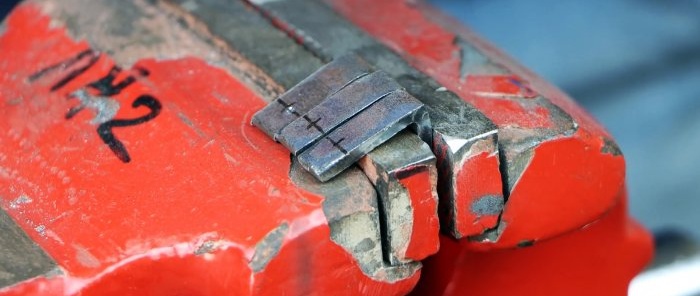
Then you need to secure the hooks to their edges with screws. The latter are made from thin sections of angle, drilled on one side. They will need to be slightly bent inward before installation.
The M12 bolt needs to be sharpened at the end.Then he warms up red-hot and plunges into working off. Without hardening, the tip will constantly become wrinkled and will have to be sharpened, so this step should not be neglected.
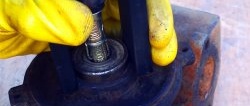
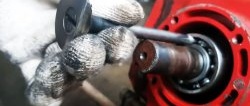
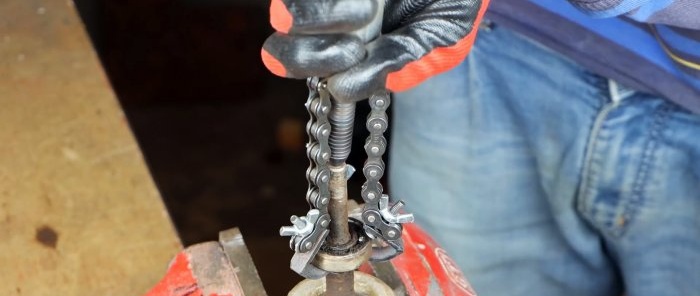
Now we screw the sharp bolt into the puller and it is ready for use. We rest the tip against the shaft on which the bearing is mounted, and place the hooks behind the outer race. When the bolt is tightened, the chains tighten the bearing.
Watch the video
Similar master classes
