How to make a photodiode from an optocoupler
Of course, this does not happen often, but it still happens that a photodiode or photoresistor is urgently needed, but it is not at hand. A small life hack will help you convert the optocoupler into the desired element.
Converting an optocoupler into a photodiode
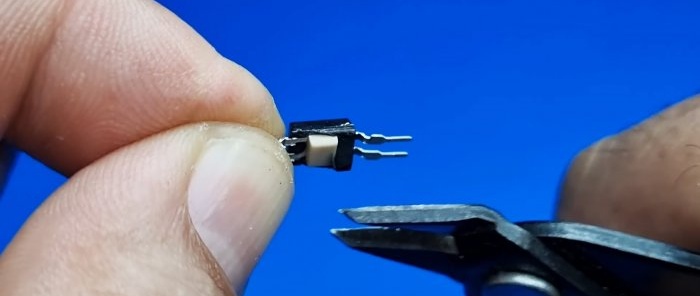
We take the most common optocoupler PC817. It can be unsoldered from almost any switching power source, be it a charger for a phone, laptop, etc.
We take wire cutters and partially bite off the contact from the side LED. This kind of “mark” will be needed in the future to distinguish the photodiode contacts from LED.
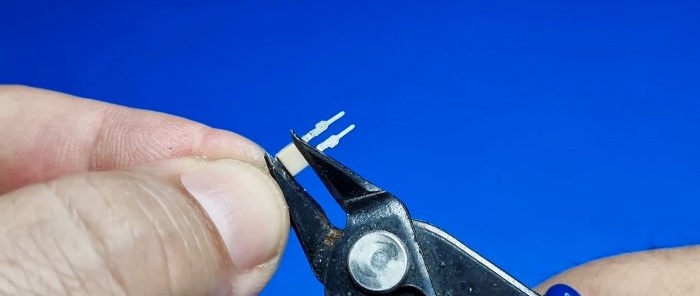
Then, using the same nippers, we bite off the upper part of the black, light-protective body.
Hidden underneath is another matte-colored case. In fact, the photodiode can already be used, but for greater sensitivity of the element, you need to “open” it too.
We also bite off the top part.
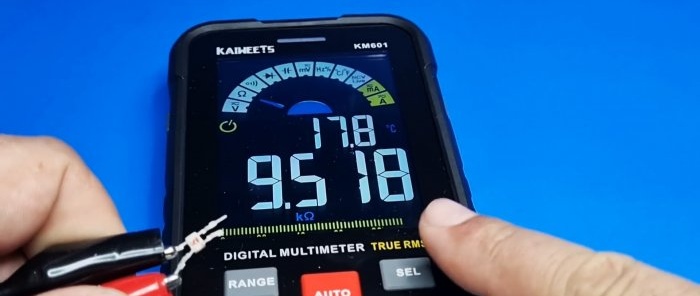
To check, connect the photodiode to a multimeter. Under normal lighting, the device shows a resistance of about 9 kOhm.
But as soon as you close the photodiode with your hand, the resistance increases sharply and tends to 500 kOhm.
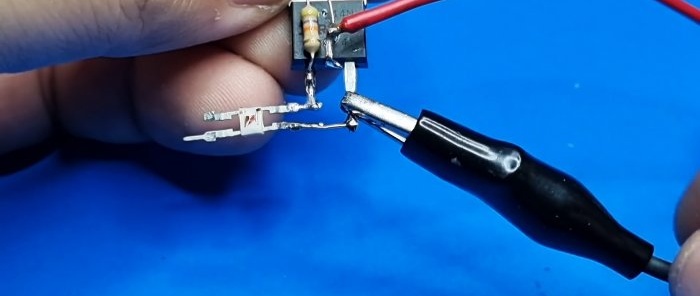
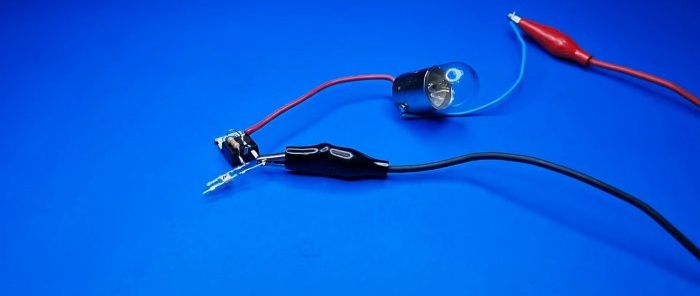
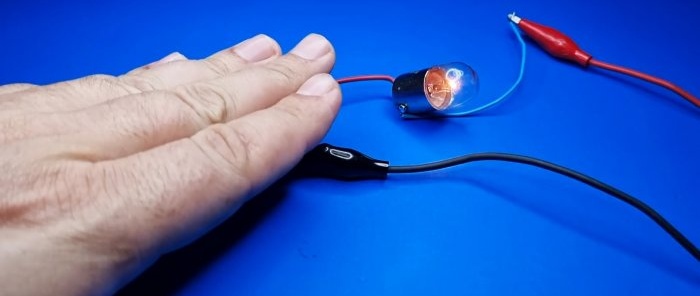
To be sure that the “new” element is working, you can assemble a simple circuit using an IRFZ44N field-effect transistor, shunting it with a 47 kOhm resistor.
When power is applied, the incandescent lamp does not light.
But as soon as you close the light to the photodiode, the lamp immediately lights up.
This simple solution can be used when you urgently need a photosensitive element for your projects.


