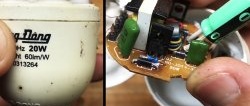
How to adjust the brightness of an LED lamp
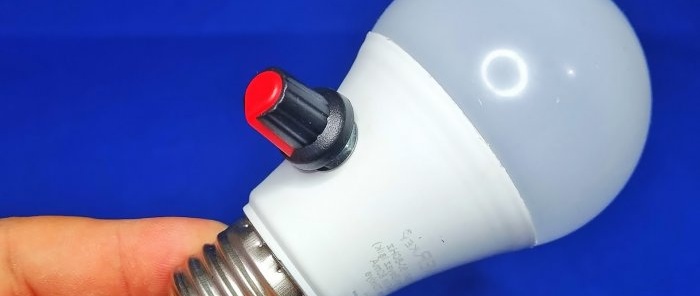
To save energy, increase service life, or simply create the desired ambiance, you can add a dimmer switch to your LED lamp. With the help of which you can regulate the level of lamp glow within wide limits. This simple modification will not require a lot of effort and many components.
Details
- Resistor 8 Ohm - http://alii.pub/5h6ouv
- Variable resistor 1 kOhm - http://alii.pub/5o27v2
- Wires.
How to Add Simple Dimming to an LED Bulb
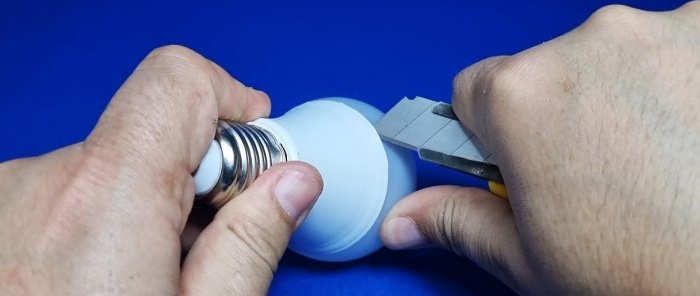
The first step is to peel off the flask. This is done simply with the help of a stationery knife. The glue is cut in a circle.
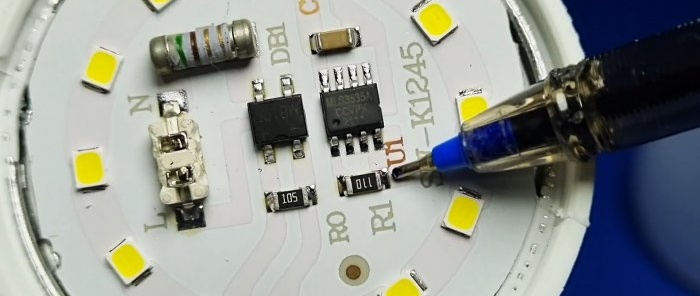
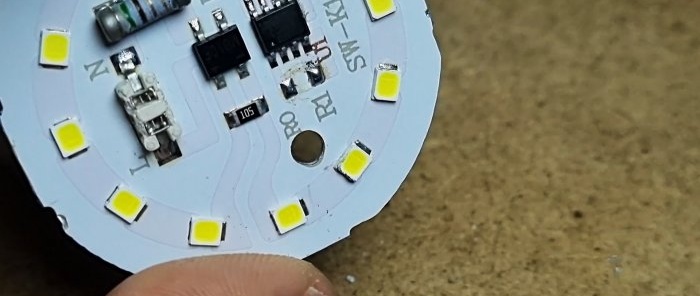
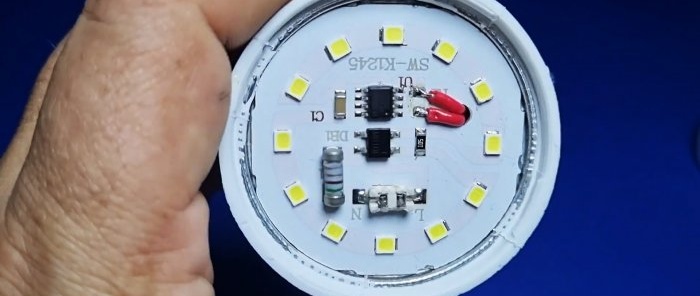
In this lamp model, the power driver LEDs installed directly on the board along with the LEDs. The pulse driver itself is built on the MLS3535 chip. The datasheet and wiring diagram for which can be easily found on the Internet. The resistor on the board U1 sets the glow power LEDs.
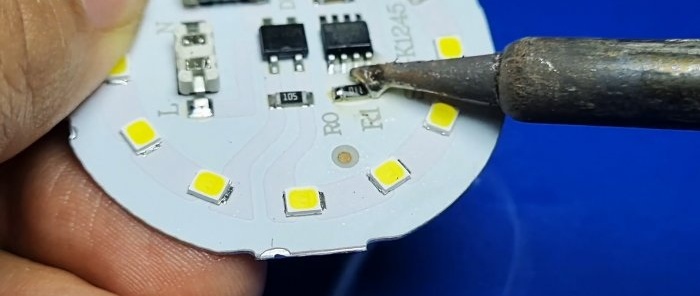
Disconnect the board from the base. Solder a 10 ohm resistor.
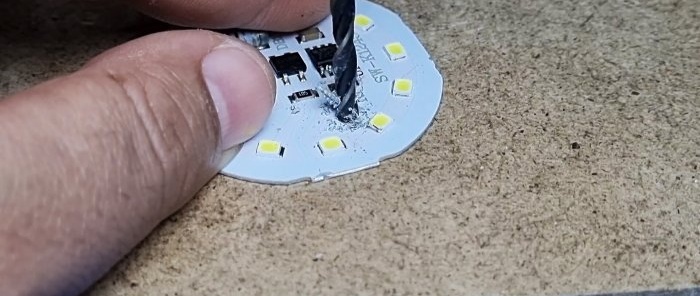
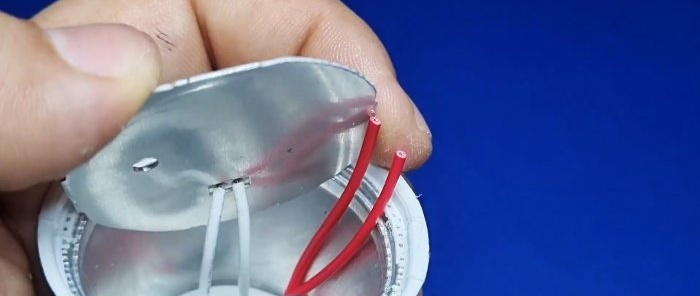
In a place free from tracks, drill a hole for the wires.
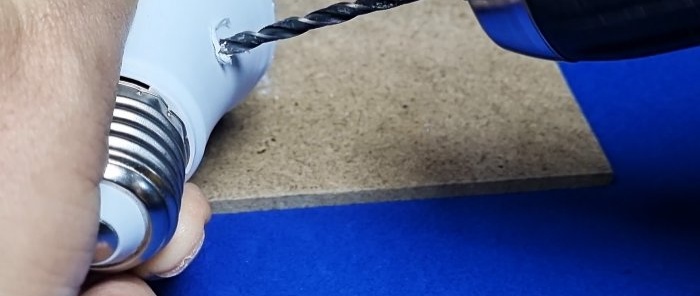
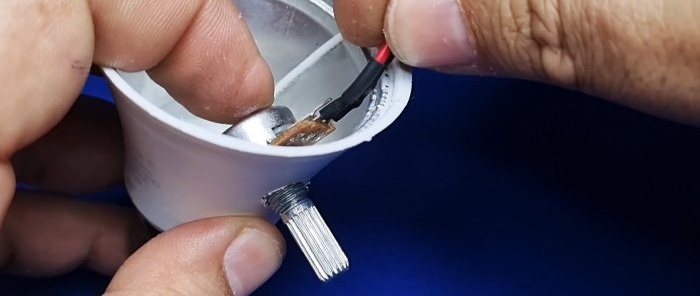
We drill a hole in the side of the lamp body for a variable resistor.
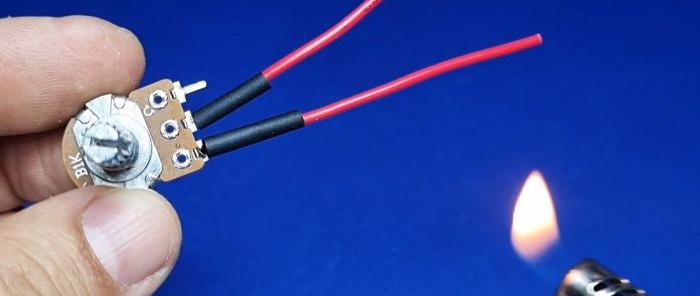
We solder an 8 Ohm limiting resistor and wires to the variable resistor.
We insulate everything with heat shrink.
We install the variable resistor into the housing and secure it with a nut.
We install the board in place, connect the network wires to the board. We pass the wires from the variable resistor into the hole.
Solder the wires to the place of the previously soldered resistor.
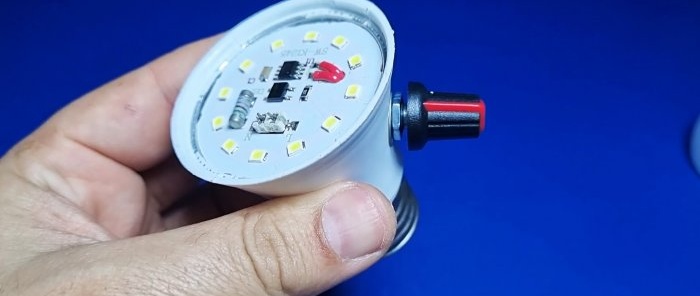
We put a handle on the rod of the variable resistor.
Glue the lamp bulb onto the glue.
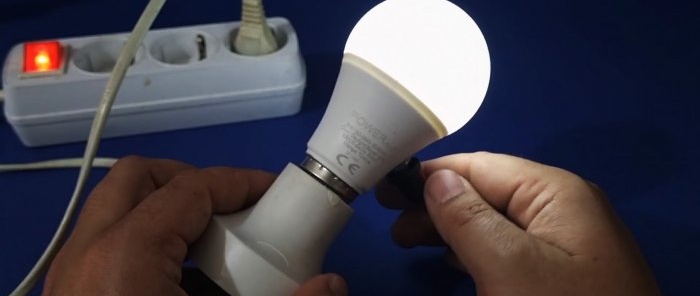
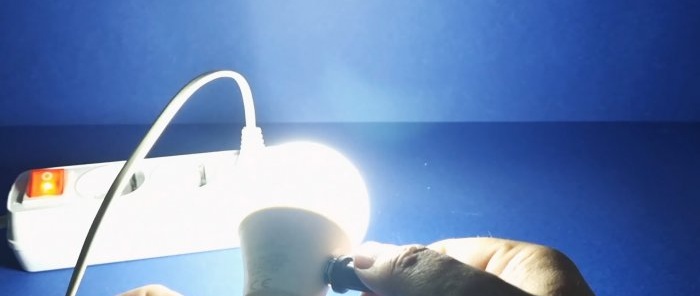
Now, using a variable resistor, you can adjust the brightness of the lamp from minimum to maximum.
If you make such a lamp for an entrance or other walk-through rooms, and do not turn up the brightness to maximum, then such a lamp will serve for decades, due to the gentle operating conditions.

