How to make an ideal garden path without steps and gaps from 500x500 mm paving slabs
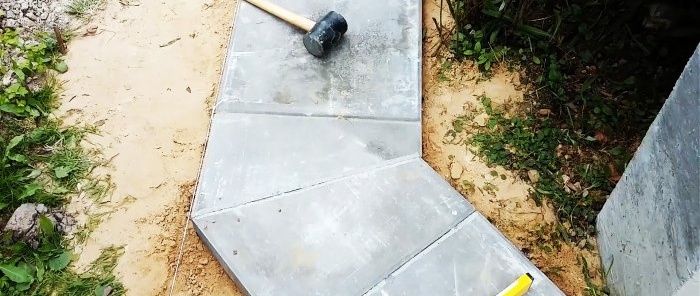
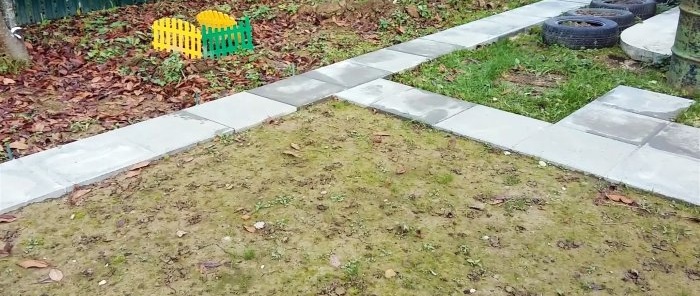
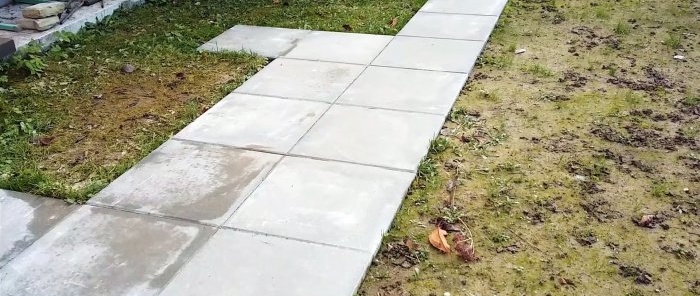
To arrange garden paths, paving slabs of 500x500 mm are often used, since they are almost eternal, and when placed tightly, they do not have gaps through which weeds can grow. However, when laying them without a gap, particularly high-quality preparation of the base is required. Let us examine in detail how to make a path that is ideal in every sense with your own hands.
What you will need:
- Paving slabs 500x500x70 mm.
- sand;
- manual rammer;
- shovel;
- lace;
- level or level;
- putty knife.
The process of paving a garden path
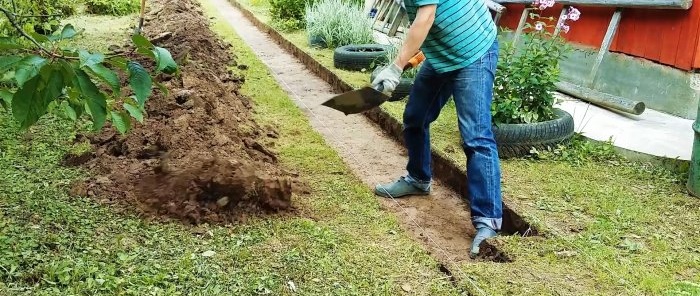
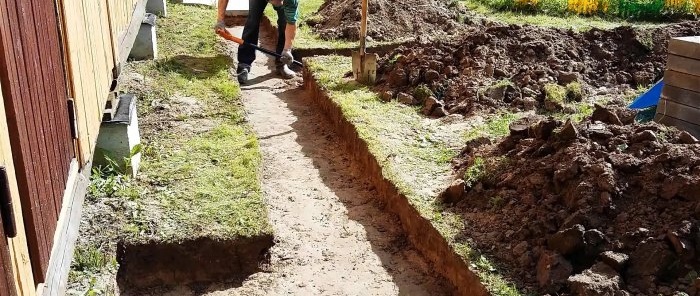
Work must begin by marking the path. There are 2 laces stretched across it. The distance between the ropes should be slightly greater than the width of the slabs. Between the laces you need to remove fertile soil with roots. For convenience, it is better to cut the soil with a shovel along and across the laces, so that you can then easily pick up and discard.
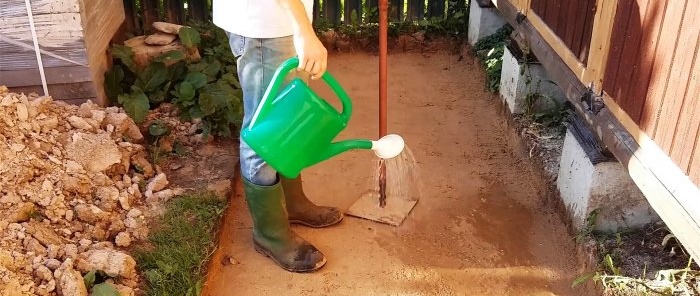
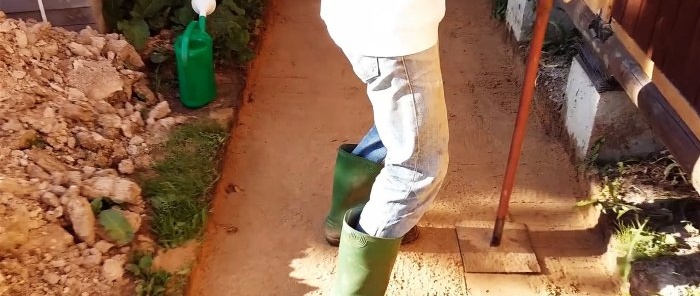
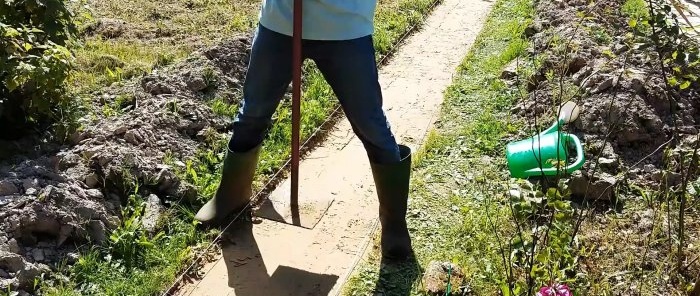
Instead of the selected soil, sand is poured into the trench. It needs to be compacted. Therefore, it is best to do this in layers, pouring no more than 10 cm of sand at a time. Before compacting, it should be spilled generously with water from a garden watering can.Then it will compact better.
Layer by layer we collect the required level of sand substrate. Water should be added before each tamper pass. As a result, the slabs should be slightly higher than the ground level behind the lace. This will prevent stagnation of water on the paths.
Next you need to check the level of the sand cushion. It is necessary that it goes in one line horizontally, or with a slope like a section. To do this, you can use a laser, water level or level. If the pillow is poured with a slope, then using the level will be easiest. For this purpose, measurements are taken every meter.
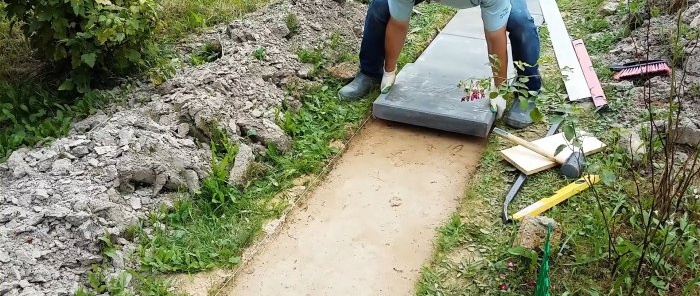
Based on the measurement results, we add or subtract sand in problem areas. After this you can lay out the tiles.
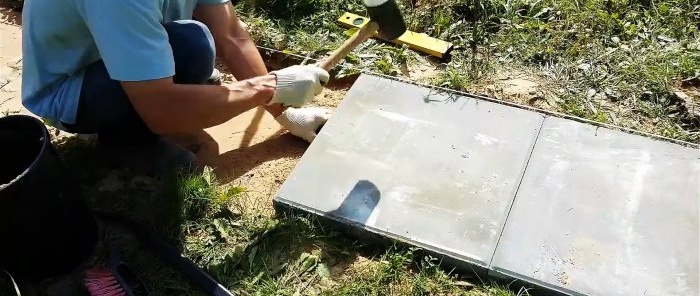
Since it has deviations in thickness, steps will form even on an ideal substrate. To avoid them, you will have to add or remove sand in a layer of a couple of millimeters. This is convenient to do with a spatula. After adding sand, even a thin layer, it must be compacted.
This approach allows you to lay tiles with a step of just a couple of millimeters. That is, the path turns out to be absolutely ideal. In places where trimming of tiles is required, we do it with a grinder with a diamond blade. It is imperative to grind the chamfer so that the edge of the cut is less conspicuous.
Watch the video
Be sure to watch the video with all the subtleties, nuances and secrets of styling.
Similar master classes



Particularly interesting


