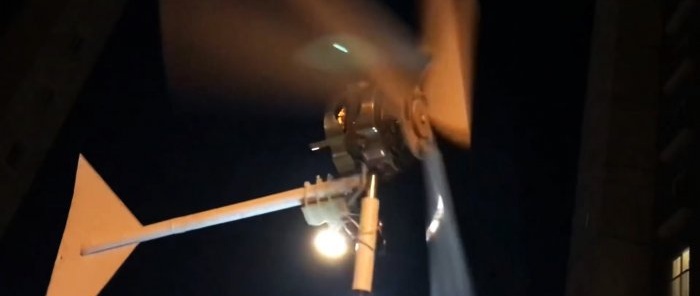
How to convert a household fan into a wind generator
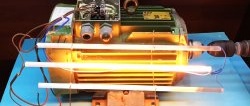
You can make a wind generator to generate free electricity from a motor from a home fan. To do this, you only need to carry out some minor modifications. A conventional diode bridge will serve as a converter of alternating current received from the wind generator into direct current for consumers.
Materials:
The process of converting into a wind generator
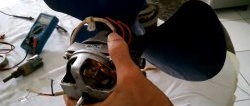
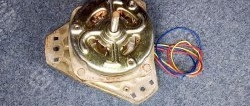
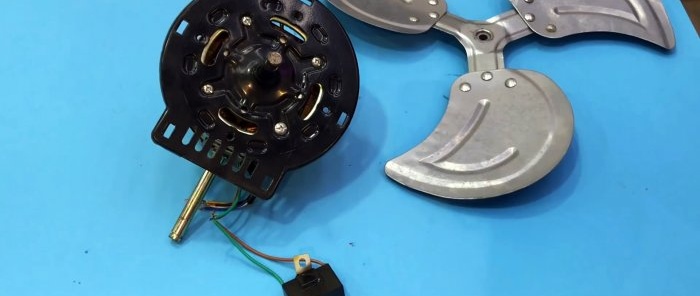
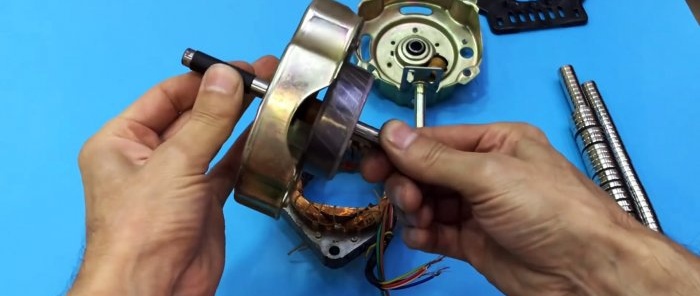
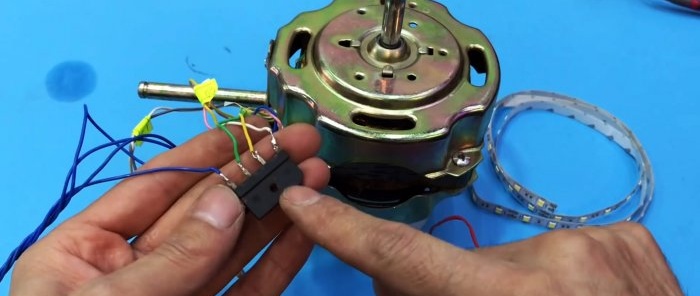
The fan motor must be disassembled to remove the rotor. The capacitor is disconnected from the stator, since the generator does not need it. We also remove the yellow-green ground wire.
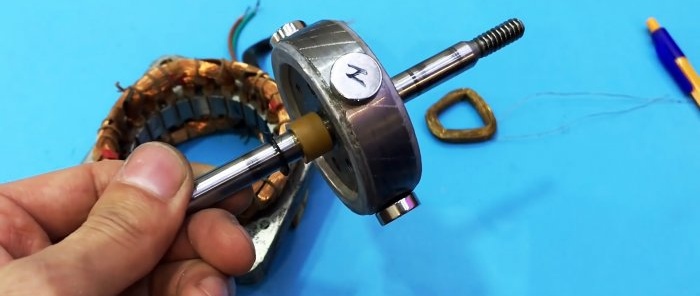
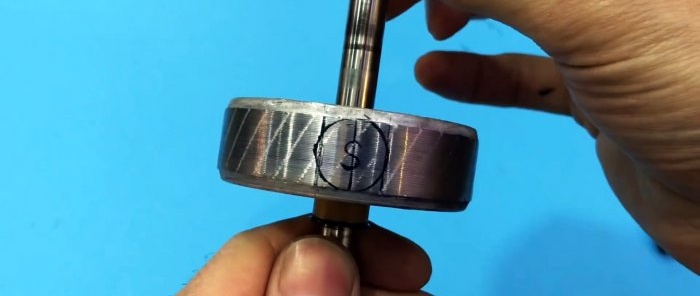
Next you need to place 4 neodymium magnets on the rotor. To do this, we wrap a paper strip around it, trim it, and then divide it into 4 parts. We transfer the marks from the paper to the rotor.
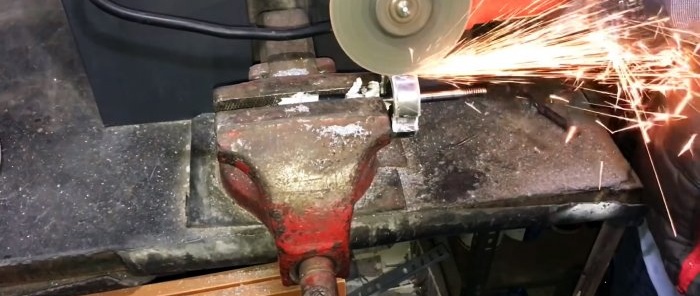
Using them we grind out the mounting grooves for the magnets.
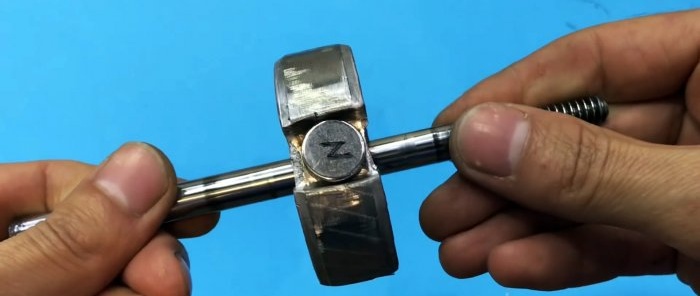
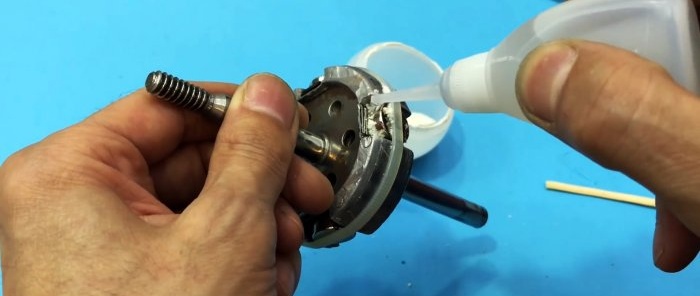
Now we put a tie on the rotor. It is needed to align the magnets flush with the rotor. Where necessary we place segments from the blade of the mounting knife. Aligned magnets need to be glued. It is important that their polarity alternates.
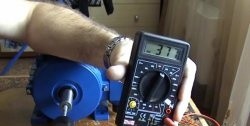
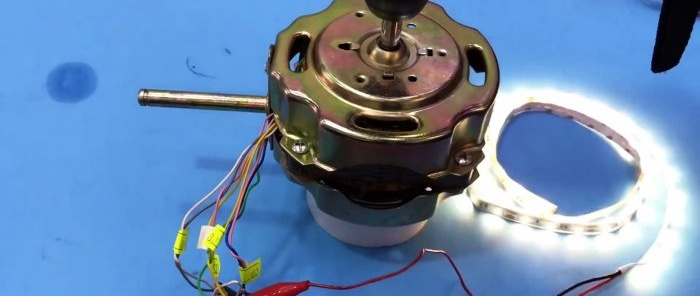
After the glue has dried, the generator is assembled.In this form it produces alternating current. Consumers are connected to it through a classic diode bridge.
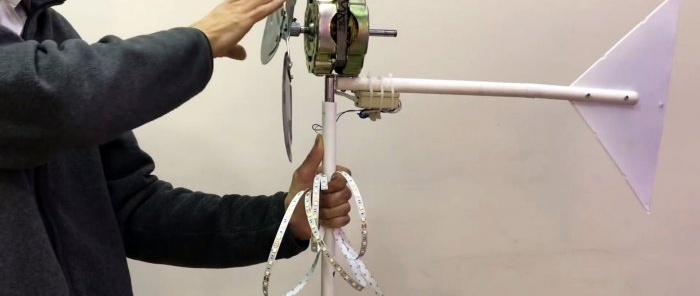
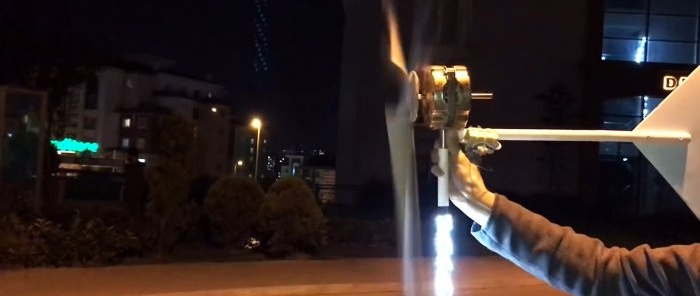
All that remains is to install the blades and lift the generator onto the pole.
Watch the video
Similar master classes
