A simple do-it-yourself bearing puller
To quickly and easily remove bearings, you need a puller. It allows them to be dismantled without damaging them, making it possible to reuse them. Making such a device from scrap materials will not be difficult, especially since all the components can easily be found in your workshop.
What you will need:
- Profile pipe 40x40 mm or 50x50 mm;
- nuts M10 – 2 pcs.;
- long bolt M10;
- long bolt M6;
- M6 nut.
Puller manufacturing process
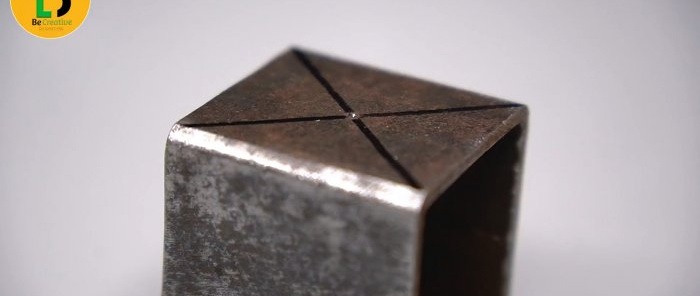
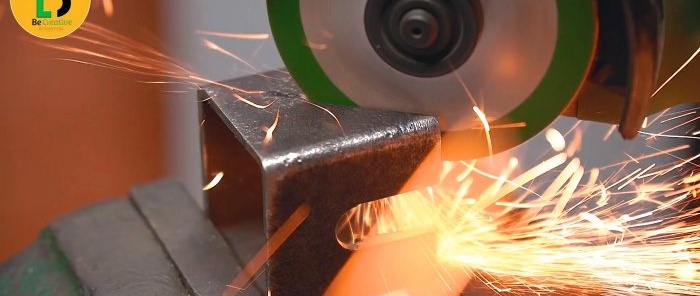
A blank 40-50 mm long is cut from the profile pipe.
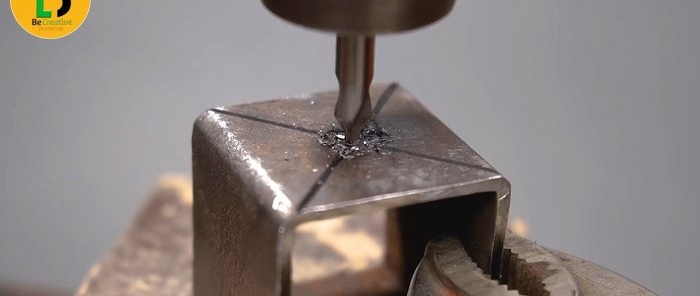
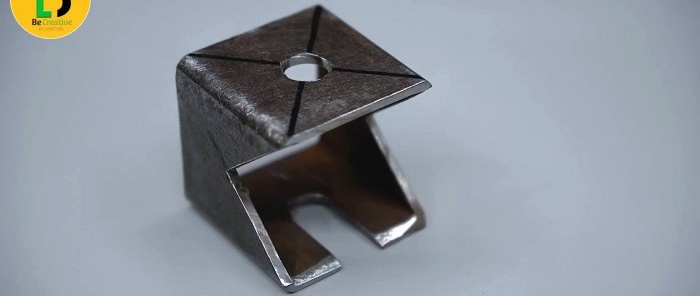
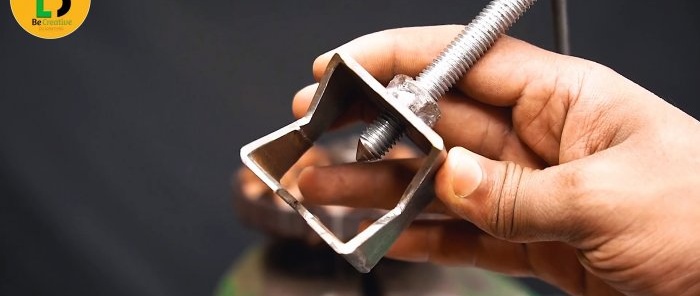
It must be drilled in the center with a 10 mm drill, making holes in two walls.
A cut is made on one of them.
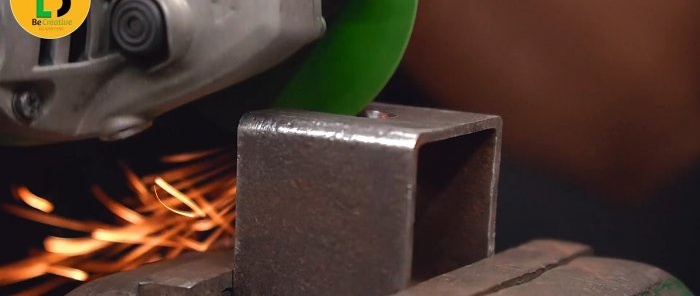
On the remaining intact side walls of the workpiece, it is necessary to cut out a part of the metal to form a triangle. The direction of the cuts should correspond to the direction of the cut on the first side.
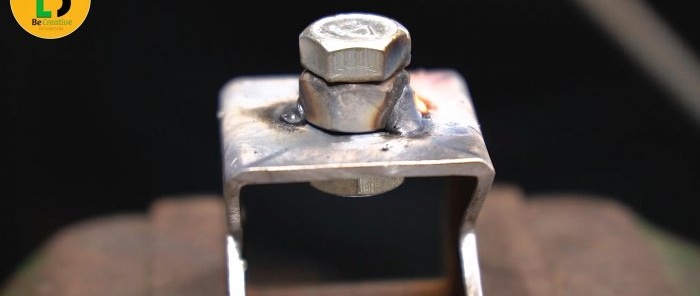
It is necessary to weld a nut onto the remaining wall with the hole so as to retain the ability to screw the bolt into it. That is, it is important not to fill the threads with welding, and to align the holes coaxially.
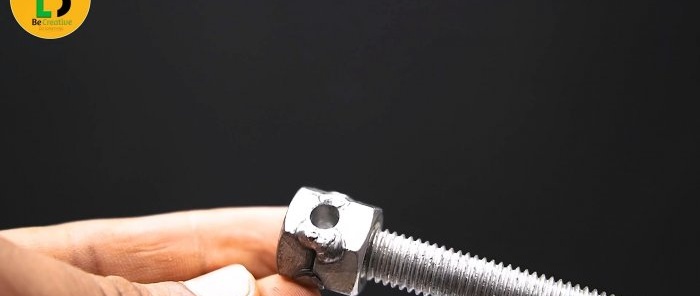
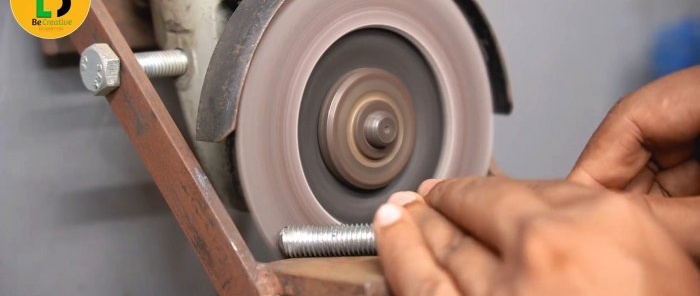
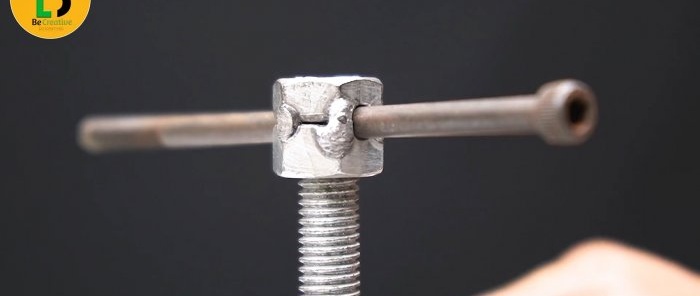
A nut is screwed onto the long bolt until it stops in the head. Then it is welded. The enlarged head is drilled from the side. The edge of the bolt is sharpened.
Now we wrap it into the base of the puller. We insert an M6 bolt into the drilled head of the screw, and attach a nut to it to get a handle.
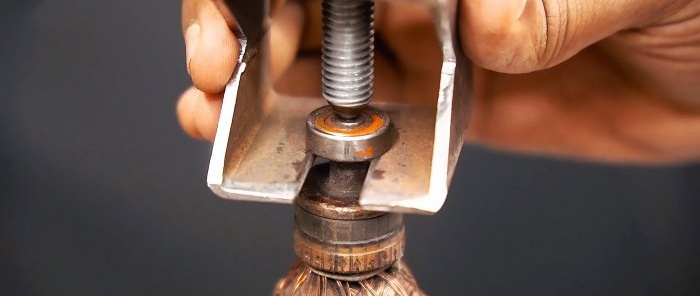
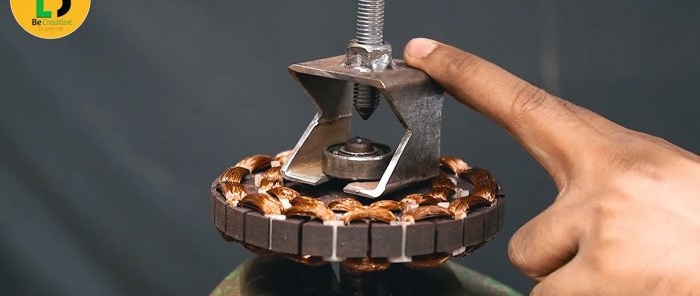
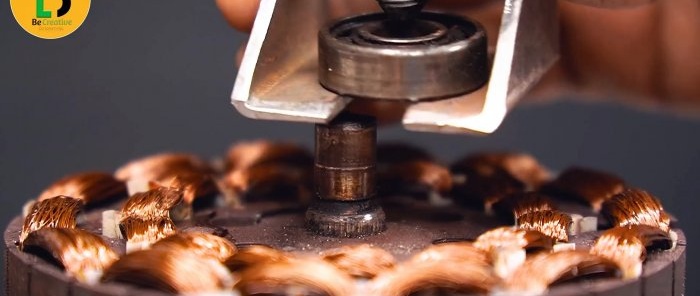
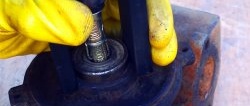
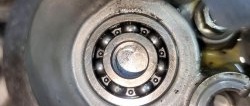
All that remains is to place the puller under the bearing with the cut on the shaft, and then tighten the screw and press out the last one. As a result, dismantling will take only a few seconds.

