Instructions for making an induction heater for beginners in electronics
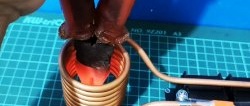
Using an induction heater, you can heat metal parts, such as bolts, knife blades, etc., in a matter of seconds. It is not difficult to assemble such a setup for a radio amateur, but for people unfamiliar with electronics it seems unrealistic. If you follow this master class, anyone who can at least hold a soldering iron in their hands can handle this.
Materials:
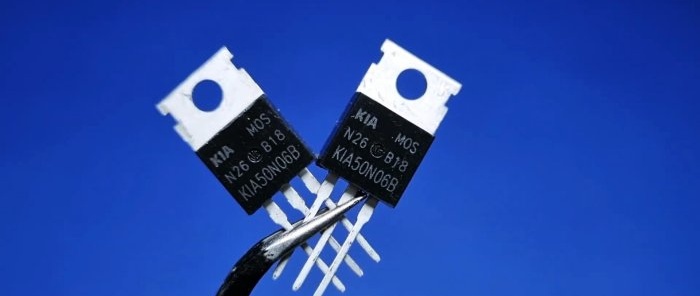
- Transistors 50N06 – 2 pcs. -
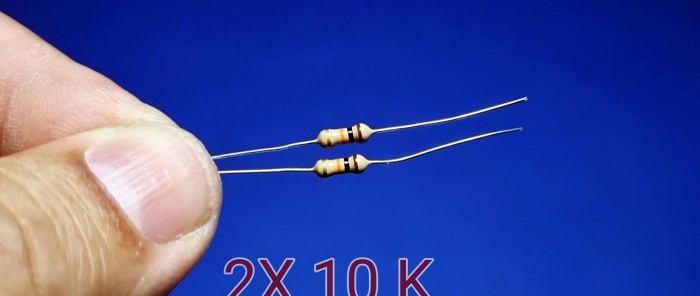
- 10 kOhm resistors – 2 pcs.; 2 W 220 Ohm – 2 pcs. -
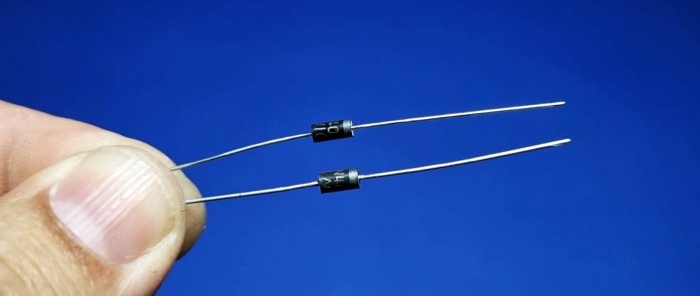
- rectifier diodes 1N4007 – 2 pcs -
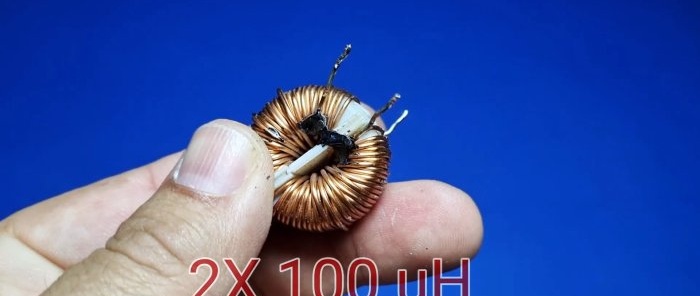
- inductor 100 uH -
- aluminum radiator;
- induction cooker frequency capacitor 0.33uF 1200V -
- power supply 12V - http://alii.pub/6bjw5c
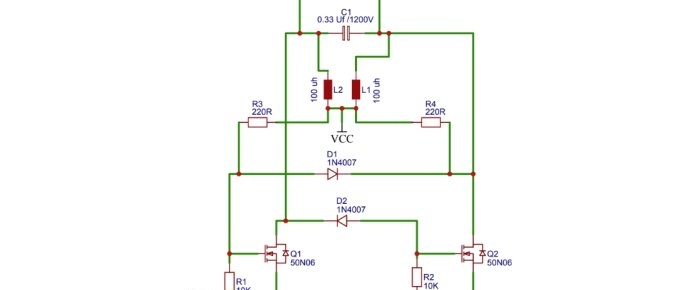
Induction heater circuit:
Induction heater manufacturing process
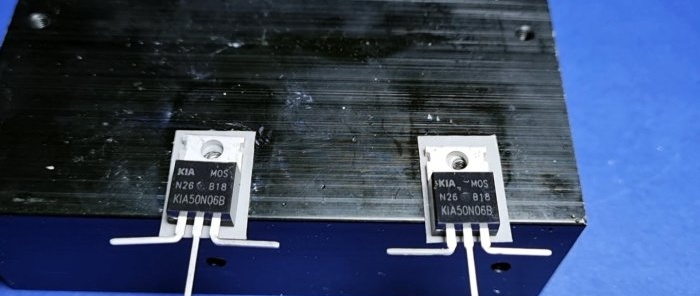
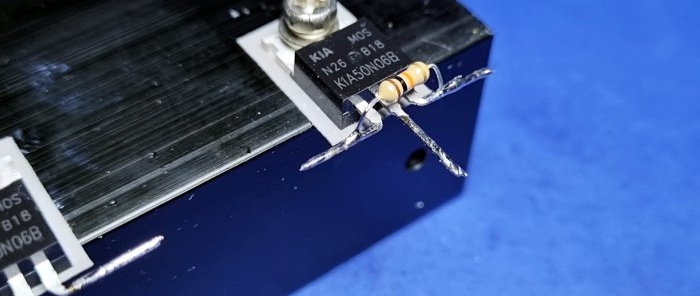
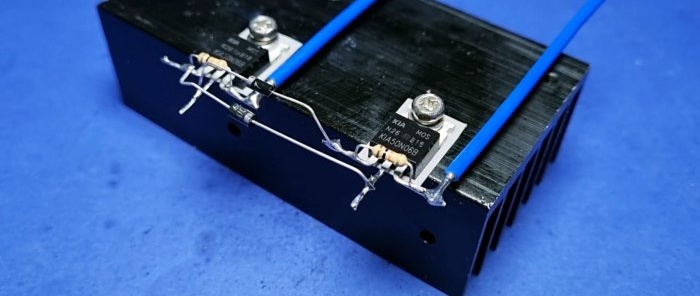
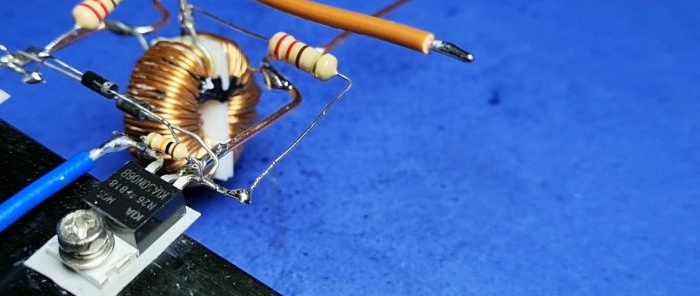
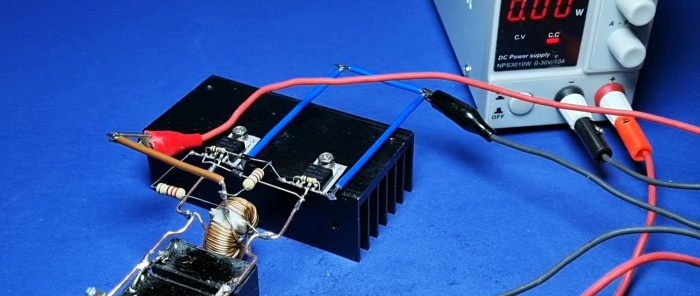
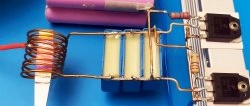
Two 50N06 transistors must be screwed to the aluminum radiator used as the base of the device.
For this purpose, gaskets and screws with dielectric bushings are used. Immediately bend the outer legs of the transistors to the sides.
We tin the contacts of the transistors. Then we solder 10 kOhm resistors between the outer legs.
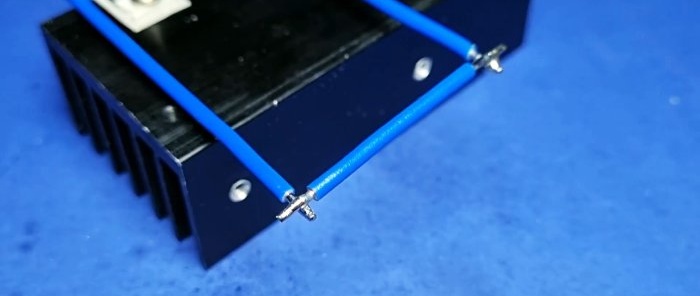
We solder the transistors to the third leg along the wire, and connect the ends of the latter with a jumper.
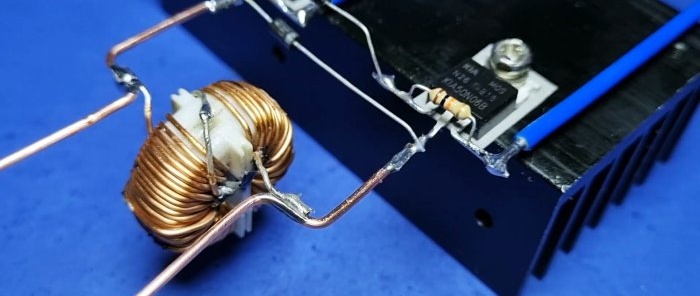
Then we take a 1N4007 rectifier diode and solder it to the central leg of the first transistor and the first leg of the second, as shown in the photo.
We turn the second rectifier diode in reverse and solder it between the central leg of the first transistor and the first leg of the second. We also solder a piece of wire to the central contacts of the transistors.
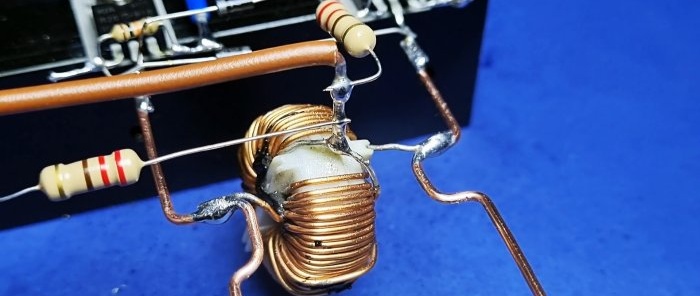
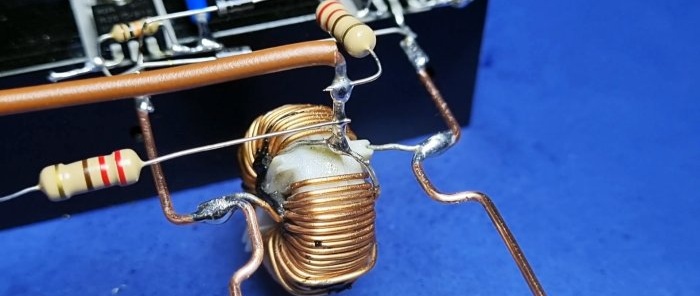
We solder a 100 uH inductor to the wire.
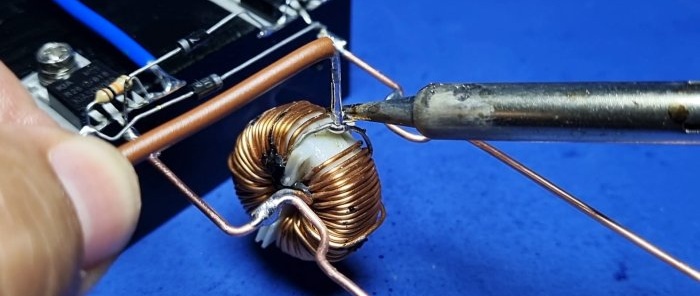
We solder a wire into its center.
Between its core and the first rectifier diode we solder a 2 W 220 Ohm resistor.
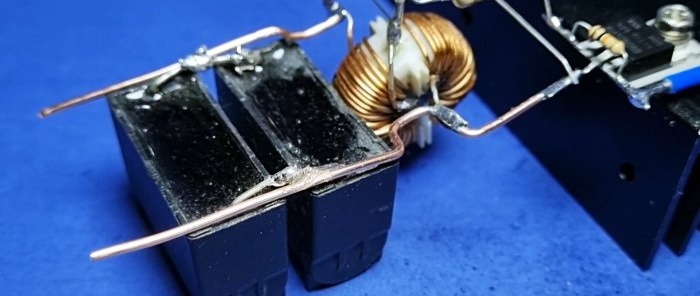
The second resistor must also be soldered to this core, but its remaining end must be connected to the first leg of the first transistor. Then we solder the capacitors from the induction cooker to the wire.
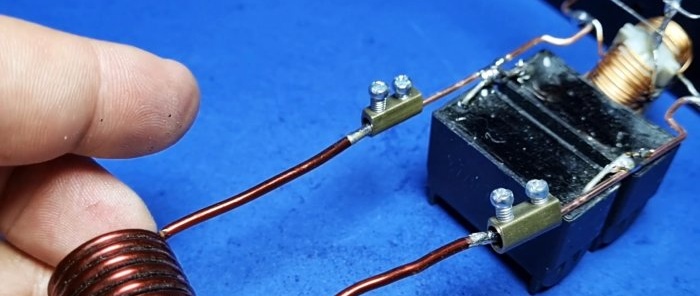
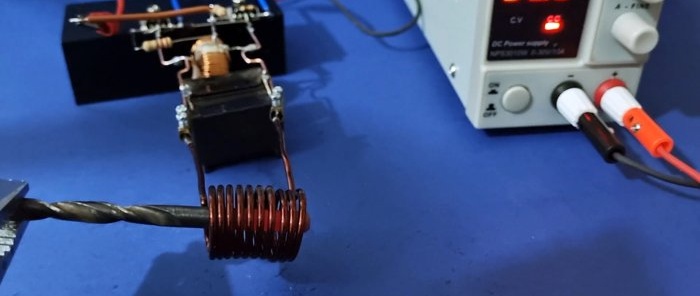
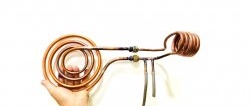
Now, using terminals, you can connect a coil of enameled wire to the wire behind the capacitors, in which a metal object will be heated in the room. The installation is powered by a 12V unit. We connect its plus to the wire on the inductor, and the minus to the jumper connecting the transistors.
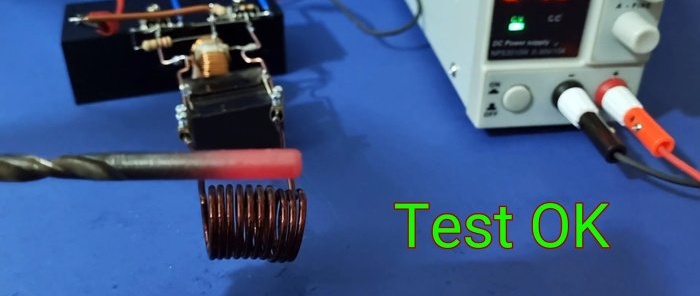
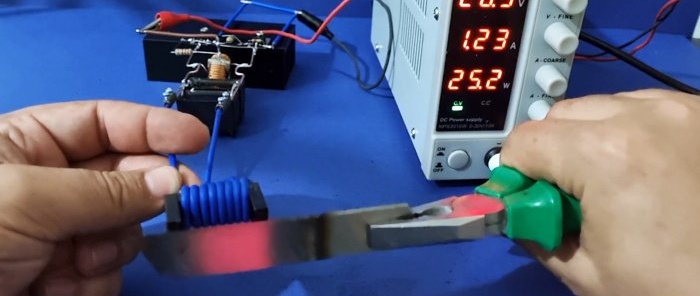
A metal object placed in a coil heats up easily.
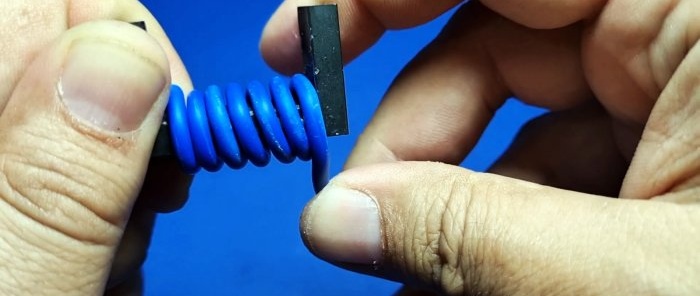
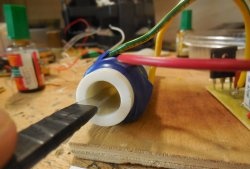
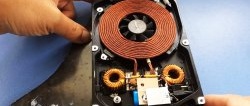
You can also connect other equipment to the device. For example, take a U-shaped core and wind a 1.5 mm insulated wire around it. It is enough to make 8 turns.
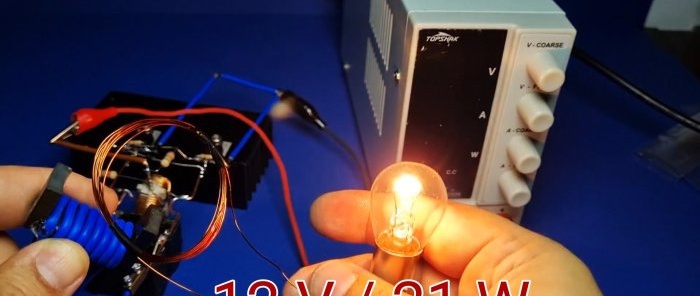
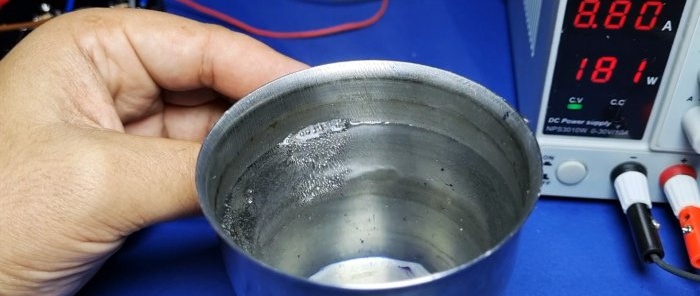
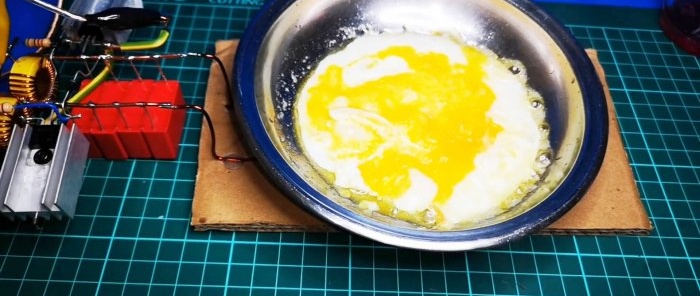
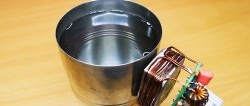
Such a coil allows you to light a light bulb, heat thin blades, and also boil water in a metal container. The scope of use of this installation is very wide, it is especially needed for hardening metal.

