Battery replacement plus possible modding
Recently I came across a rather interesting Chinese tablet. According to the owner, after turning on the tablet, it works for a maximum of 5 seconds and turns off. It was decided to disassemble the tablet and see what was causing the problem.
Here is the tablet itself.
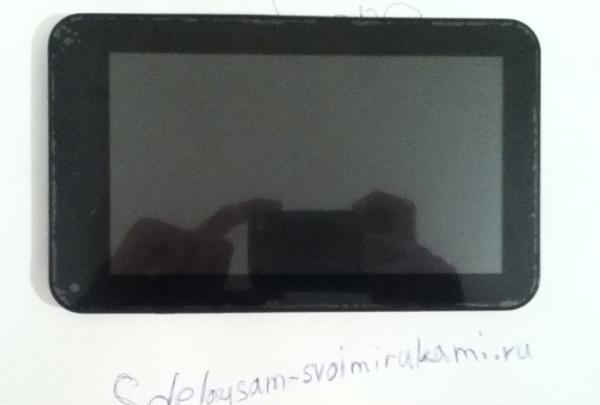
Standard set: 1.2 GHz processor, 512 MB RAM, on board Android version 4.0, 7-inch screen. I was also surprised by the presence of a full-fledged USB host port. In general, the tablet is assembled quite well.
So, let's start the autopsy.
There are two bolts located on the side of all connectors and inputs. They need to be unscrewed.
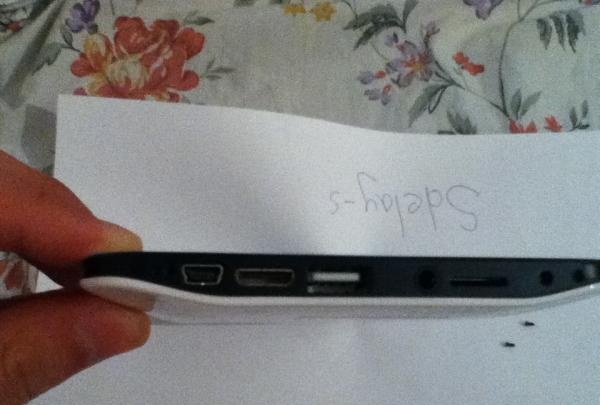
Next, you need to unfasten the latches along the perimeter of the case. I did this with a sharp knife. But be careful. As it turned out, there are cables running there literally a few millimeters from the latches; do not cut them.
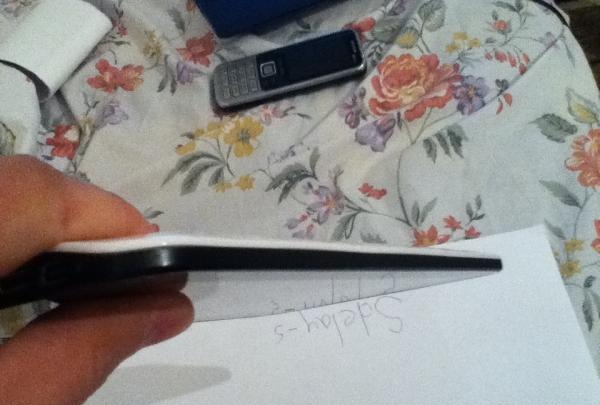
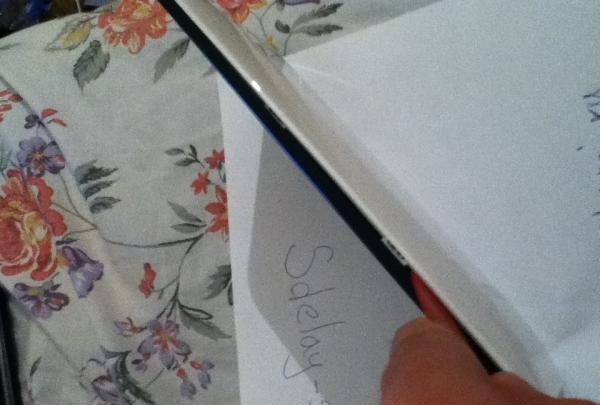
And here's what was inside.
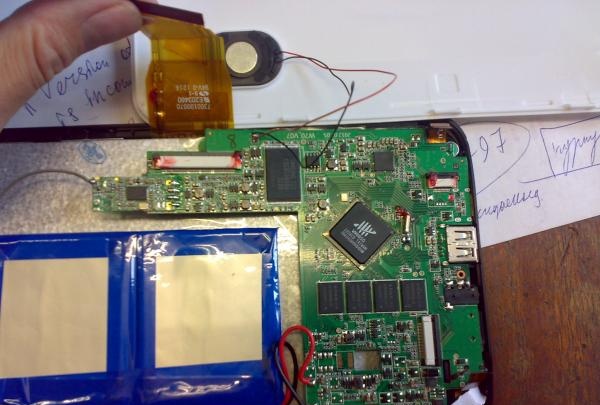
All cables, connectors, etc. were checked. Then the charging controller rang. It turned out to be correct. As for the battery, it was not difficult to press it with your finger. It looks like liquid was poured into a plastic bag. After desoldering and laborious unsticking of the battery, this is what happened.
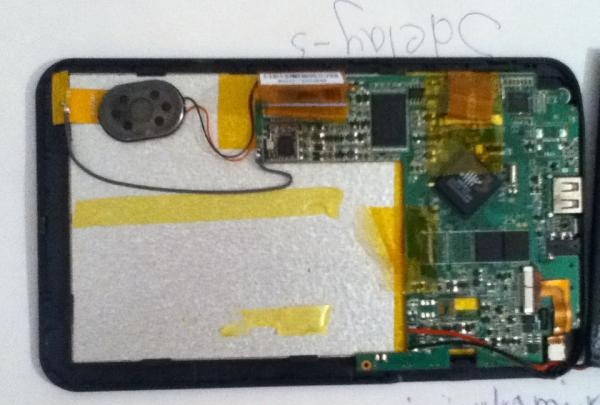
There was more than enough space for the new battery.
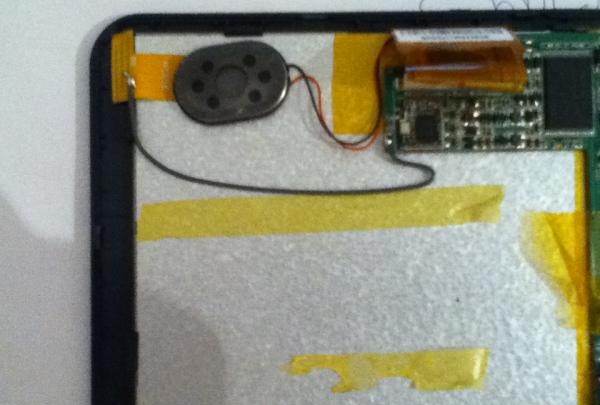
After googling a bit, I came across a suitable battery. Both in size and dimensions.
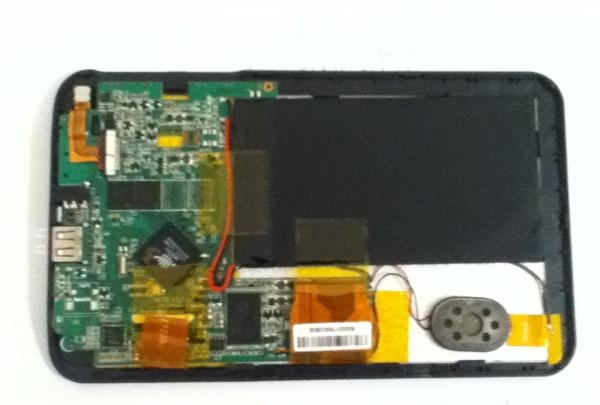
What can I say, the battery fit perfectly, as if there was a place for it. Instead of the previous 1800, we now have 3600 milliamps per hour. Profit x2! This is what the device looks like with a new battery.
Since the tablet was disassembled, thoughts arose to tweak something else. And a great idea came to mind. The tablet has a front camera for video calls, but it can also just take photos.
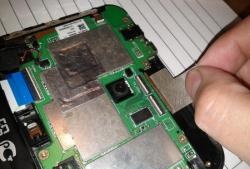
Here's the camera. Inside view.
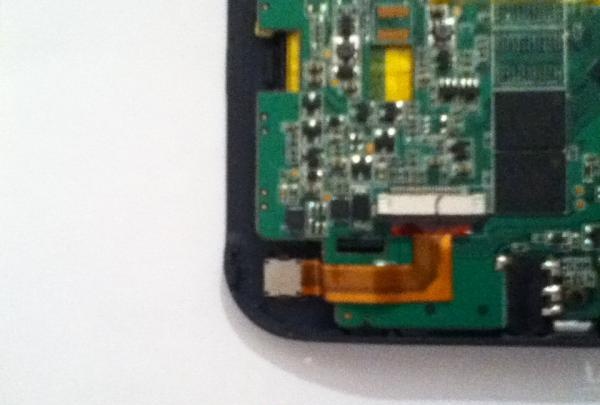
The camera is connected using a flexible cable. By carefully bending it, you can turn the camera in the opposite direction, i.e. Push. From the front camera, it turns into a regular rear camera.
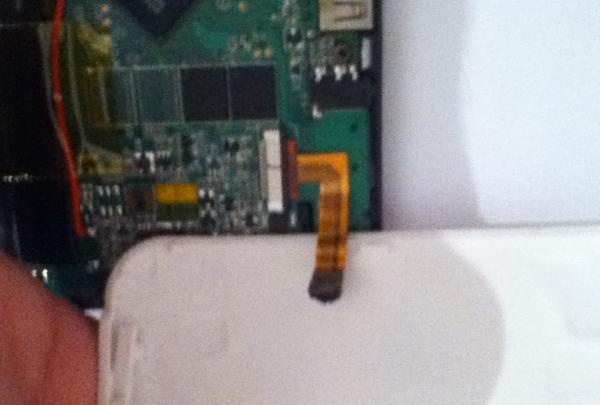
However, to do this you need to drill a hole in the back cover. But because The tablet is not mine, so I have no right to spoil the appearance.
Contact pads and a cutout in the PCB were also discovered. Most likely, just for the rear camera.
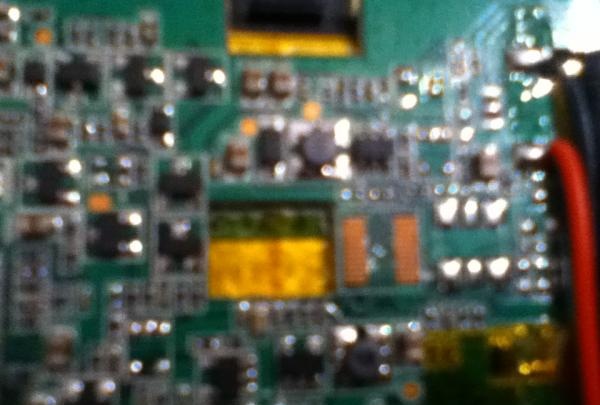
It is probably present in more expensive models.
Putting the tablet back together. We close the latches. We tighten the screws. And we check.
Voila!
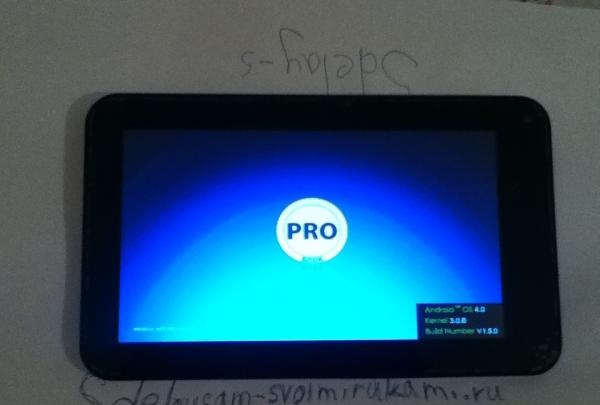
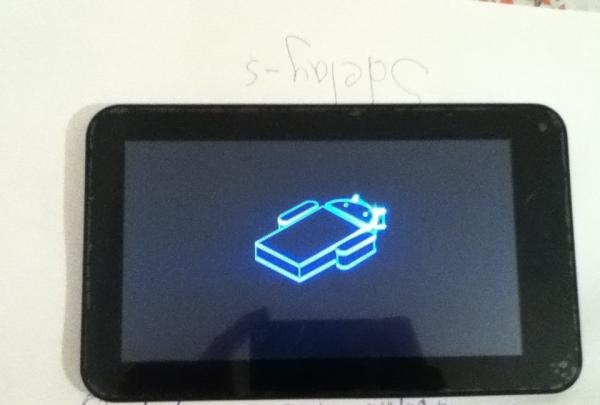
The tablet works! In active use mode, it lasted 4 hours.
Here is the tablet itself.

Standard set: 1.2 GHz processor, 512 MB RAM, on board Android version 4.0, 7-inch screen. I was also surprised by the presence of a full-fledged USB host port. In general, the tablet is assembled quite well.
So, let's start the autopsy.
There are two bolts located on the side of all connectors and inputs. They need to be unscrewed.

Next, you need to unfasten the latches along the perimeter of the case. I did this with a sharp knife. But be careful. As it turned out, there are cables running there literally a few millimeters from the latches; do not cut them.


And here's what was inside.

All cables, connectors, etc. were checked. Then the charging controller rang. It turned out to be correct. As for the battery, it was not difficult to press it with your finger. It looks like liquid was poured into a plastic bag. After desoldering and laborious unsticking of the battery, this is what happened.

There was more than enough space for the new battery.

After googling a bit, I came across a suitable battery. Both in size and dimensions.
What can I say, the battery fit perfectly, as if there was a place for it. Instead of the previous 1800, we now have 3600 milliamps per hour. Profit x2! This is what the device looks like with a new battery.

Since the tablet was disassembled, thoughts arose to tweak something else. And a great idea came to mind. The tablet has a front camera for video calls, but it can also just take photos.
Here's the camera. Inside view.

The camera is connected using a flexible cable. By carefully bending it, you can turn the camera in the opposite direction, i.e. Push. From the front camera, it turns into a regular rear camera.

However, to do this you need to drill a hole in the back cover. But because The tablet is not mine, so I have no right to spoil the appearance.
Contact pads and a cutout in the PCB were also discovered. Most likely, just for the rear camera.

It is probably present in more expensive models.
Putting the tablet back together. We close the latches. We tighten the screws. And we check.
Voila!


The tablet works! In active use mode, it lasted 4 hours.
Similar master classes
Particularly interesting
Comments (12)

