Correctly setting up a SIM card will speed up the Internet, stabilize the signal and reduce battery consumption
There are a lot of instructions on the Internet for setting up a SIM card, mobile communications and Internet settings on a smartphone. Let's take a closer look and discuss one option that helps increase the speed of mobile Internet and improve the quality of communication. Your phone will receive a more stable signal from the operator’s base station, and as a bonus, it will consume less battery power.
Setting up a SIM card to improve connection and Internet performance
We will show everything using the example of the “POCA X3” smartphone, on which the “MIUI 12.5” shell is installed, and the smartphone is running Android 11. Let’s say right away that no fundamental changes are envisaged, “ROOT” rights and unlocking the bootloader from the computer are not needed. There is nothing unusual in these settings, and they are suitable for any smartphone.
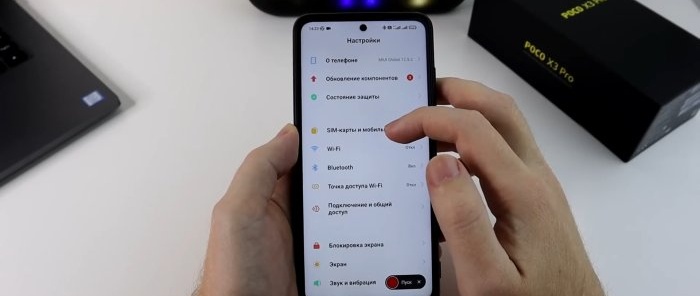
So, most smartphones have two SIM cards. Usually one card is for calls, the second is for the Internet. Let's introduce task boundaries for each SIM card. To do this, go to “Smartphone Settings” and select the “SIM cards and Mobile networks” section.
We note, firstly, which SIM card we will have by default for calls and which for mobile Internet. Since you can use both the first and second cards for calls, we leave “Not selected”. In this case, when making an outgoing call, the phone will prompt you to select a SIM card.
For the Internet, we assign a card with a favorable tariff. Next we enable “Mobile Internet”. We enable “DUAL 4G mode” not only to allow 4G connections for both SIM card slots, but to open the settings that we will need later.
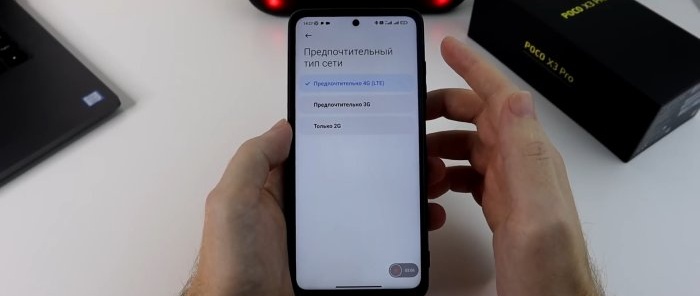
Next, go to the settings of the SIM card that is intended only for calls. There will be a “Preferred network type” section. Here we can independently choose which network the SIM card should work on: 4G, 3G or 2G. And since we have this SIM card purely for calls, the Internet is not provided on it, we select only 2G.
The 2G coverage area is the largest. You may notice that in places with poor cellular communication, the phone drains faster. And so that he doesn’t strain himself in an attempt to maintain 4G, which we don’t need on this SIM card for calls, we immediately make it work on 2G networks. This saves battery power.
Next about saving money. If your mobile operator provides a Wi-Fi calling service, then it makes sense to allow such calls in the SIM card settings. This section will only be available when you enable Wi-Fi calling on your plan. Below there will be another option for selecting the network mode. Those. you are given a choice: to prefer a Wi-Fi network or a mobile one if there is an adequate signal from both networks. Therefore, if you are in the middle of nowhere or in roaming where there is normal Wi-Fi, enable this calling feature, and the mobile operator's tariff will determine you as in the home usage zone.
Now go back to the general settings of SIM cards and select the one intended for the Internet. Here it's the other way around. In the “Preferred network type” section, select “4G”.
The next step is to try to speed up the mobile Internet on your smartphone using some settings. You'll have to experiment here. The recipe is not one hundred percent, for some the speed becomes faster, for others it does not. But it's worth a try.
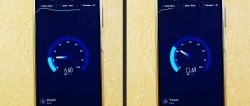
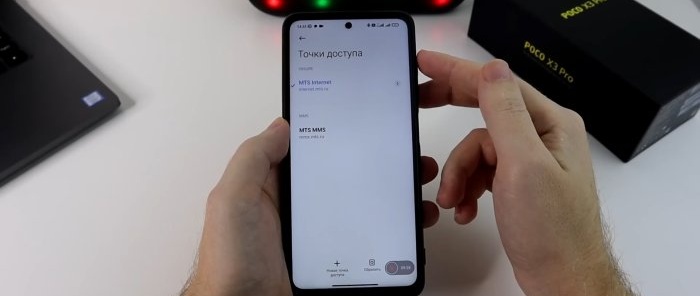
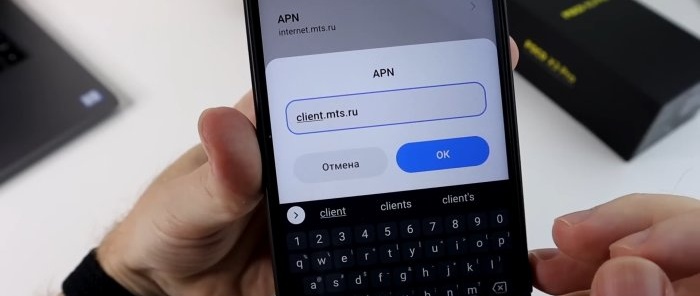
First, in the Speedtest application, we will measure the Internet speed before settings. Indications: 187 Mbps for downloading and 58.1 for uploading. Let's save them for comparison. Let's return to the SIM card menu and select the "APN access points" section. In this section, by default, the operator will register the “APN” address. Depending on the telecom operator, you need to change the address to another one.
Before changing your address, take a screenshot of your old one so you don’t forget it. If you want to return the settings back.
Enter the new address, OK, go back and click Save changes. Look, the Internet disappeared and appeared again. In the same “APN Access Point” settings, go to the “Authentication Type” section. There are two protocols “PAP” and “CHAP”. What is the difference between them. PAP is a simple authentication protocol that involves sending the username and protocol to the remote access server in clear text. That is, without encryption. And "CHAP" does the same thing, but with encryption. Therefore, if privacy is important to you, then choose “CHAP”. If not, or you don’t understand what we’re talking about at all, let’s leave everything as it was done by default.
Well, when all this has been changed, click again on the three dots below and select “Save”.
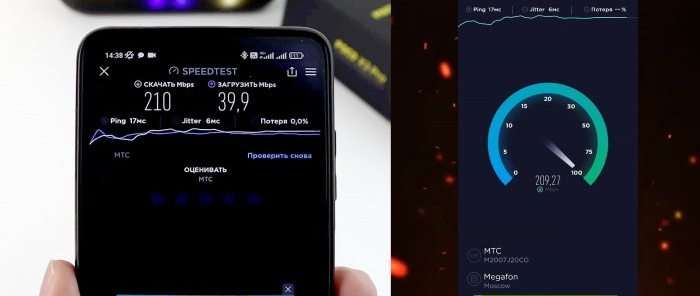
With the new settings, we will check the Internet speed using the same “Speedtest” program. There were 187 Mbps for downloading, 58.1 for uploading. And "Ping" was 19 ms. After the settings, the download speed was 210, the upload speed was 39. The download speed dropped. But “Ping” increased to 17 ms.
The changes are controversial. Use it or not, decide for yourself.
Watch the video
Similar master classes
