A reliable solution to 2 shower head problems
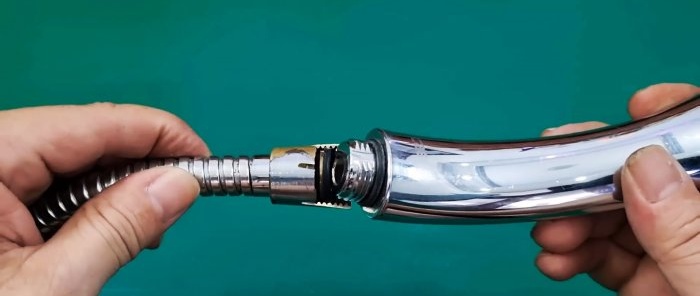
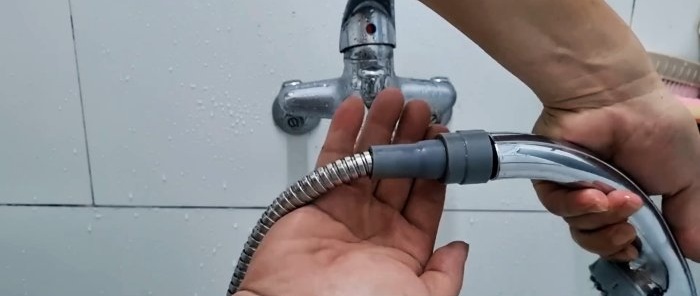
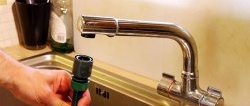
Sometimes the union nut connecting the hose to the watering can breaks. The inner tube also breaks due to high pressure or high water temperature, systematic twisting or inevitable aging of the material. If the rupture is close to the end of the tube, the hose can be repaired.
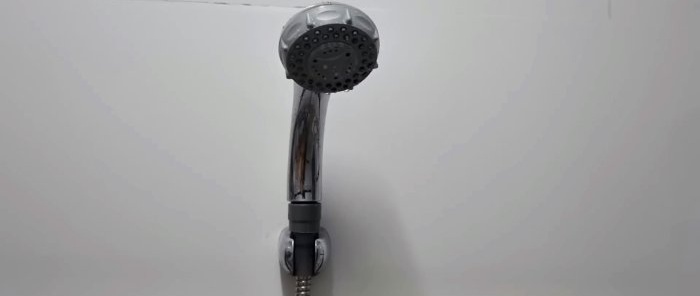
Easy DIY watering can repair
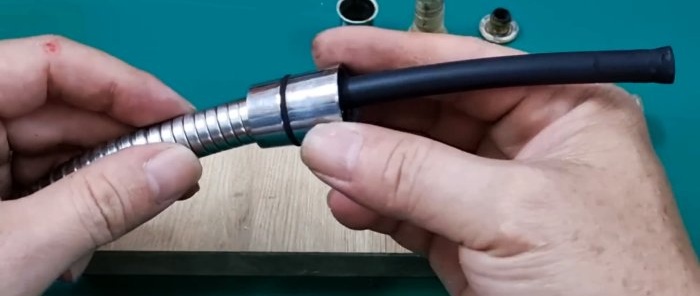
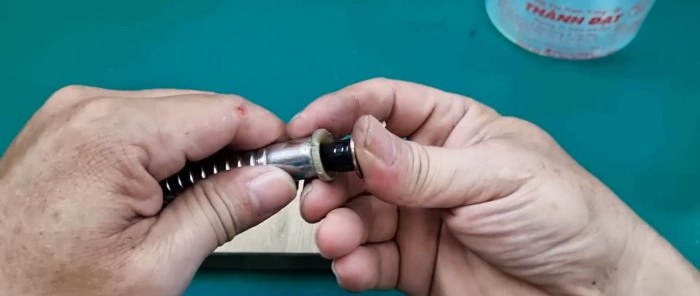
To do this, remove the sealing gaskets, and use a knife to pull out the end of the inner pipe from the outer crimp sleeve, acting on the flange of the sleeve with fixing ribs, which we remove and set aside for a while.
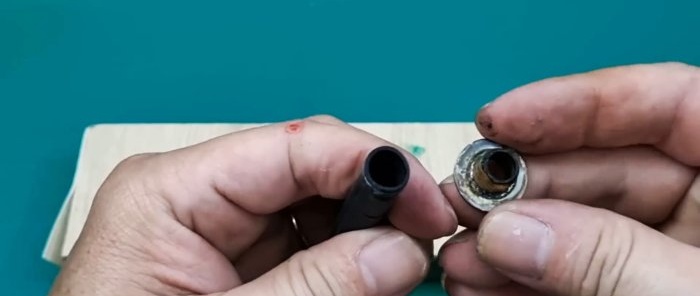
Holding the outer bushing with your fingers, unscrew the intermediate one with the thread and also remove it to the side along with the outer bushing. Now it becomes possible to remove the unusable union nut from the hose.
We remove the entire union nut from the old hose, having first cut off the end of the damaged hose along with the bushings. We put the whole union nut on the hose being repaired, then the outer sleeve and screw the intermediate plastic sleeve with external thread into the crimping sleeve until it stops.
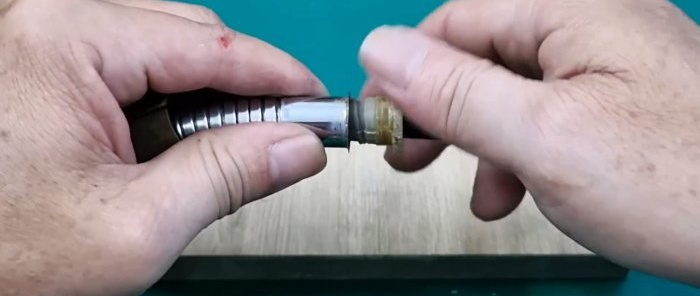
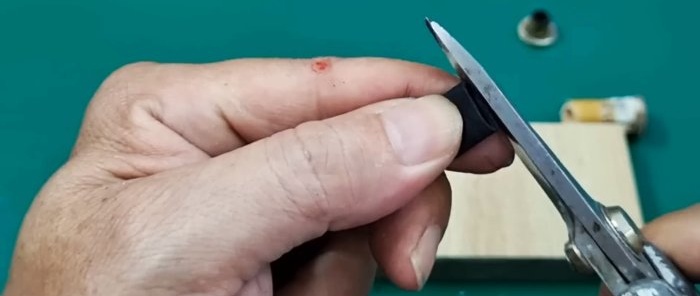
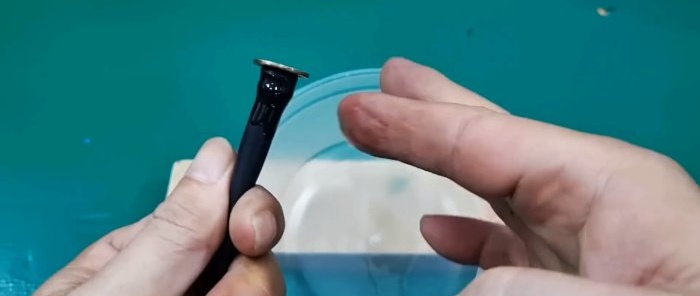
We cut off the cracked or torn end of the inner tube and press the sleeve with fixing ribs into the renewed end of the restored tube.
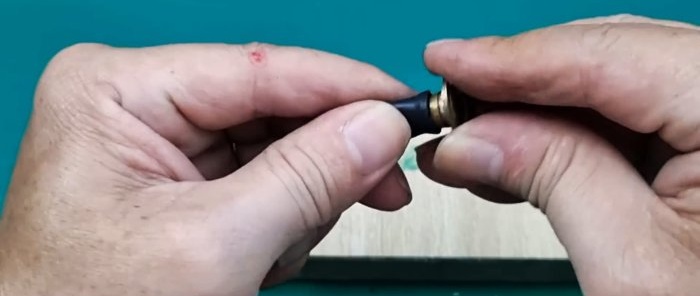
Lubricate the end of the restored hose with some oil, such as sunflower oil, and press it into the intermediate sleeve.
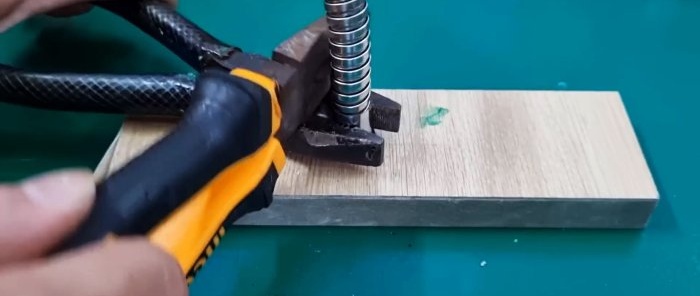
To be safe, we grab the intermediate sleeve with pliers and, hitting them with second pliers or a hammer, push it down to the end.
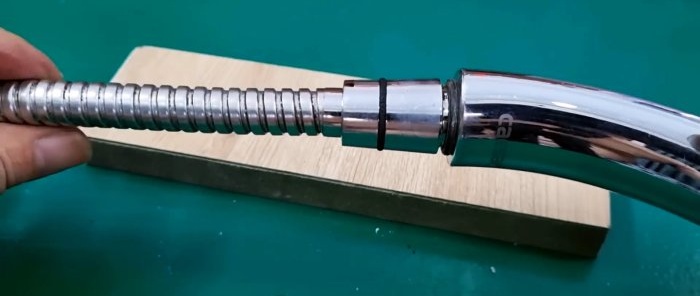
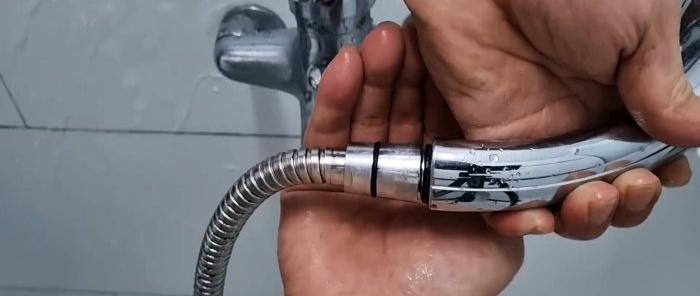
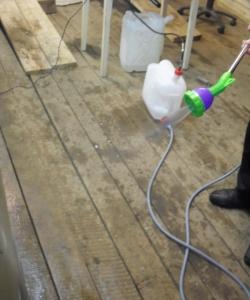
We insert a sealing gasket into the union nut and screw it onto the thread of the watering can. We connect the second end of the hose with a similar nut to the mixer. We turn on the water and make sure that the repair has been carried out efficiently.
If you don’t have a complete union nut, you won’t be able to use plastic water pipes, because the connection will be unreliable. Heating a pipe and trying to thread it using a watering can thread does not give a good result.
A plastic connector with an internal thread is better, but the hole in it is larger than the outer diameter of the inner tube along with the bushings. That is, in order to use such a connector, it needs to be changed.
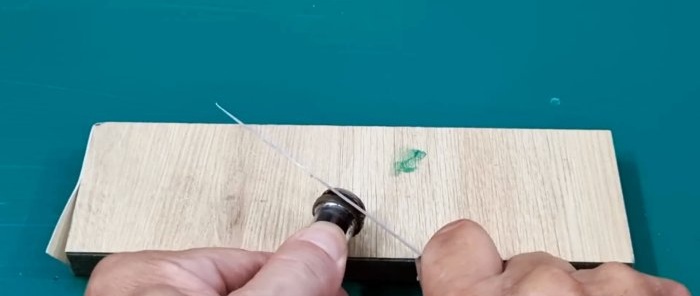
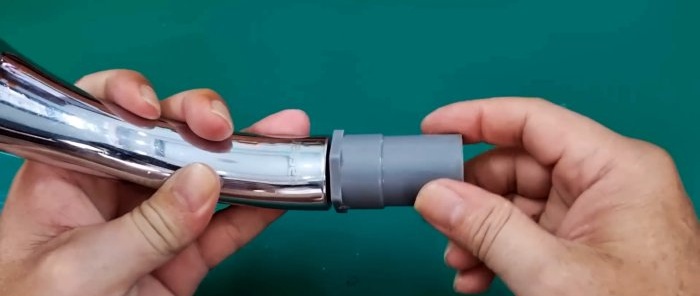
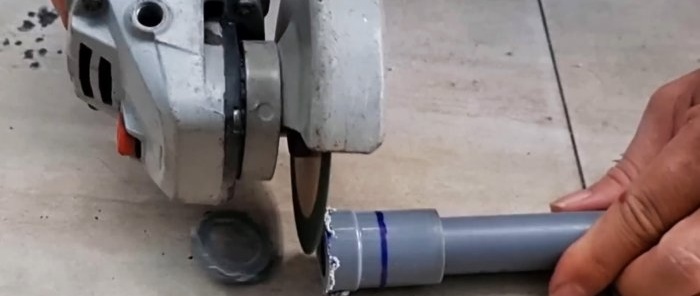
We match the connector with the length of the thread on the watering can and cut it in two places using a grinder according to the marks. Clean the cutting plane with sandpaper.
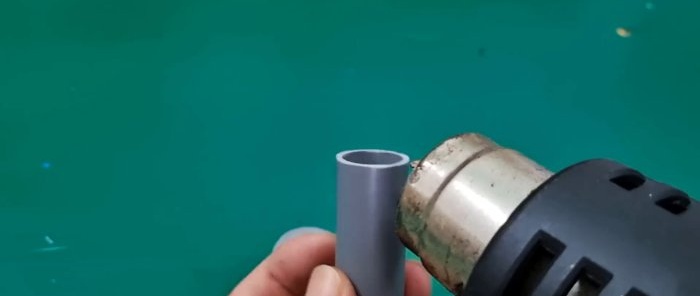
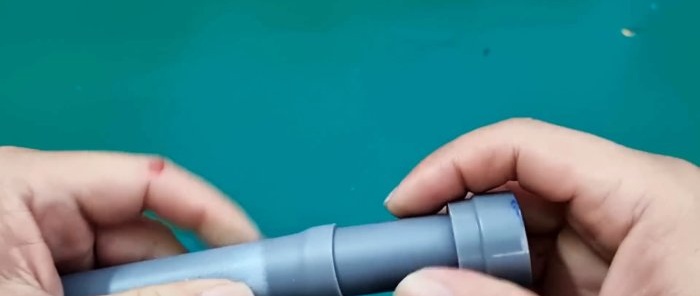
We cut a piece 5 cm long from the plastic pipe, heat the end and the entrance to the part of the connector without thread, and connect them.
We heat the end of another piece of the same plastic pipe and put it on the pipe inserted into the connector part to form a socket.
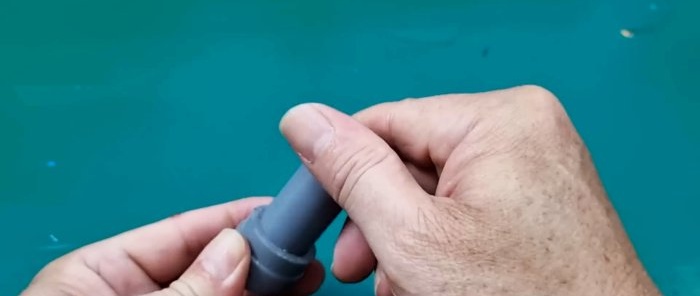
We remove the pipe with the socket and heat the free end of the pipe inserted into the connector part, and then insert it into the socket until it stops. Then we remove part of the connector and we get a pipe within a pipe, with the inner one protruding somewhat from the outer one.
We take out the inner pipe from the outer one and insert it into the outer one from the other end to also form a socket on it, which we insert into part of the connector, and put the resulting unit on the hose with the pipe facing forward.
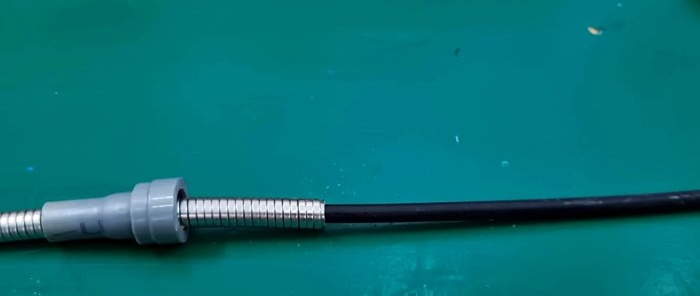
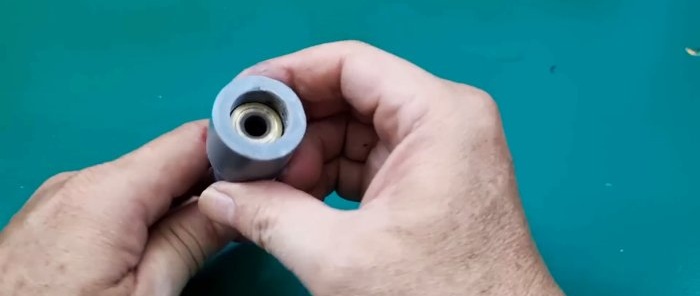
Then we put on the outer crimp sleeve, which we screw onto the flexible braid. We screw a plastic sleeve with an external thread into it until it stops. We press the end of the tube with the inserted bushing into the intermediate bushing and slide part of the plastic connector onto the resulting assembly.
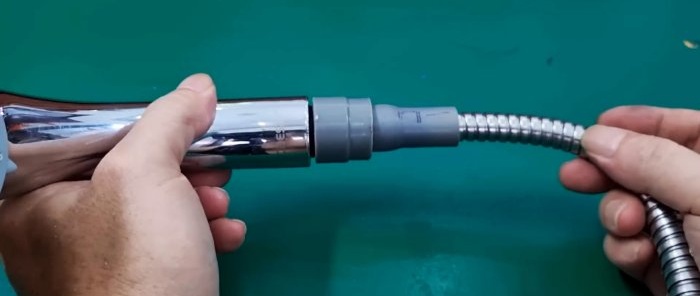
We screw the threaded part of the watering can into the thread of the connector part. We turn on the water and make sure that in this case the joint is sealed and strong enough.

