How to Fix a Damaged Garden Hose
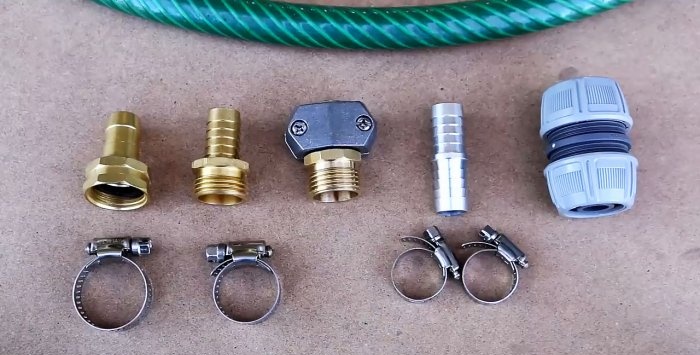
Today the market offers a wide range of products with which you can quickly and easily repair a used garden hose and not spend money on buying a new one. These are various gaskets, fittings, repair couplings, plug-in connectors, adapters, etc.
This product, indispensable in the summer, has a decent length, and when filled with water, it also has a noticeable weight. It constantly moves from place to place and not only along the lawn or beds, but also along asphalt paths, paving slabs, curbs, etc.
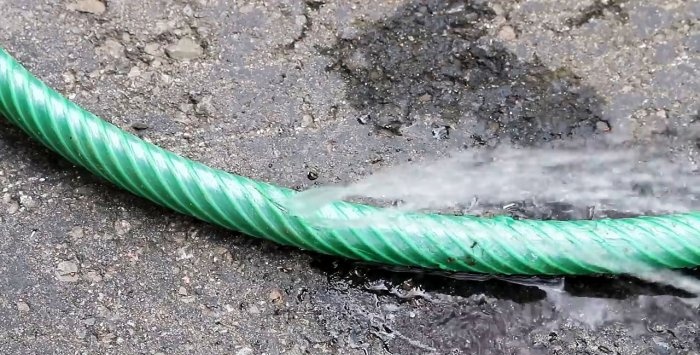
People step on a hose that is under pressure; it can get stuck under a car wheel and then experience jerks from impatient waterers. It is not surprising that the watering hose is often damaged, which sharply reduces the pressure in it and leads to wasted water consumption.
But fixing it is not particularly difficult if you have a sharp knife and a screwdriver with suitable bits on hand. We list the main damage to this gardening and watering product:
Determination of the nominal diameter of the hose
Before selecting the devices necessary to restore the hose’s functionality (gaskets, repair couplings, fittings, plug-in connectors, etc.), you should determine the nominal diameter of the hose, which is usually indicated in the accompanying document.
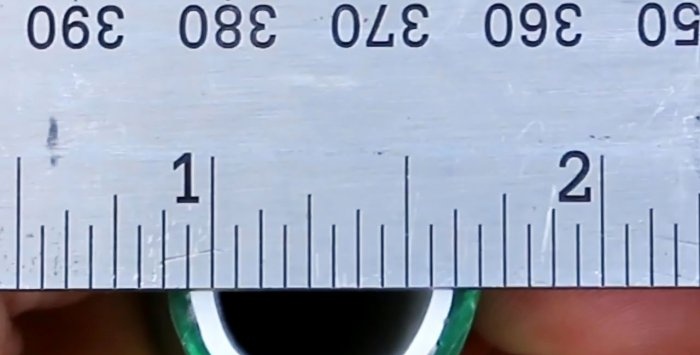
If there is no such document or it is lost, then you can measure the internal diameter of the hose, giving it a cylindrical shape, using a metal ruler. It exactly corresponds to the nominal diameter. The industry produces hoses in three sizes (diameters): 12 mm (1/2 inch), 16 mm (5/8 inch) and 19 mm (3/4 inch).
For a hose with a nominal diameter of 16 mm, all accessories must correspond to this size.
Let's look at how you can deal with the most common damage to a garden hose.
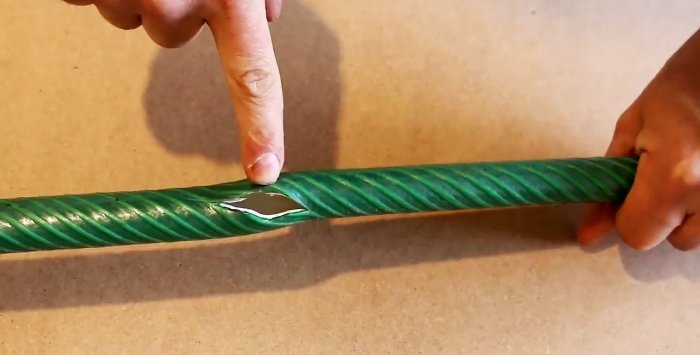
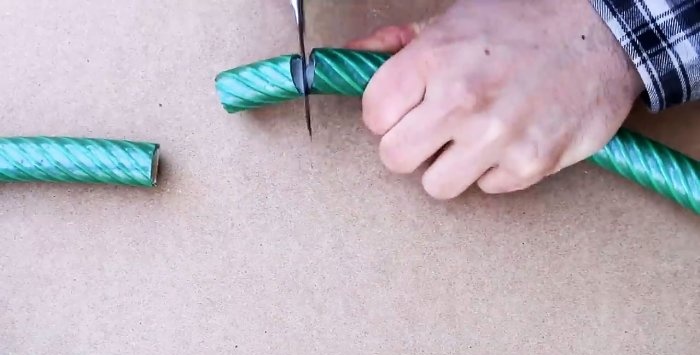
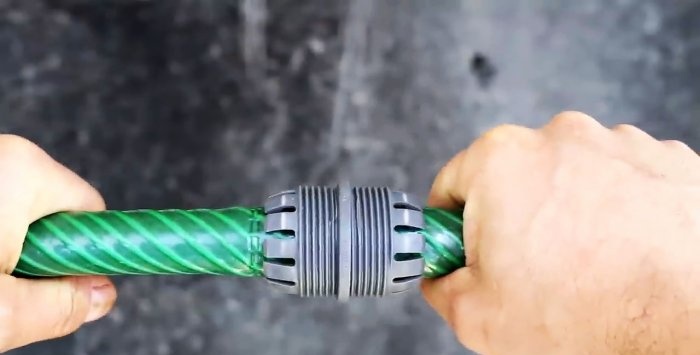
1. Hose break. To eliminate such a defect, use a sharp knife to cut out the area containing this defect. And in order to reconnect the cut parts of the hose, we use a plug-in connector (plastic, aluminum or steel) with ribbed surfaces and clamps.
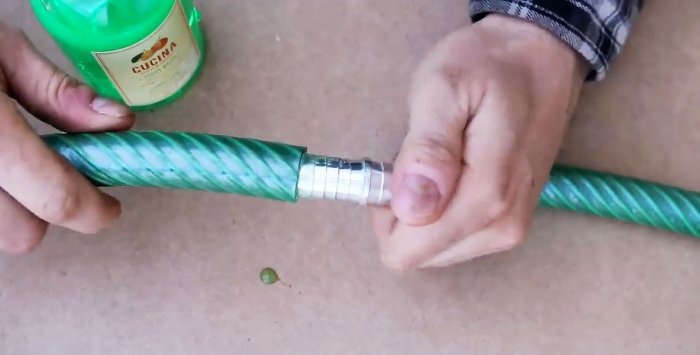
Its seats must be lubricated with liquid soap so that it easily fits into the hose to the center stop. Before connecting the second part of the hose, do not forget to put two clamps on it.
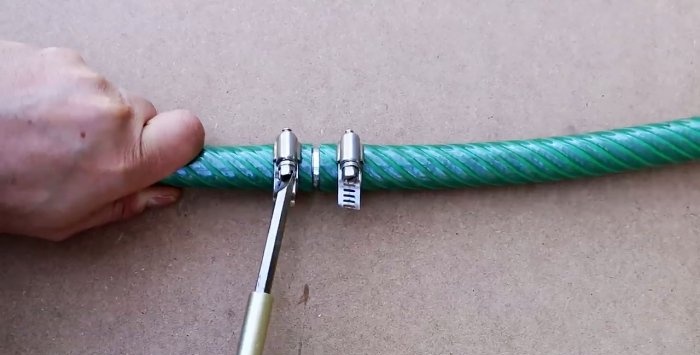
After the elements to be connected take their final position, tighten the clamps using a screwdriver with the appropriate bit. The clamp lag screw may have a hex head.Then you need to use a bat with a similar hexagonal hole.
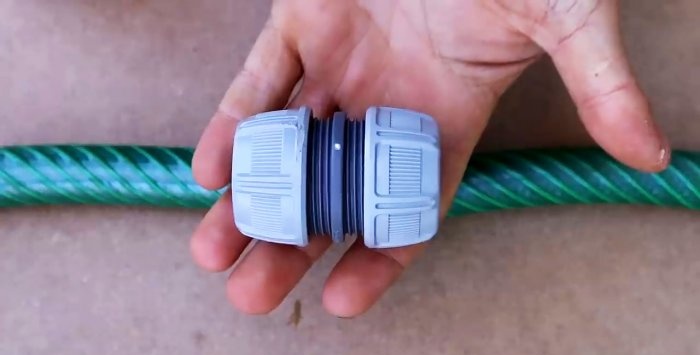
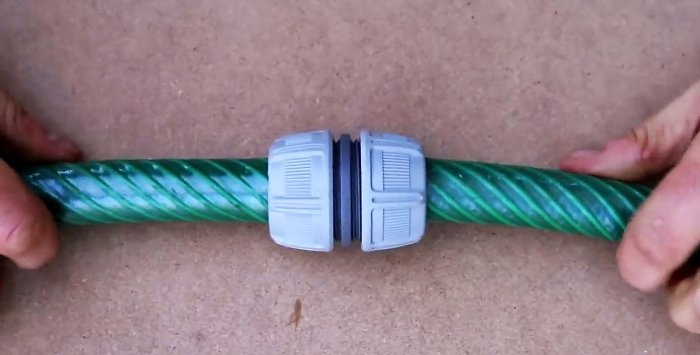
2. Also, a rupture in the hose can be eliminated using a repair (connecting) coupling of a suitable size.
To do this, just insert the evenly cut ends of the hose into the holes of the coupling on both sides until it stops and turn each halves clockwise. The connection is guaranteed to be strong and airtight. Even driving over the junction of a car wheel will not cause any harm to it.
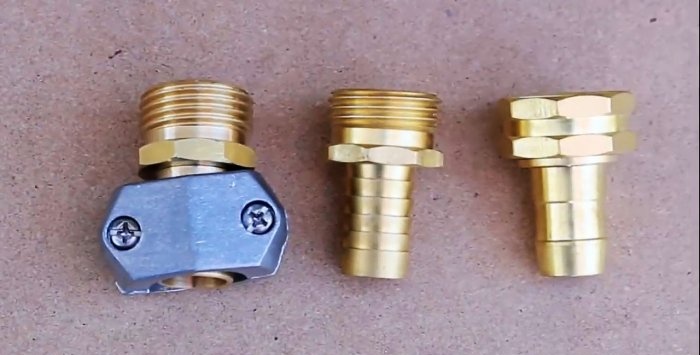
3. Breakage (deformation) of the connecting fitting.
There are different types of replacement, but we will use the option in which the seat has a ribbed surface, and the hose is secured to it using a metal clamp.
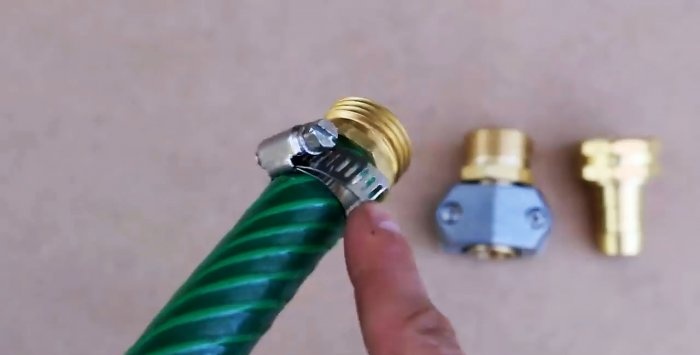
We cut off the old fitting with part of the adjacent hose using sharp scissors, trying to make the cut evenly. We put a clamp on the prepared end of the hose.
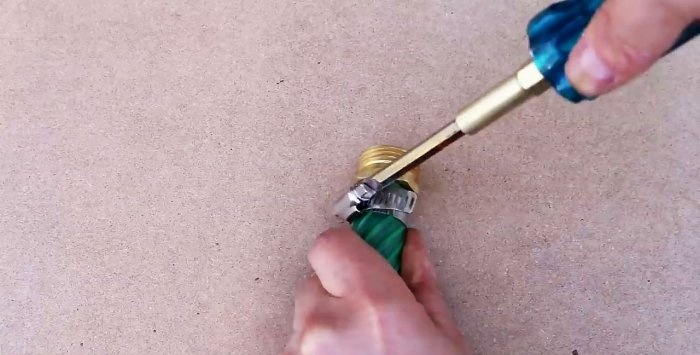
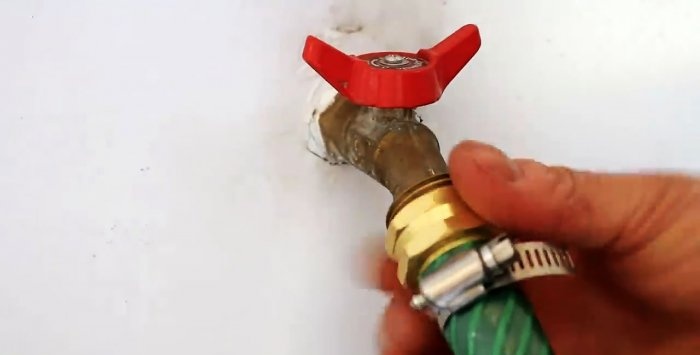
We insert the new fitting into the hose until it stops using its seat. Move the clamp closer to the end of the hose (but not to the very end!) and tighten its screw using a screwdriver and an appropriate bit. We place a gasket in the fitting and screw it to the faucet or spray device.
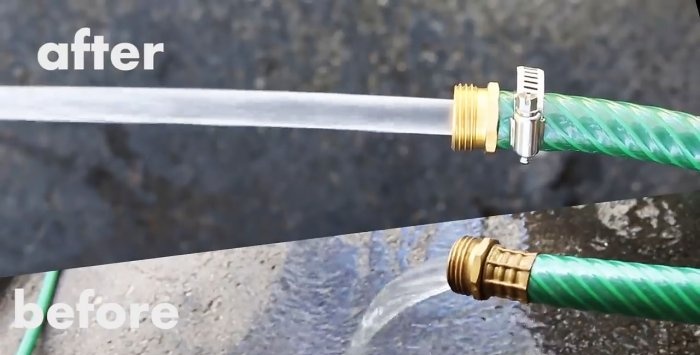
The result of the replacement is obvious. If with the old fitting there was simply a spout, then after installing a new one, water rushes out of it under high pressure with a characteristic hissing sound.
Major damage to the watering hose
This product, indispensable in the summer, has a decent length, and when filled with water, it also has a noticeable weight. It constantly moves from place to place and not only along the lawn or beds, but also along asphalt paths, paving slabs, curbs, etc.
People step on a hose that is under pressure; it can get stuck under a car wheel and then experience jerks from impatient waterers. It is not surprising that the watering hose is often damaged, which sharply reduces the pressure in it and leads to wasted water consumption.
But fixing it is not particularly difficult if you have a sharp knife and a screwdriver with suitable bits on hand. We list the main damage to this gardening and watering product:
- a hose rupture in one or more places;
- a worn, torn or hardened gasket in the adapter from the hose to the spray device or in its connection to the tap;
- deformation of connecting nodes.
Determination of the nominal diameter of the hose
Before selecting the devices necessary to restore the hose’s functionality (gaskets, repair couplings, fittings, plug-in connectors, etc.), you should determine the nominal diameter of the hose, which is usually indicated in the accompanying document.
If there is no such document or it is lost, then you can measure the internal diameter of the hose, giving it a cylindrical shape, using a metal ruler. It exactly corresponds to the nominal diameter. The industry produces hoses in three sizes (diameters): 12 mm (1/2 inch), 16 mm (5/8 inch) and 19 mm (3/4 inch).
For a hose with a nominal diameter of 16 mm, all accessories must correspond to this size.
Repairing a Garden Hose
Let's look at how you can deal with the most common damage to a garden hose.
1. Hose break. To eliminate such a defect, use a sharp knife to cut out the area containing this defect. And in order to reconnect the cut parts of the hose, we use a plug-in connector (plastic, aluminum or steel) with ribbed surfaces and clamps.
Its seats must be lubricated with liquid soap so that it easily fits into the hose to the center stop. Before connecting the second part of the hose, do not forget to put two clamps on it.
After the elements to be connected take their final position, tighten the clamps using a screwdriver with the appropriate bit. The clamp lag screw may have a hex head.Then you need to use a bat with a similar hexagonal hole.
2. Also, a rupture in the hose can be eliminated using a repair (connecting) coupling of a suitable size.
To do this, just insert the evenly cut ends of the hose into the holes of the coupling on both sides until it stops and turn each halves clockwise. The connection is guaranteed to be strong and airtight. Even driving over the junction of a car wheel will not cause any harm to it.
3. Breakage (deformation) of the connecting fitting.
There are different types of replacement, but we will use the option in which the seat has a ribbed surface, and the hose is secured to it using a metal clamp.
We cut off the old fitting with part of the adjacent hose using sharp scissors, trying to make the cut evenly. We put a clamp on the prepared end of the hose.
We insert the new fitting into the hose until it stops using its seat. Move the clamp closer to the end of the hose (but not to the very end!) and tighten its screw using a screwdriver and an appropriate bit. We place a gasket in the fitting and screw it to the faucet or spray device.
The result of the replacement is obvious. If with the old fitting there was simply a spout, then after installing a new one, water rushes out of it under high pressure with a characteristic hissing sound.
Watch the video
Similar master classes
Particularly interesting
Comments (3)

