How to make a washing pump for a screwdriver or drill
For this you will need:
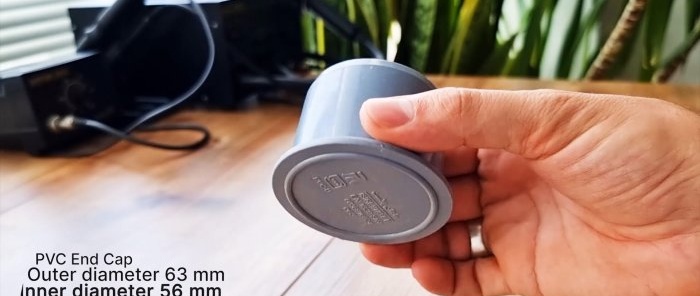
- PVC end cap with outer diameter 63 mm and inner diameter 56 mm;
- a piece of PVC pipe with an outer diameter of 78 mm and an inner diameter of 73 mm;
- 2 shanks for a hose with an external thread of 20 mm;
- plasticine for modeling;
- epoxy resin 50 grams and hardener 30 grams;
- dye for epoxy resin.
How to make a washer pump for a screwdriver
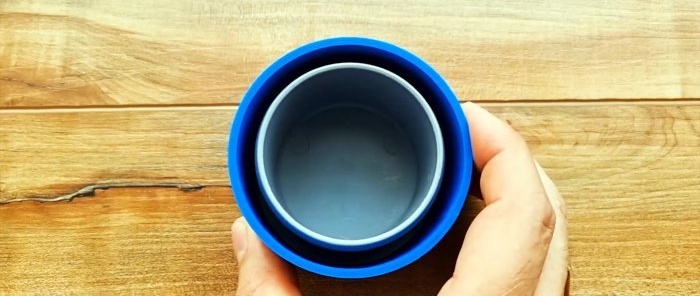
We will mention other materials as they are used in the process of assembling the washing pump. We place the end cap concentrically and bottom down into the piece of pipe.
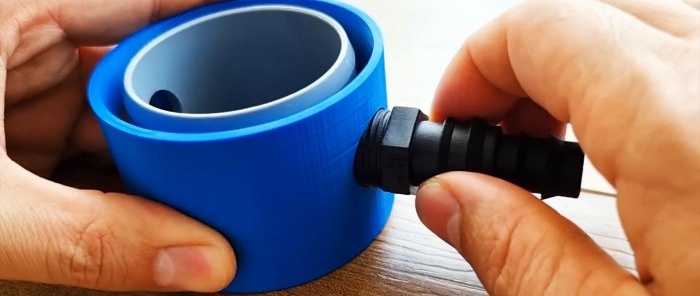
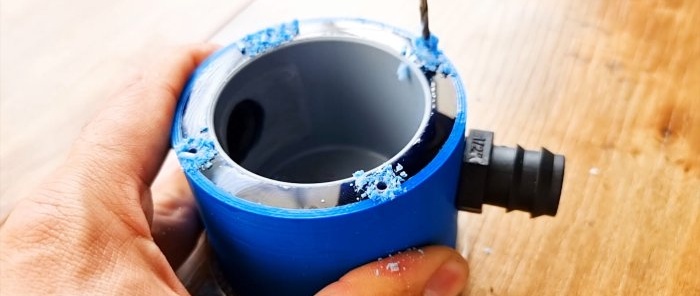
We make through threaded holes at half the height of the indicated parts in the diametrical direction, into which we screw the shanks into the hose so that their ends extend beyond the side wall of the plug.
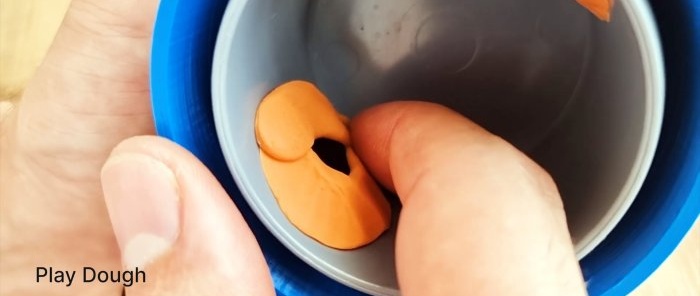
We strengthen the outside of the pipe and inside the plugs and seal the shanks in the walls with plasticine.
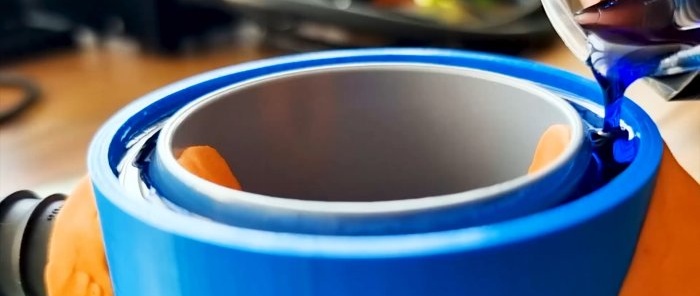
Using an electronic scale, measure out 50 grams of epoxy and add 30 grams of hardener to it, as well as a little dye to give the finished product the desired shade. Mix the listed components thoroughly until a homogeneous mass is obtained in composition and color.
Pour epoxy resin into the annular gap between the pipe and the plug until its level is equal to the top of these parts. After the resin has cured, remove the plasticine and unscrew the shanks.
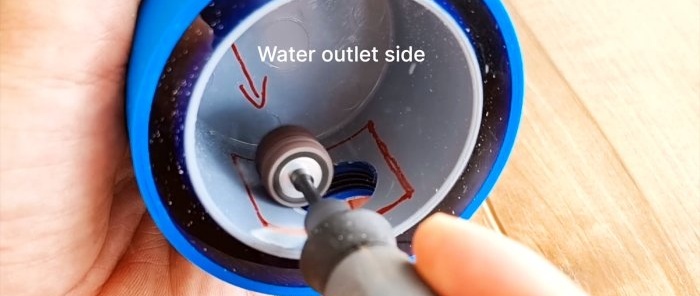
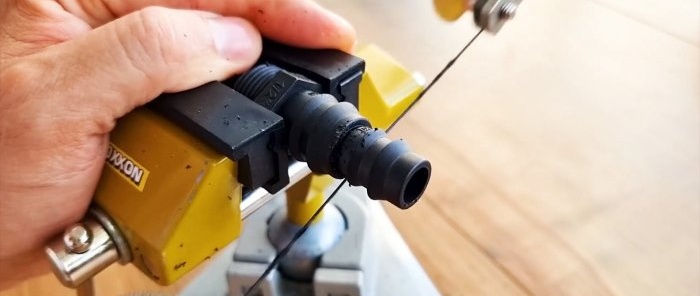
Using a Dremel and an appropriate attachment, we ensure smooth mating of the wall of the plug with the shank intended for the outlet of water. Taking into account the specific dimensions of the device, we shorten the ends of the shanks and return them to their place, ensuring tight tightening.
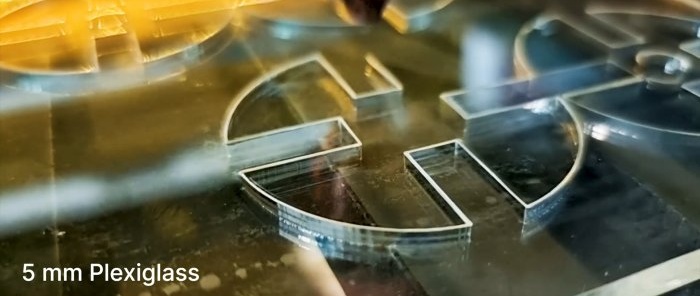
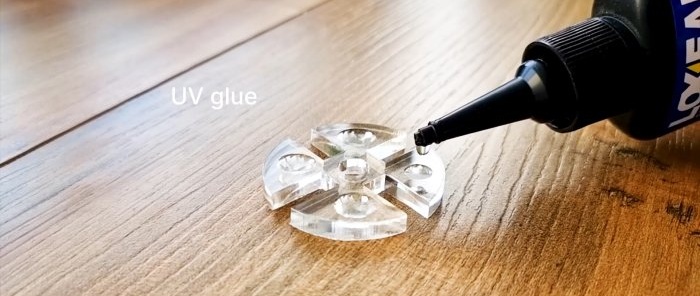
Using laser cutting, we obtain from 5 mm thick plexiglass the necessary shaped parts in the required quantity. We glue similar parts with UV glue and heat them with UV radiation. Cover the assembly from top and bottom with lids.
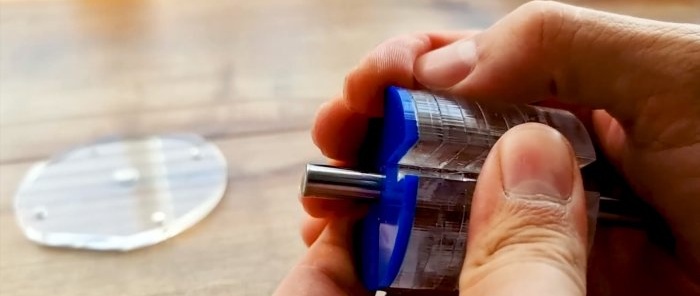
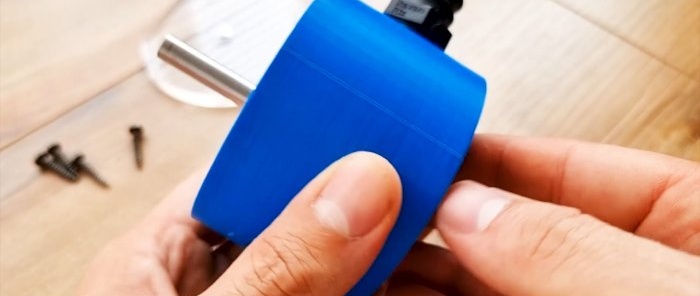
We insert a steel rod with a diameter of 8 mm of estimated length into the central hole.
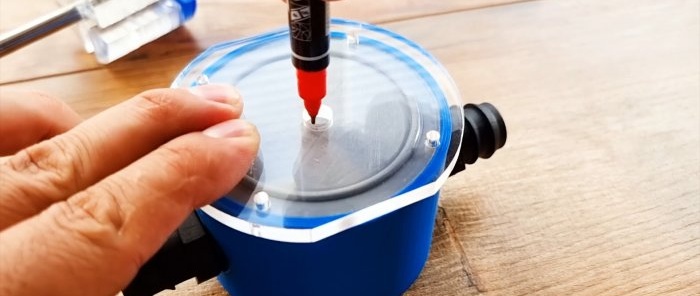
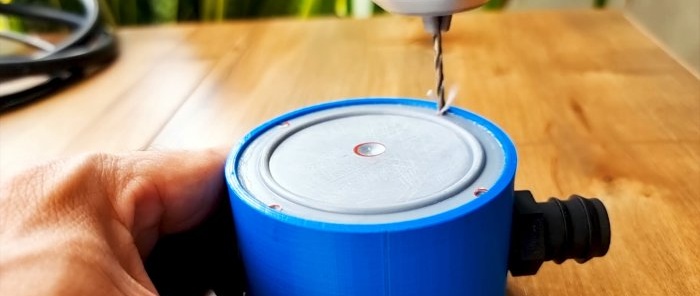
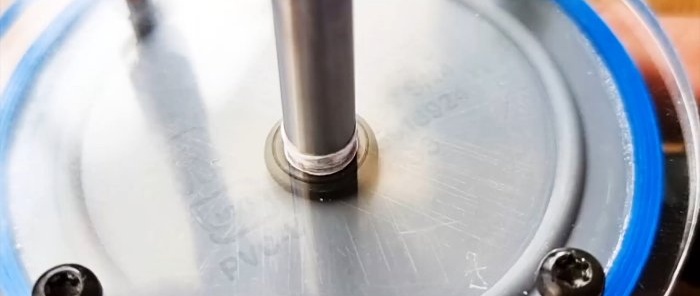
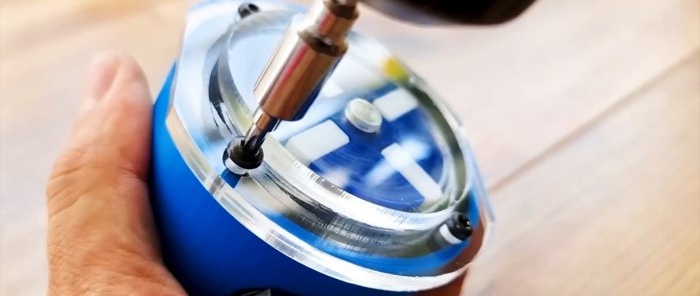
We drill holes in the bottom of the plug using the laser-cut lid as a template. Then we screw it to the bottom with screws. We drill out the central hole in the lid to 8 mm.
We insert an assembly of similar parts inside the pump housing along with the shaft, unscrewing the cover in advance. We put a rubber washer on the outside of the shaft and return the cover to its place. As a result, the shaft is reliably sealed.
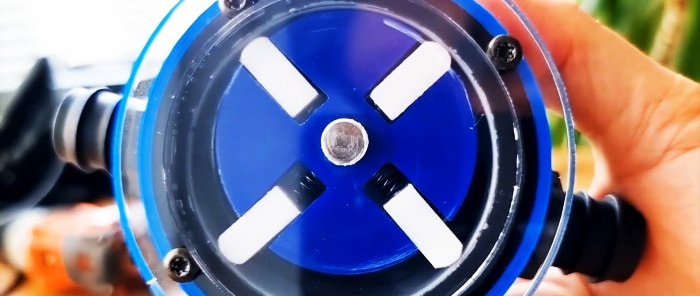
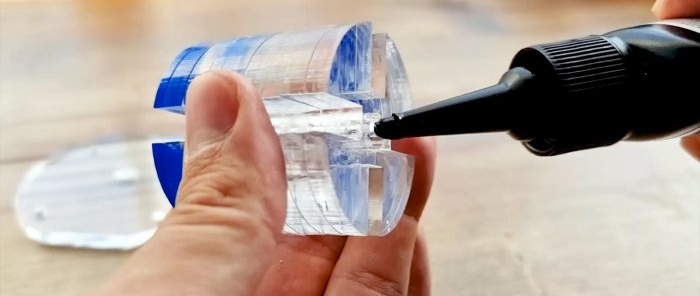
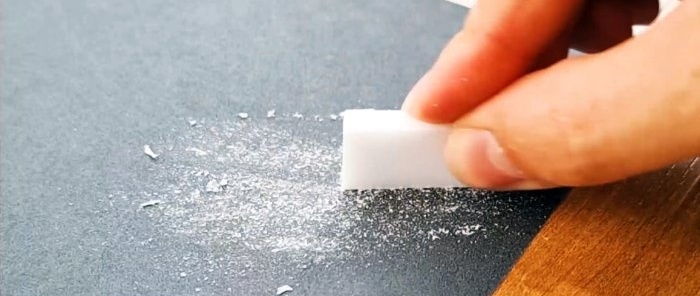
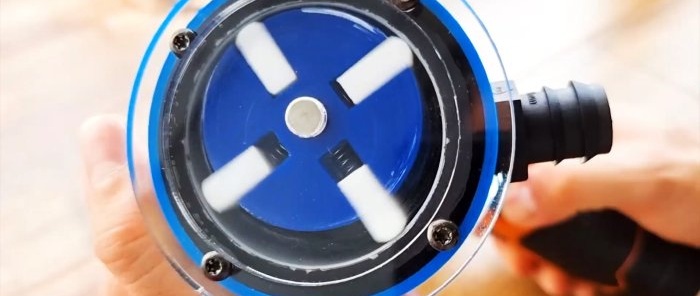
Next, you will need a plastic cutting board 6.7 mm thick for laser cutting and obtaining 4 rectangular blocks of the same size, the shape of which is adjusted with sandpaper and a file.
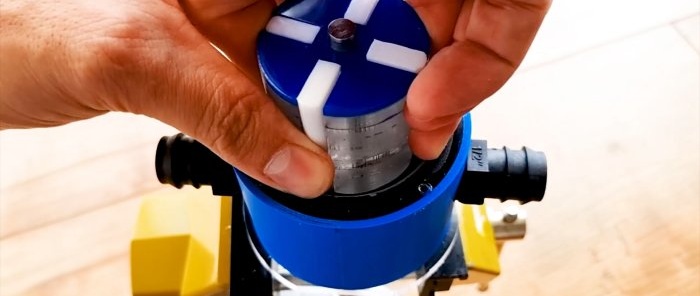
The resulting blocks will be inserted into the grooves of a block glued together from similar parts and closed with a lid. But first, under the cover on the pump body, we apply silicone glue, which after drying looks like plastic.
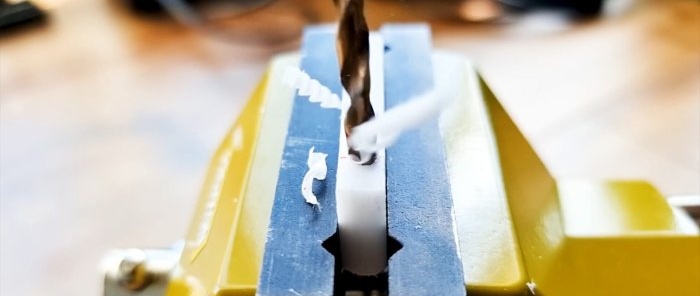
We attach a plastic circle to the top of the lid with UV glue, which is placed inside the lid's fastening screws.After drying with UV rays, unscrew the lid with the circle and take out the blocks, in which we drill blind holes on one of the narrow longitudinal sides closer to the edges.
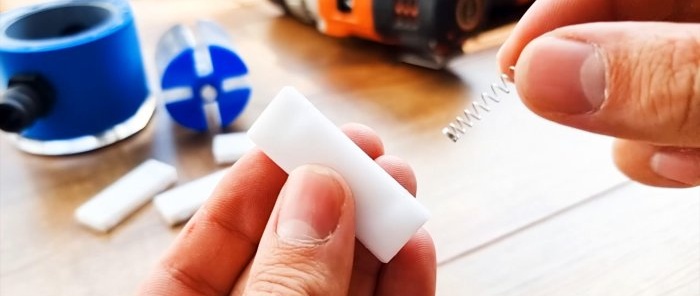
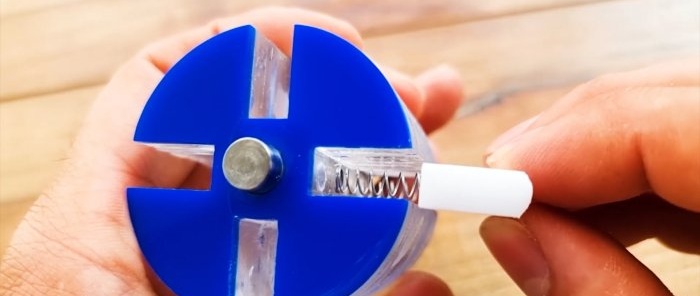
We also make matching holes in the grooves of the assembly from similar parts. Springs from ballpoint pens will be inserted into them, i.e., after assembly, the blocks will be spring-loaded and pressed against the inner wall of the pump chamber.
We clamp the end of the pump shaft in the drill chuck.
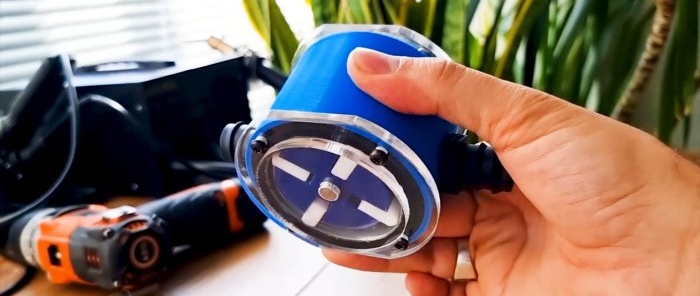
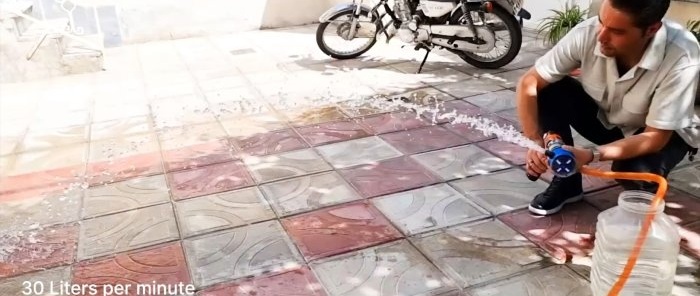
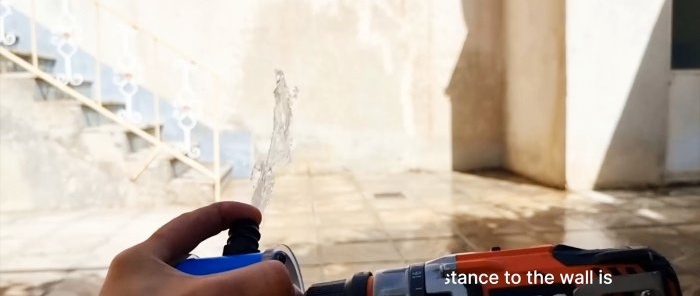
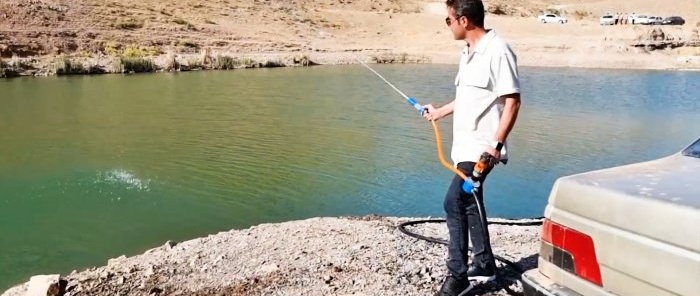
When it is turned on, spring-loaded bars capture portions of water at the inlet and, squeezing, throw them into the outlet. We connect the inlet hole with a hose to a water source and turn on the drill. Water is released under pressure from the pressure pipe. By increasing or decreasing the speed of the drill, you can adjust the pump performance.
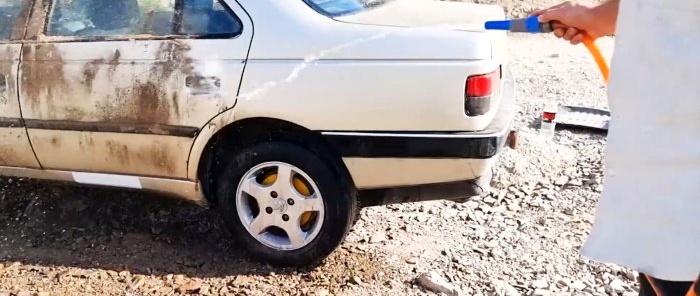
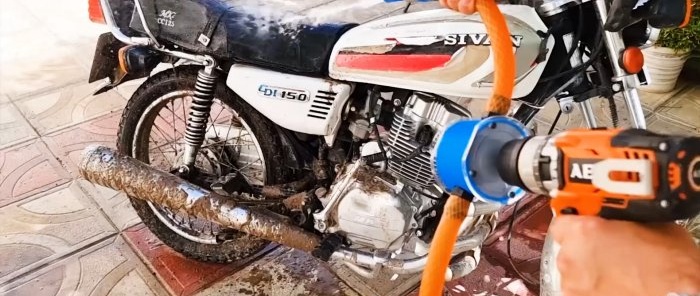
We install a nozzle on the outlet hose and turn the pump into an effective device for washing cars, motorcycles, bicycles, etc.

