Six-channel audio amplifier
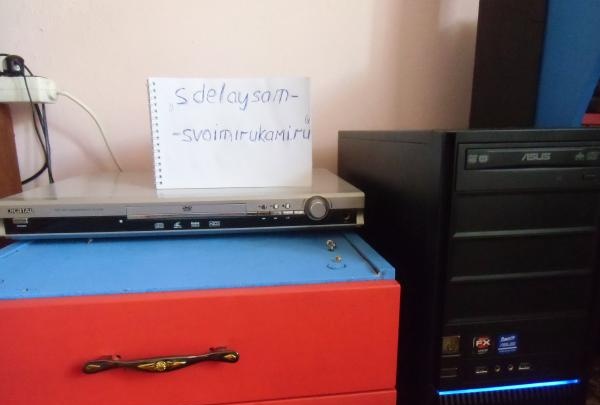
The idea of creating a six-channel speaker system has existed for a long time. Having set a goal, I studied the characteristics of the sound card in detail and found out that it supports as many as 7 sound channels. Since I have a good understanding of electrical circuits, I decided to create 5.1 acoustics for a computer. For this, an old Chinese home theater was used, which was connected to the computer in two-channel PC mode.
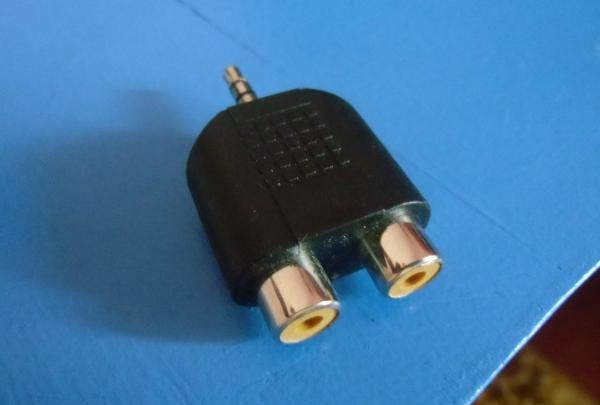
To make high-quality sound, I needed: a screwdriver, wire cutters and a soldering iron, and a wire, an acoustic cable with RCA connectors, and two-channel adapters.
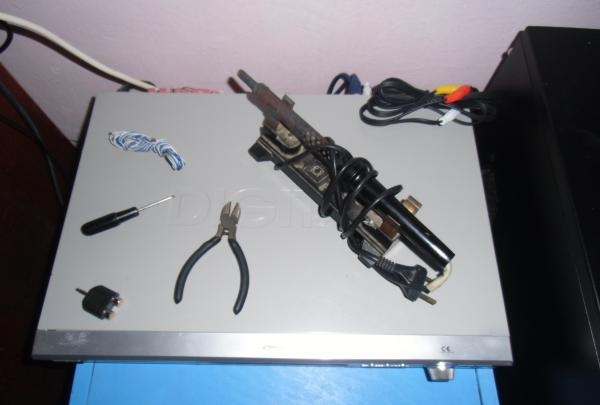
Very important! Be sure to turn off any electrical equipment from the mains before you disassemble it, so as not to get electrocuted.
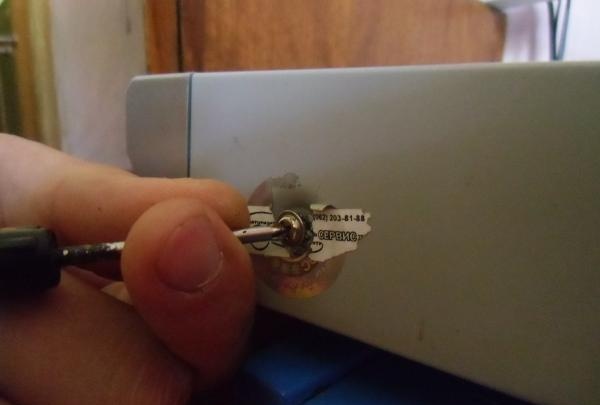
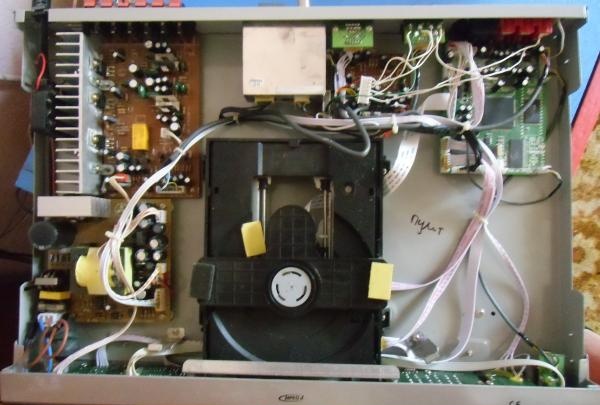
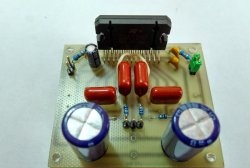
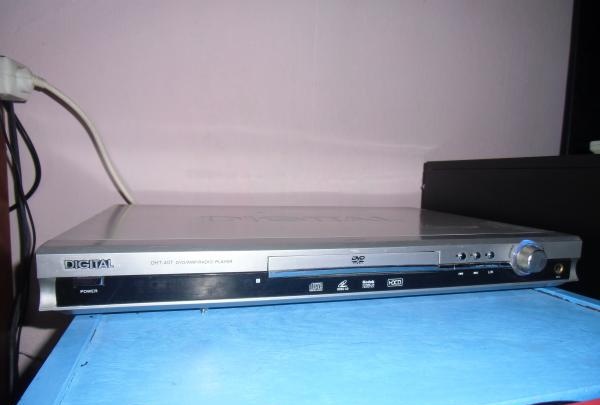
I will express myself in as simple a language as possible for those who do not understand anything about this, but are interested in the idea.Photo 4 shows the entire home theater setup. I didn't need most of its components. The interesting part is the board in the upper left part of photo 4. This is the amplifier block responsible for 5.1 surround sound. I needed to connect six line signals from the sound card to this block. Fortunately, there is a connector on the board with the inscriptions of all channels, to which signals from the player are suitable.
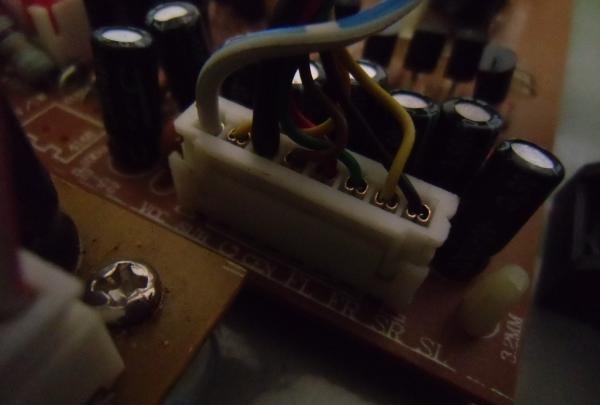
I figured this out, but now another question has arisen. How to make sure you connect six RCA cables from your computer neatly. And here the linear inputs of the cinema, of which there were many, will help me.
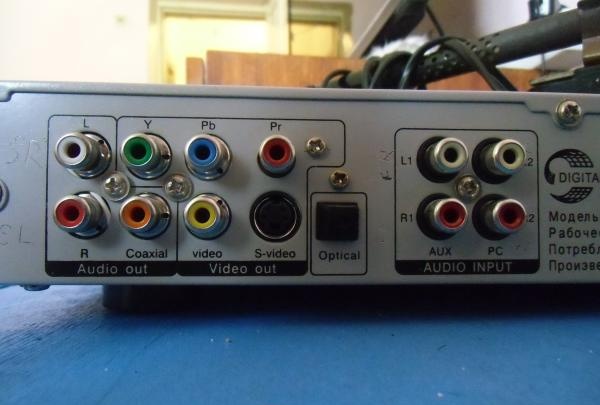
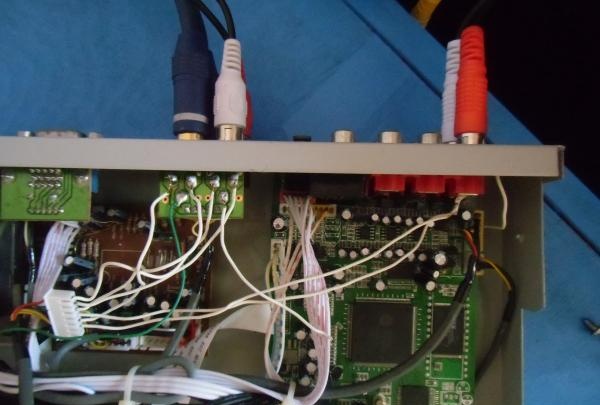
Of all the connectors, I chose the most suitable ones, having previously scratched the number of the future input next to them. Then they were completely disconnected from the board so that there would be no short circuit in the future:
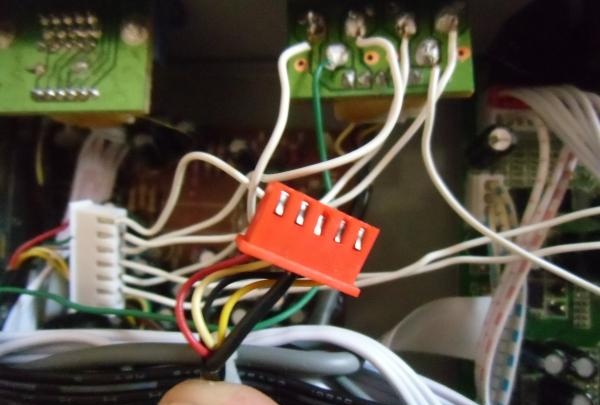
Now came the most crucial moment: solder a wire to each connector and connect it to the amplifier block.
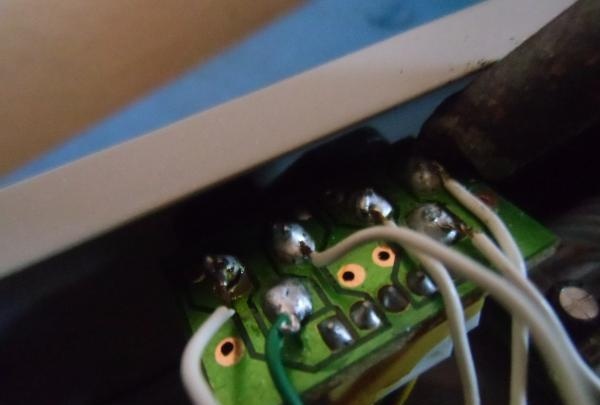
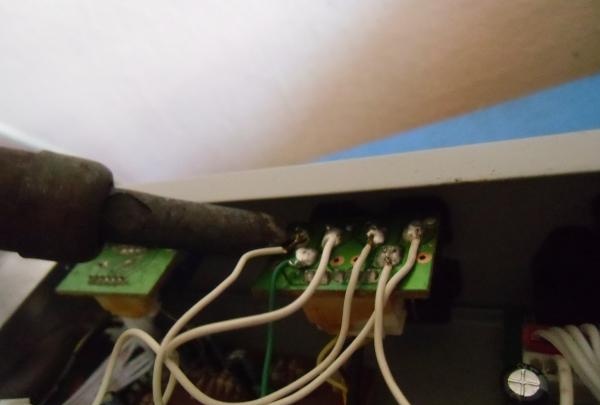

I connected the soldered wires in the connector coming from the amplifiers according to the color of the channel; power for the amplifiers also had to be supplied with a green wire.
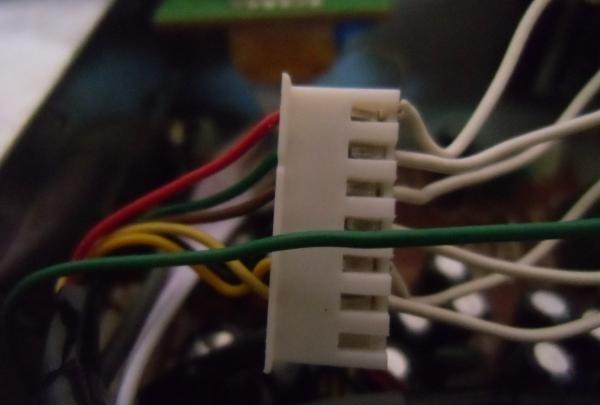
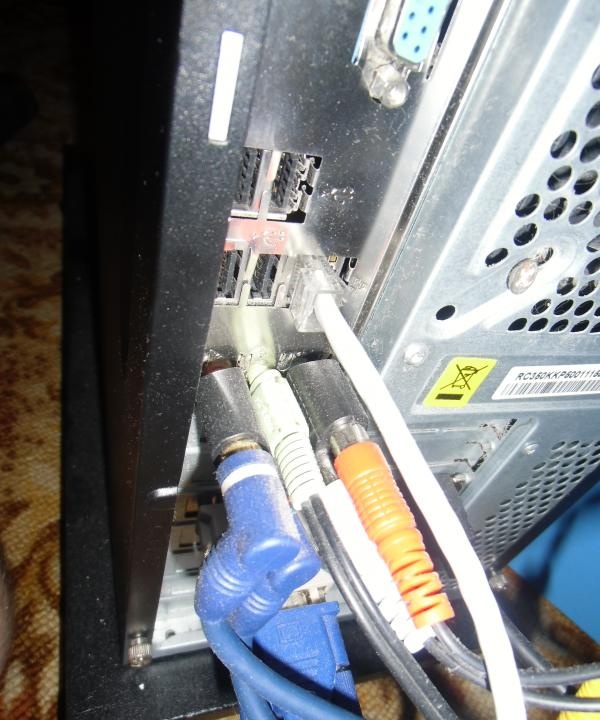
This is how the whole job turned out. Photo 12 shows that RCA cables are connected to the player, which are connected with a white wire to the connector coming from the amplifiers:
I was more than satisfied with the work. The sound quality cannot be compared to before.
