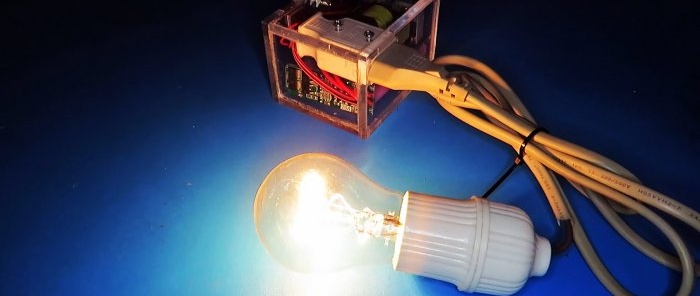
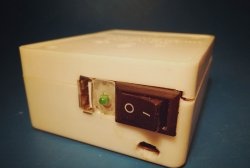
How to make a 220 V pocket Power Bank with your own hands
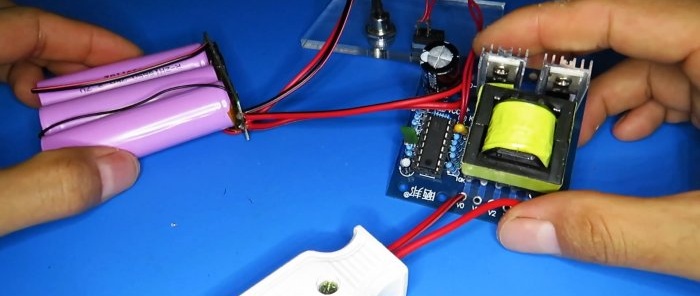
You will need the following parts
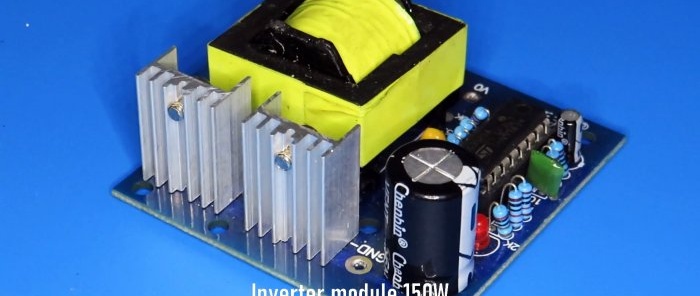
- Converter from 12 V to 220 V - http://alii.pub/5sl86o
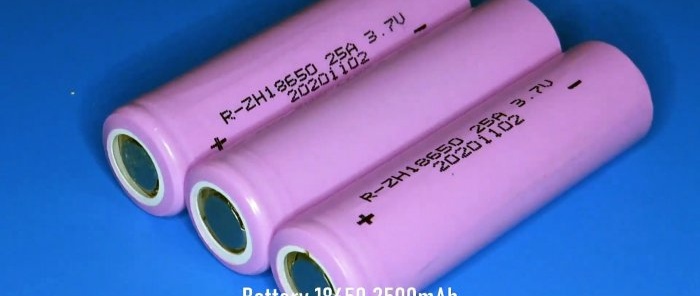
- 18650 batteries - http://alii.pub/5becfz
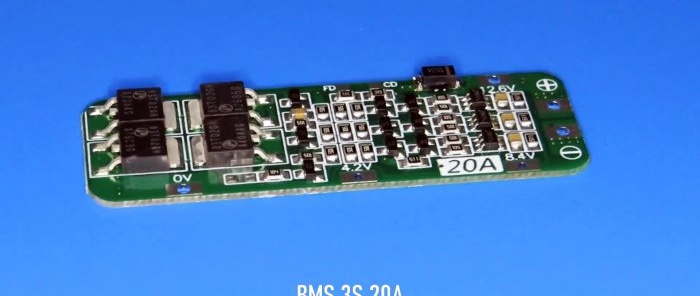
- BMS controller - http://alii.pub/5sl89z
- Connector for charging.
- Switch.
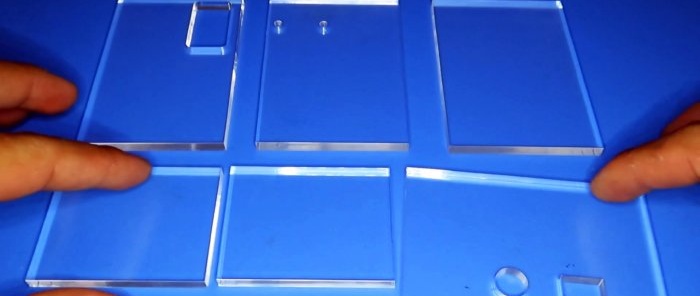
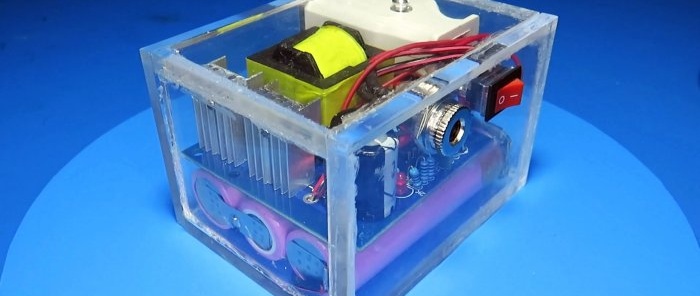
- Acrylic body.
- Power socket.
Making a 220 V Power Bank with your own hands
The body of the future device is made of acrylic on a laser machine. But if you don’t have it, you can take any suitable plastic case. Or glue it yourself.
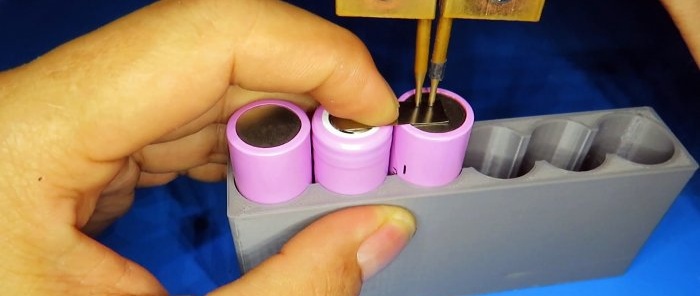
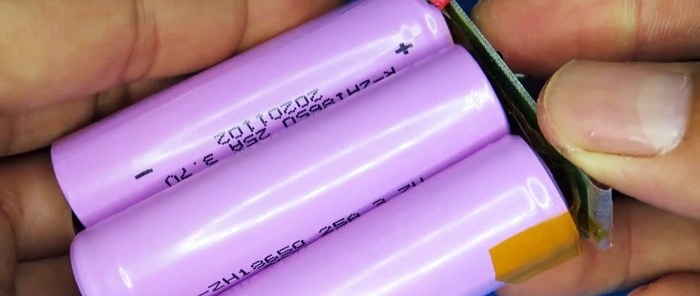
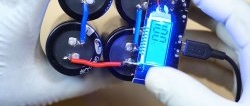
3 batteries are welded using resistance welding in a series circuit. Solder wires to each connection.
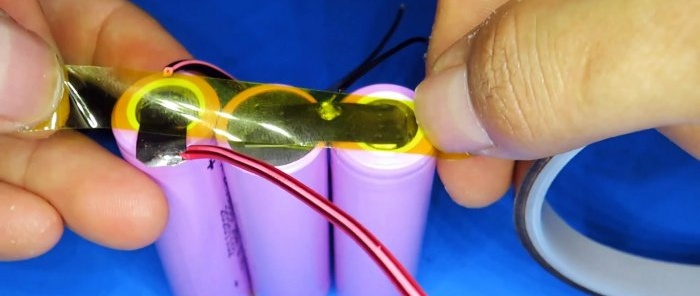
We insulate the poles with Kapton tape.
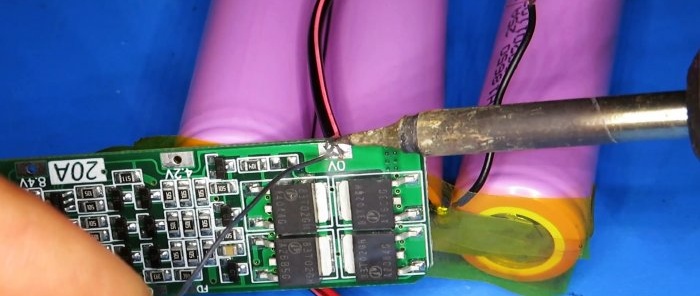
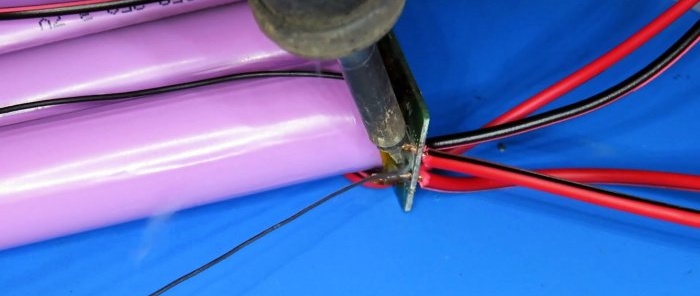
Solder the balanced protection controller.
We glue it to the batteries with double-sided tape.
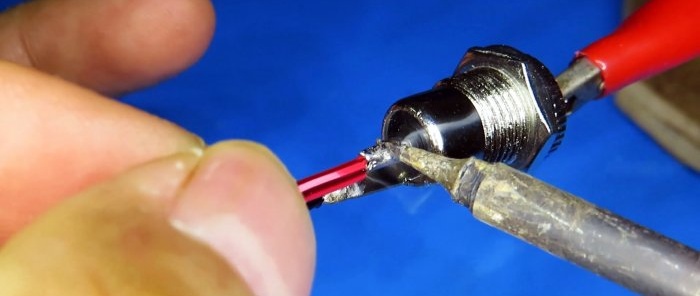
We solder the wires to the charging connector and insulate them with heat shrink.
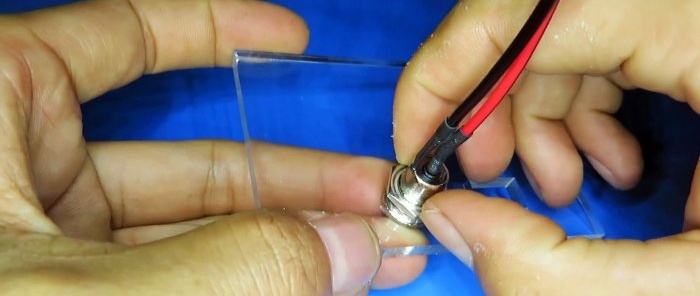
We install it in the case.
Solder the wires from the connector to the charging controller.
Next, we solder the wires from the controller to the converter via a switch.
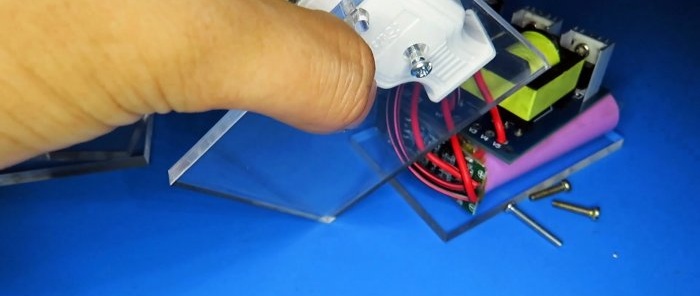
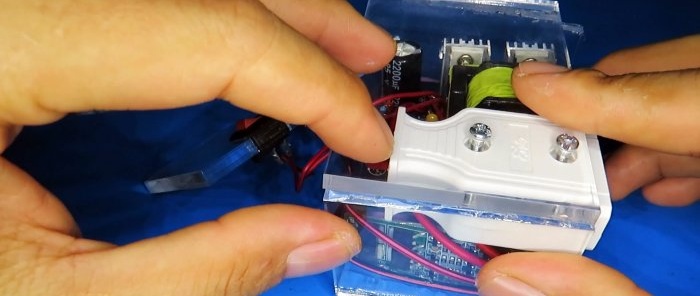
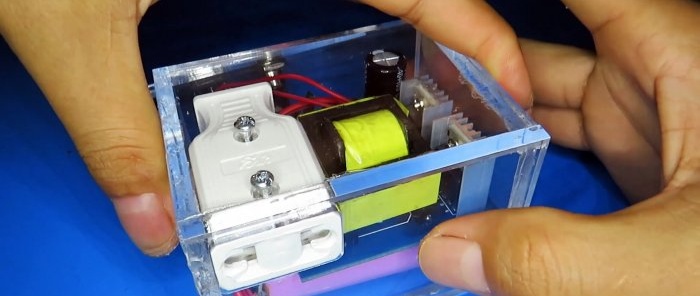
We solder the wires from the converter to the power outlet. We secure the socket in the housing with a screw.
Glue the body together with glue.
Using a 220 V Power Bank
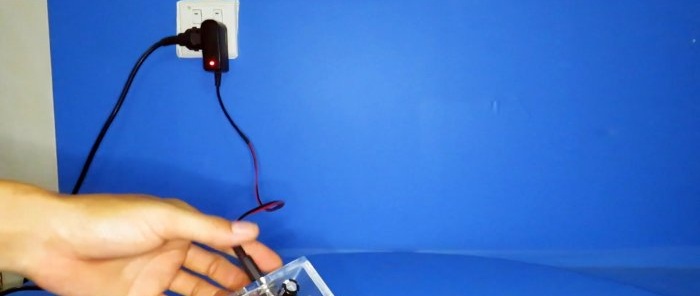
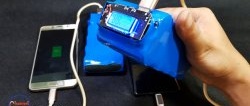
The power bank is ready. It must be recharged before use. A 15 V block is used for this.
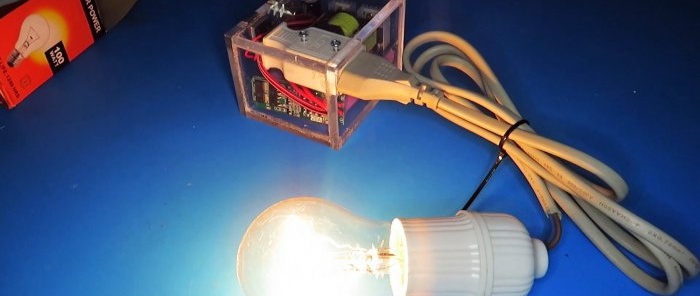
After charging, the power bank is ready for use. Its power is 150 W.
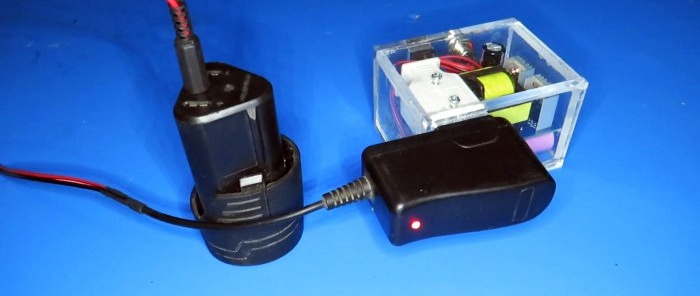
You can charge the screwdriver battery.
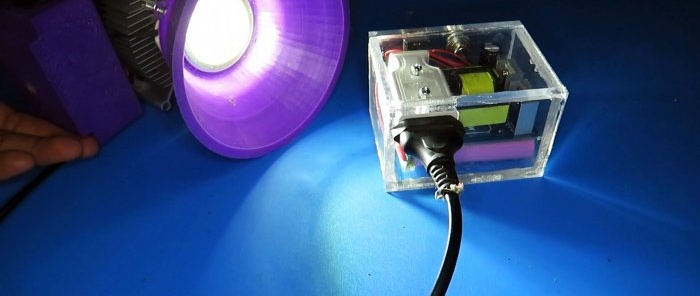
Or power a powerful spotlight.
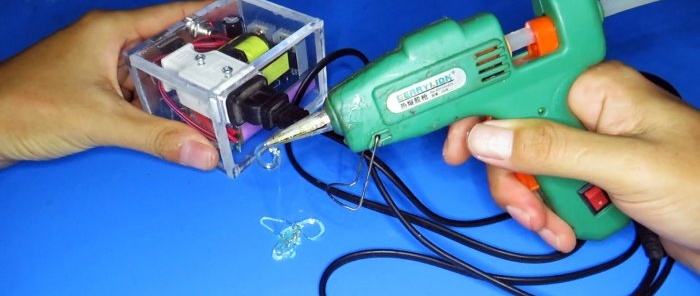
Or a hot glue gun.
There are a lot of applications.

