Second life of a stool
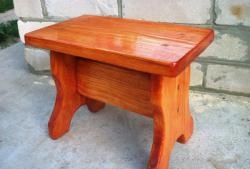
It happens that over the years furniture wears out and loses its appearance. In this article we will try to give new life and a designer look to an old stool. The materials we need are:
-PVA glue;
- wool thread;
-tassel;
-material, square meter, in our case velor was used.
In order for the composition to be seamless, it is advisable to follow the color scheme.
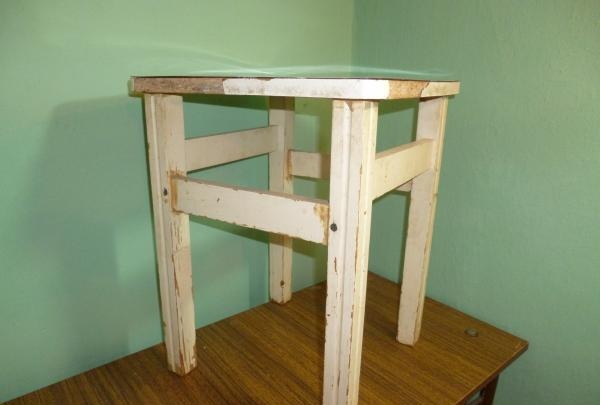
We take an old stool. It needs to be wiped clean from dust or greasy stains, in which case the glue will lie more evenly.
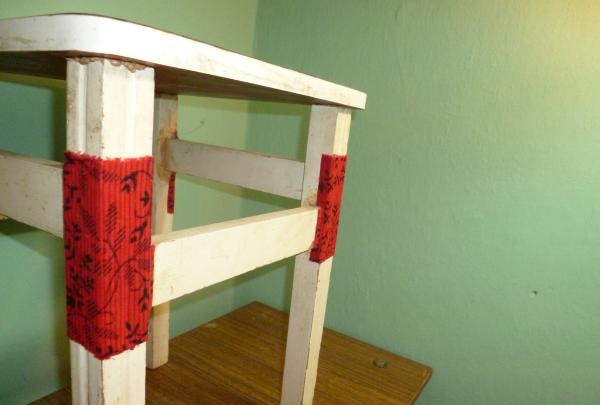
First step. It is necessary to cut rectangular pieces of fabric to cover the places where the crossbars meet, since finishing with thread will not be convenient. They are attached quite simply; they are coated with a thin layer of glue on the reverse side. It will be more accurate if the rectangles are a little larger and slightly overstep the leg.
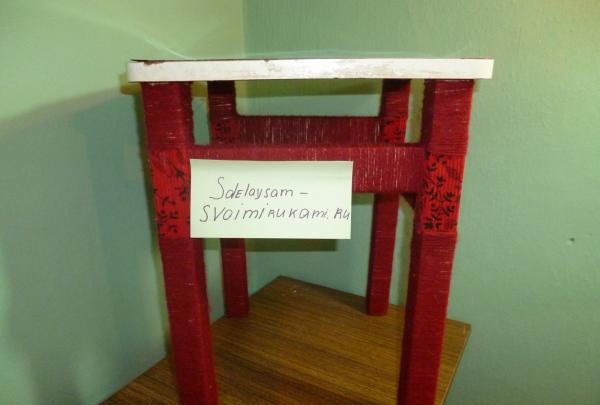
Step two, decorate the legs and crossbars. A thin layer of PVA glue is applied to the entire leg. It is important to maintain proportions; the layer should be such that the thread is fixed on one side, but not completely saturated and retains its appearance.
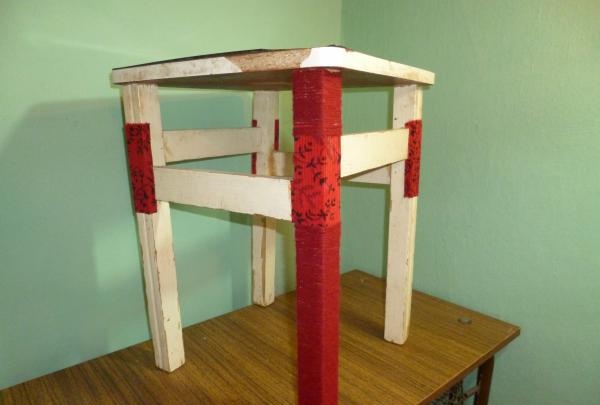
Next, starting from the very top, we begin to wrap the leg.This is a very painstaking process, you need to try not to leave large gaps and make sure that all sides are proportional and even. When the entire leg is wrapped, the thread should be cut and secured with glue from the inside.
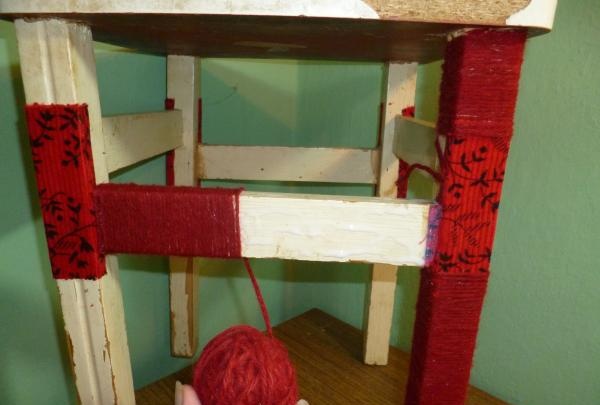

You need to do the same with all the legs and crossbars, and then give them a little time to dry.
After the process of decorating the legs is completed, we proceed to finishing the upper part of the stool.
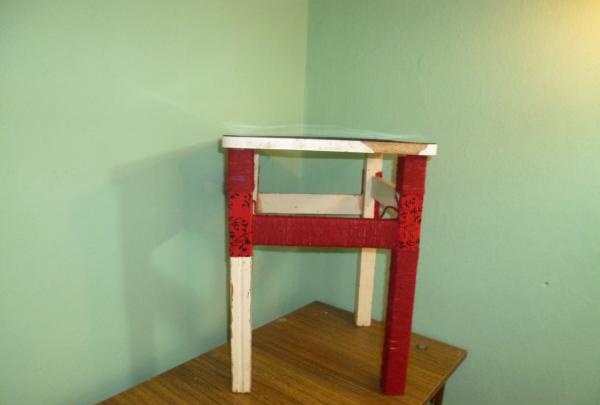
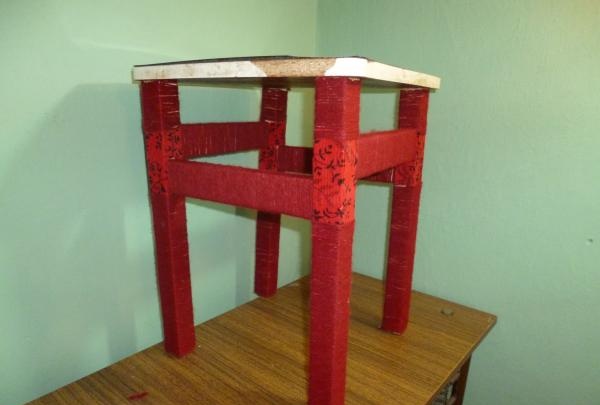
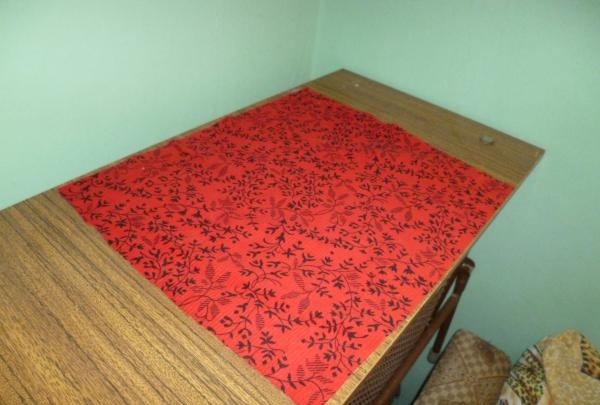
You need to cut out the material that matches the area of the top of the stool, leaving about 2 centimeters on the sides. The allowance should be 1 cm larger than the height of the seat.
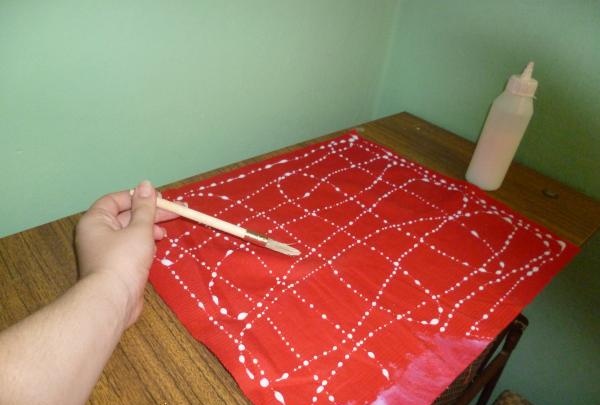
The entire surface on the reverse side is treated with PVA glue. Again, the layer should be thin; it is highly undesirable for the fabric to get wet. You can try to apply glue to the stool, and then apply the fabric, but in this case it will not be stuck so firmly.
After the surface is processed, the fabric is evenly applied to the stool. The edges are bent and glued to the lower part, which is not visible to anyone.
The corners can be trimmed when the main plane is already fixed, and after cutting, carefully place one on top of the other. In this case, the stool will look complete and please the eye.
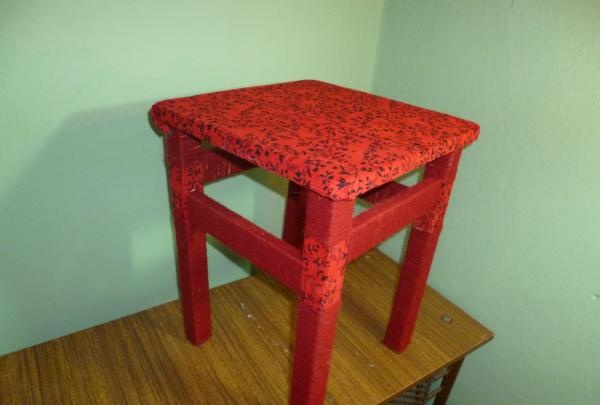
After completing the work, it is best to take the stool out to the balcony or into fresh air and let it dry completely for about a day.
Such an elegant stool will attract a lot of attention and delight guests with its originality.
-PVA glue;
- wool thread;
-tassel;
-material, square meter, in our case velor was used.
In order for the composition to be seamless, it is advisable to follow the color scheme.

We take an old stool. It needs to be wiped clean from dust or greasy stains, in which case the glue will lie more evenly.
First step. It is necessary to cut rectangular pieces of fabric to cover the places where the crossbars meet, since finishing with thread will not be convenient. They are attached quite simply; they are coated with a thin layer of glue on the reverse side. It will be more accurate if the rectangles are a little larger and slightly overstep the leg.

Step two, decorate the legs and crossbars. A thin layer of PVA glue is applied to the entire leg. It is important to maintain proportions; the layer should be such that the thread is fixed on one side, but not completely saturated and retains its appearance.

Next, starting from the very top, we begin to wrap the leg.This is a very painstaking process, you need to try not to leave large gaps and make sure that all sides are proportional and even. When the entire leg is wrapped, the thread should be cut and secured with glue from the inside.


You need to do the same with all the legs and crossbars, and then give them a little time to dry.
After the process of decorating the legs is completed, we proceed to finishing the upper part of the stool.


You need to cut out the material that matches the area of the top of the stool, leaving about 2 centimeters on the sides. The allowance should be 1 cm larger than the height of the seat.

The entire surface on the reverse side is treated with PVA glue. Again, the layer should be thin; it is highly undesirable for the fabric to get wet. You can try to apply glue to the stool, and then apply the fabric, but in this case it will not be stuck so firmly.

After the surface is processed, the fabric is evenly applied to the stool. The edges are bent and glued to the lower part, which is not visible to anyone.

The corners can be trimmed when the main plane is already fixed, and after cutting, carefully place one on top of the other. In this case, the stool will look complete and please the eye.

After completing the work, it is best to take the stool out to the balcony or into fresh air and let it dry completely for about a day.
Such an elegant stool will attract a lot of attention and delight guests with its originality.
Similar master classes
Particularly interesting
Comments (0)

