New life for an old table
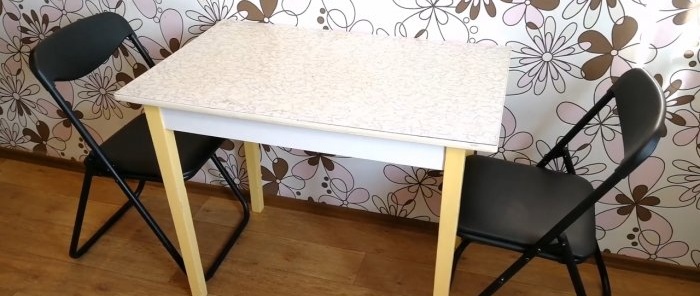
Hello! I have an old dining table that has served faithfully for decades.
It would be a shame to throw it away. The table was stored in the garage and was periodically used during various repairs. Now I have moved to a new apartment and took this table for temporary use. But there is nothing more permanent than temporary. The table is still strong, but the exterior has worn out. So I decided to remake it and breathe new life into it.
At a hardware store I bought:
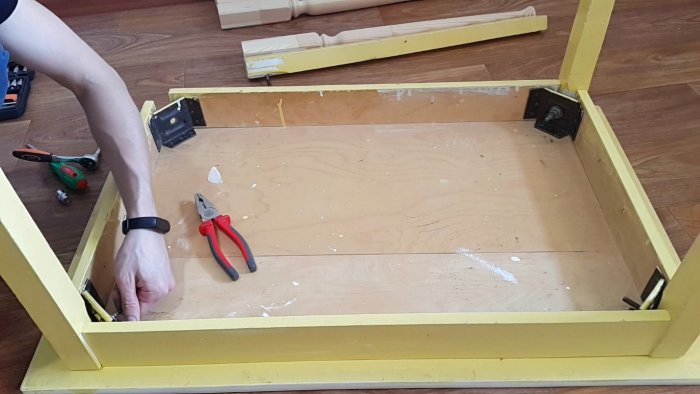
The first thing I did was dismantle the table.
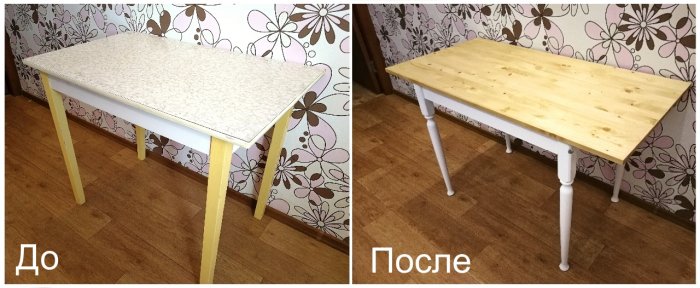
I decided to replace the table top and legs. The frame and fasteners are still in good condition. Just need to strip off the old paint and repaint.
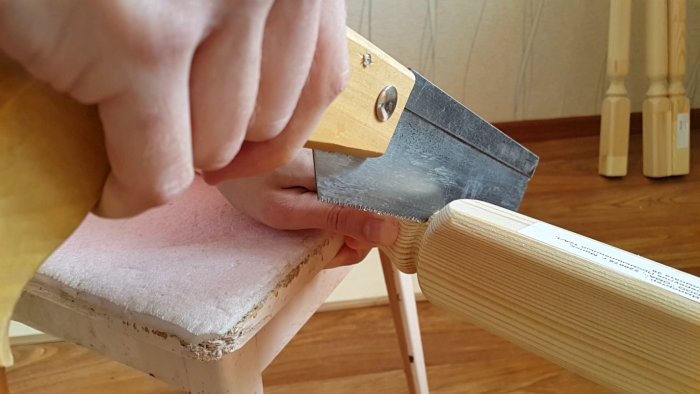
The next step is making the legs. I will use balusters as legs. I took 4 pieces and cut off the excess.
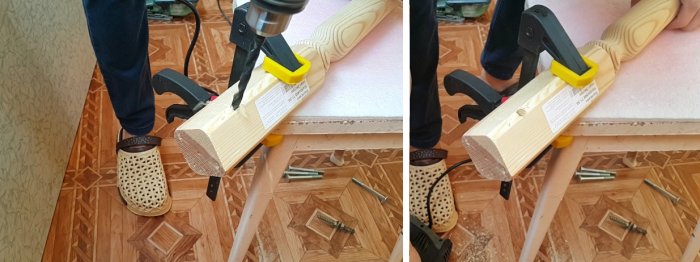
Now you need to drill holes for the fasteners. I use 8mm bolts.
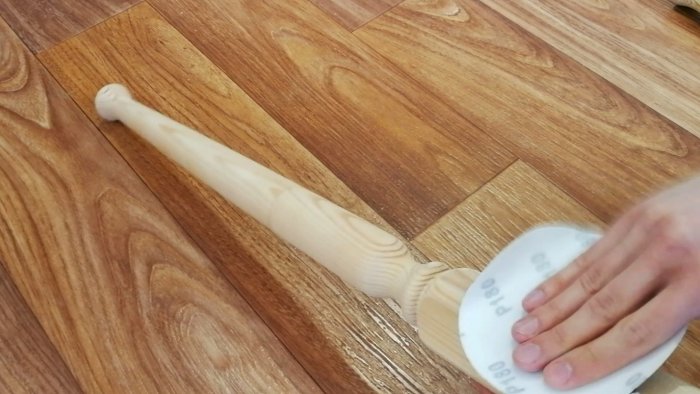
Next you need to prepare the balusters for painting. To do this, I treated it with 180 and 320 grit sandpaper.
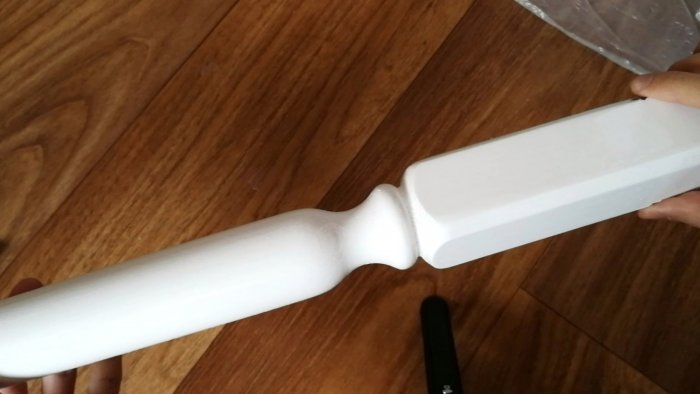
I take white, glossy enamel. I will use enamel for radiators. It is quick-drying, resistant to damage, does not turn yellow and is practically odorless.The paint was applied with a brush.
I applied it in 2 layers. After drying, a beautiful glossy surface was obtained.
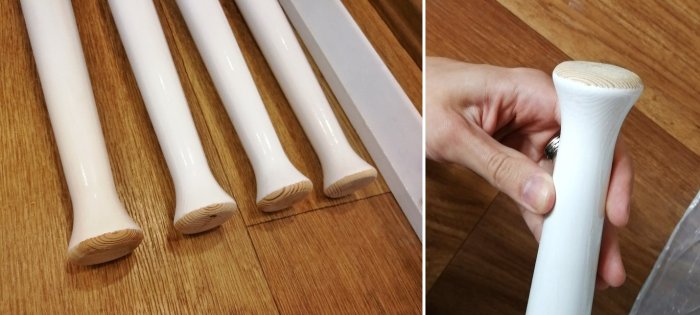
The legs were not completely painted. I thought it would look great with unpainted bases.
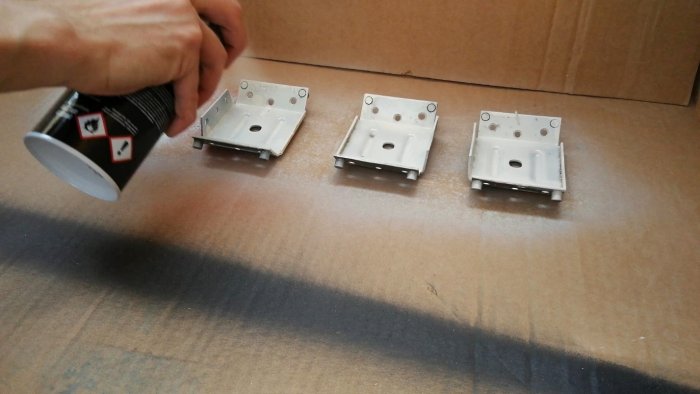
The leg fasteners were also repainted.
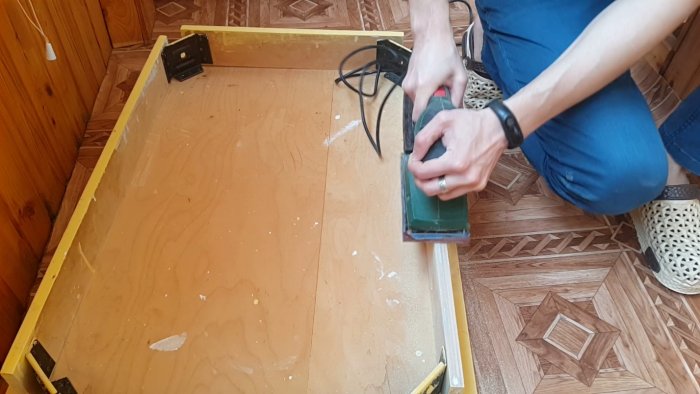
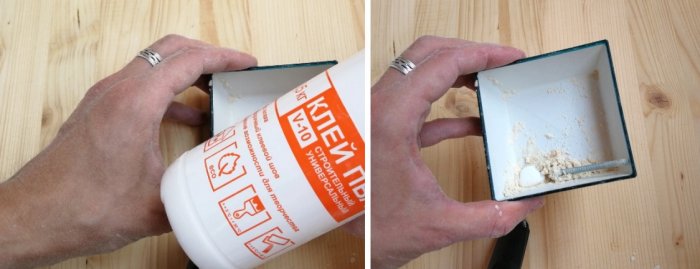
Now I start processing the tabletop. I sanded it with sandpaper. She turned out to be not ideal. There were many cracks and holes. But they can be easily repaired. To do this, I collected the dust after sanding and mixed it with PVA glue. I made an improvised wood putty.
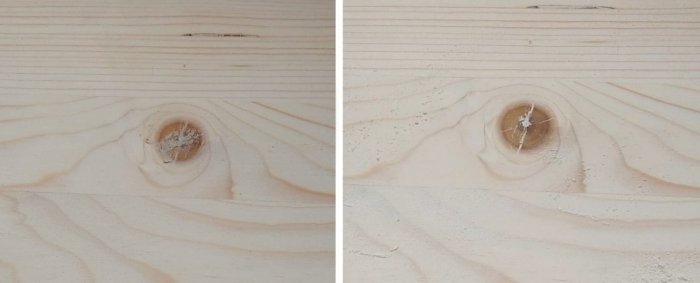
I apply the putty, wait until it dries and sand it down.
I dust off the surface and apply oil. Covered with oil in 2 layers.
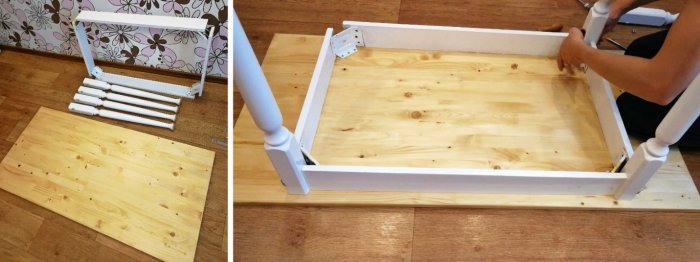
After everything has dried, you can begin the final assembly.
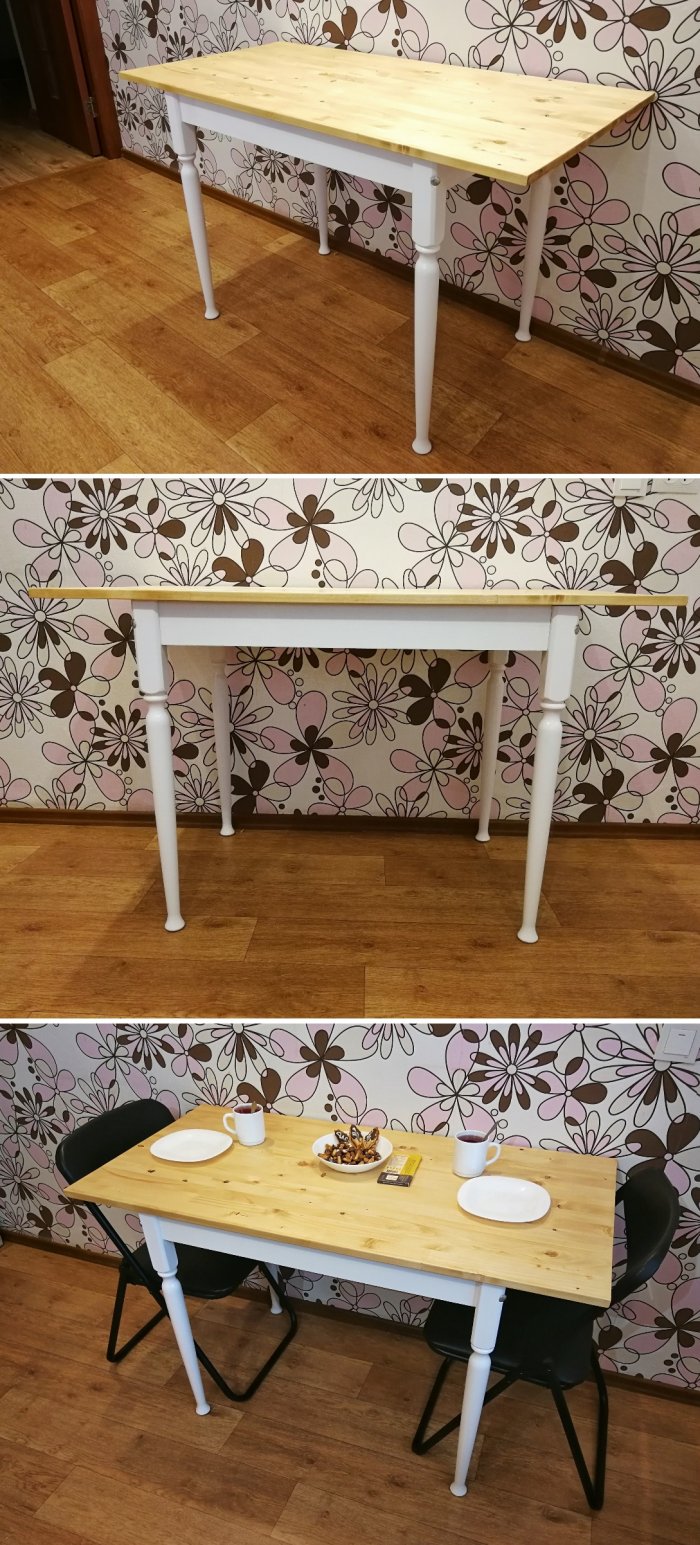
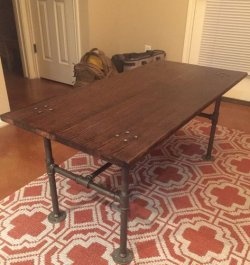
Now my table is ready!
I was pleased with the result. The table turned out to be very practical. I increased the size of the tabletop a bit and now fits 6 people instead of 4.
Here's an easy way to update your old one. furniture and it will serve you faithfully for many more years ;)
It would be a shame to throw it away. The table was stored in the garage and was periodically used during various repairs. Now I have moved to a new apartment and took this table for temporary use. But there is nothing more permanent than temporary. The table is still strong, but the exterior has worn out. So I decided to remake it and breathe new life into it.
Materials
At a hardware store I bought:
- Pine furniture panel (120*60cm).
- 4 balusters.
- White glossy enamel.
- Brush.
- Sandpaper.
- Linseed oil.
Second life of an old table
The first thing I did was dismantle the table.
I decided to replace the table top and legs. The frame and fasteners are still in good condition. Just need to strip off the old paint and repaint.
The next step is making the legs. I will use balusters as legs. I took 4 pieces and cut off the excess.
Now you need to drill holes for the fasteners. I use 8mm bolts.
Next you need to prepare the balusters for painting. To do this, I treated it with 180 and 320 grit sandpaper.
I take white, glossy enamel. I will use enamel for radiators. It is quick-drying, resistant to damage, does not turn yellow and is practically odorless.The paint was applied with a brush.
I applied it in 2 layers. After drying, a beautiful glossy surface was obtained.
The legs were not completely painted. I thought it would look great with unpainted bases.
The leg fasteners were also repainted.
Now I start processing the tabletop. I sanded it with sandpaper. She turned out to be not ideal. There were many cracks and holes. But they can be easily repaired. To do this, I collected the dust after sanding and mixed it with PVA glue. I made an improvised wood putty.
I apply the putty, wait until it dries and sand it down.
I dust off the surface and apply oil. Covered with oil in 2 layers.
After everything has dried, you can begin the final assembly.
Now my table is ready!
I was pleased with the result. The table turned out to be very practical. I increased the size of the tabletop a bit and now fits 6 people instead of 4.
Here's an easy way to update your old one. furniture and it will serve you faithfully for many more years ;)
Watch the video
Similar master classes
Particularly interesting
Comments (1)

